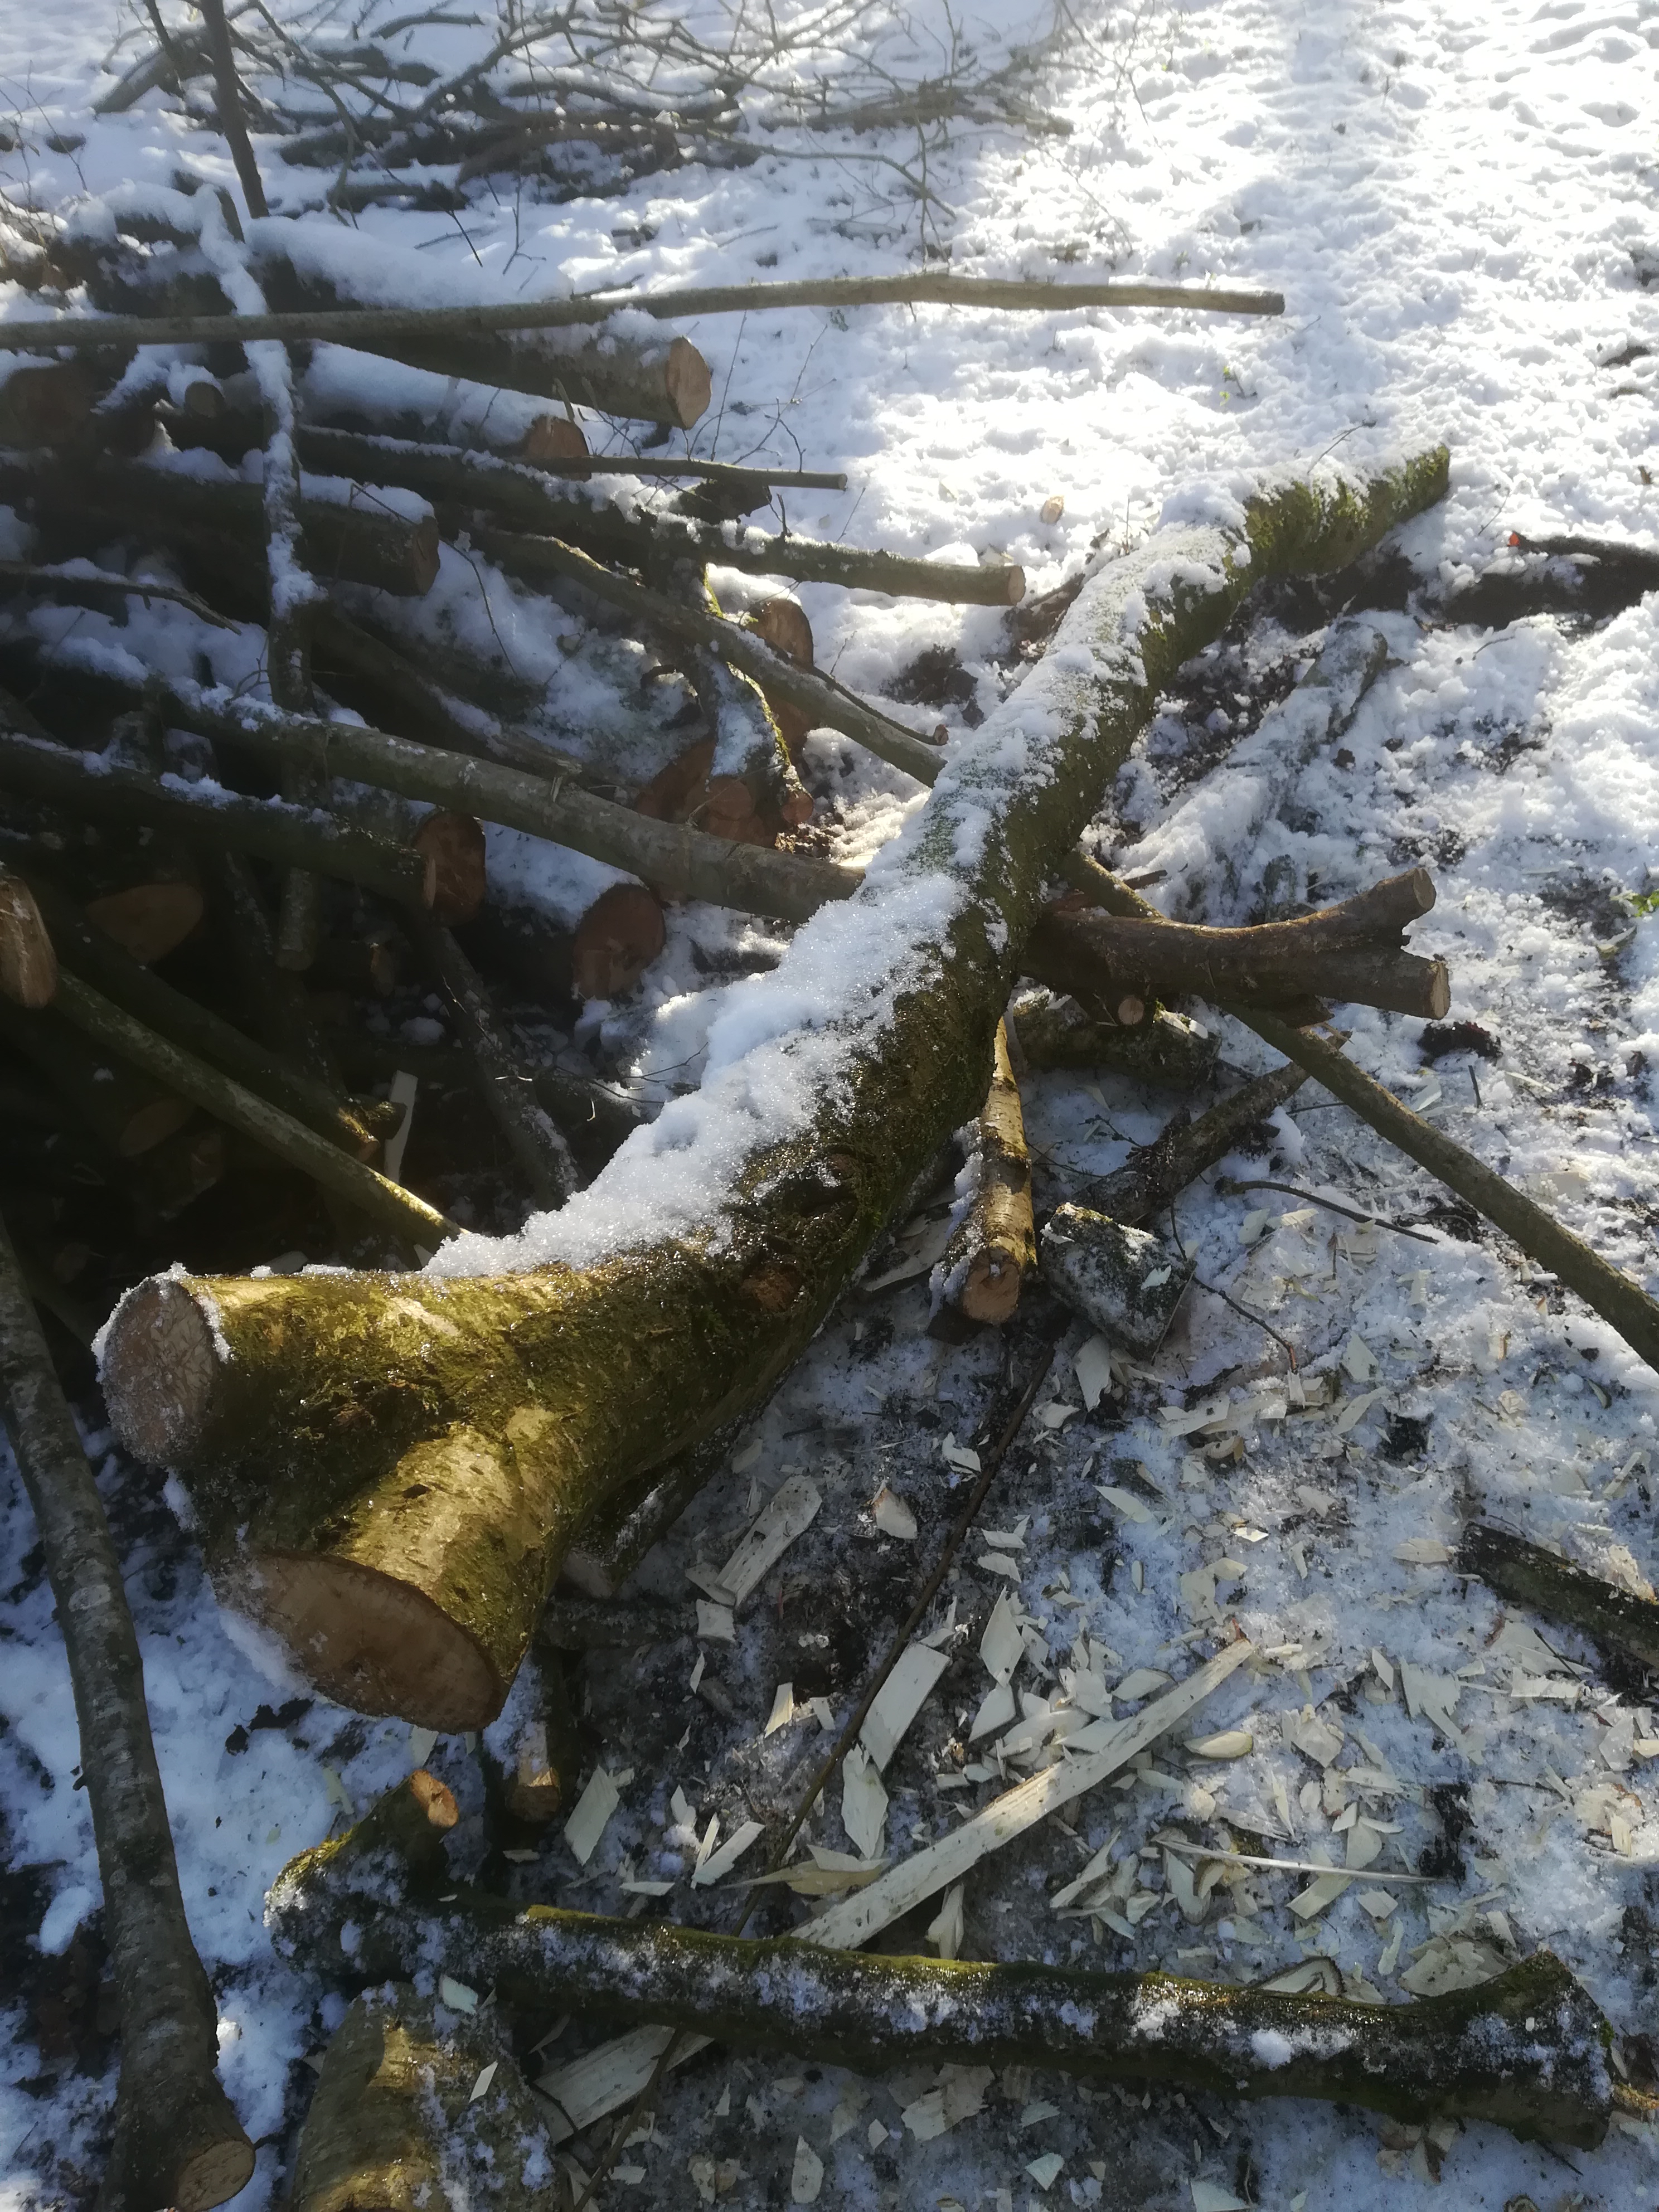
Perishingly cold in the wood today with a thin dusting of snow making everything glisten in a weak winter sun – when it eventually got through.
Today’s task was to carry on with the fencing off of the hazel coppice. First job is to create the fence posts. Here the hazel stems that were coppiced from the existing stools come in, each decent sized stem can be used but they just needs some preparation.
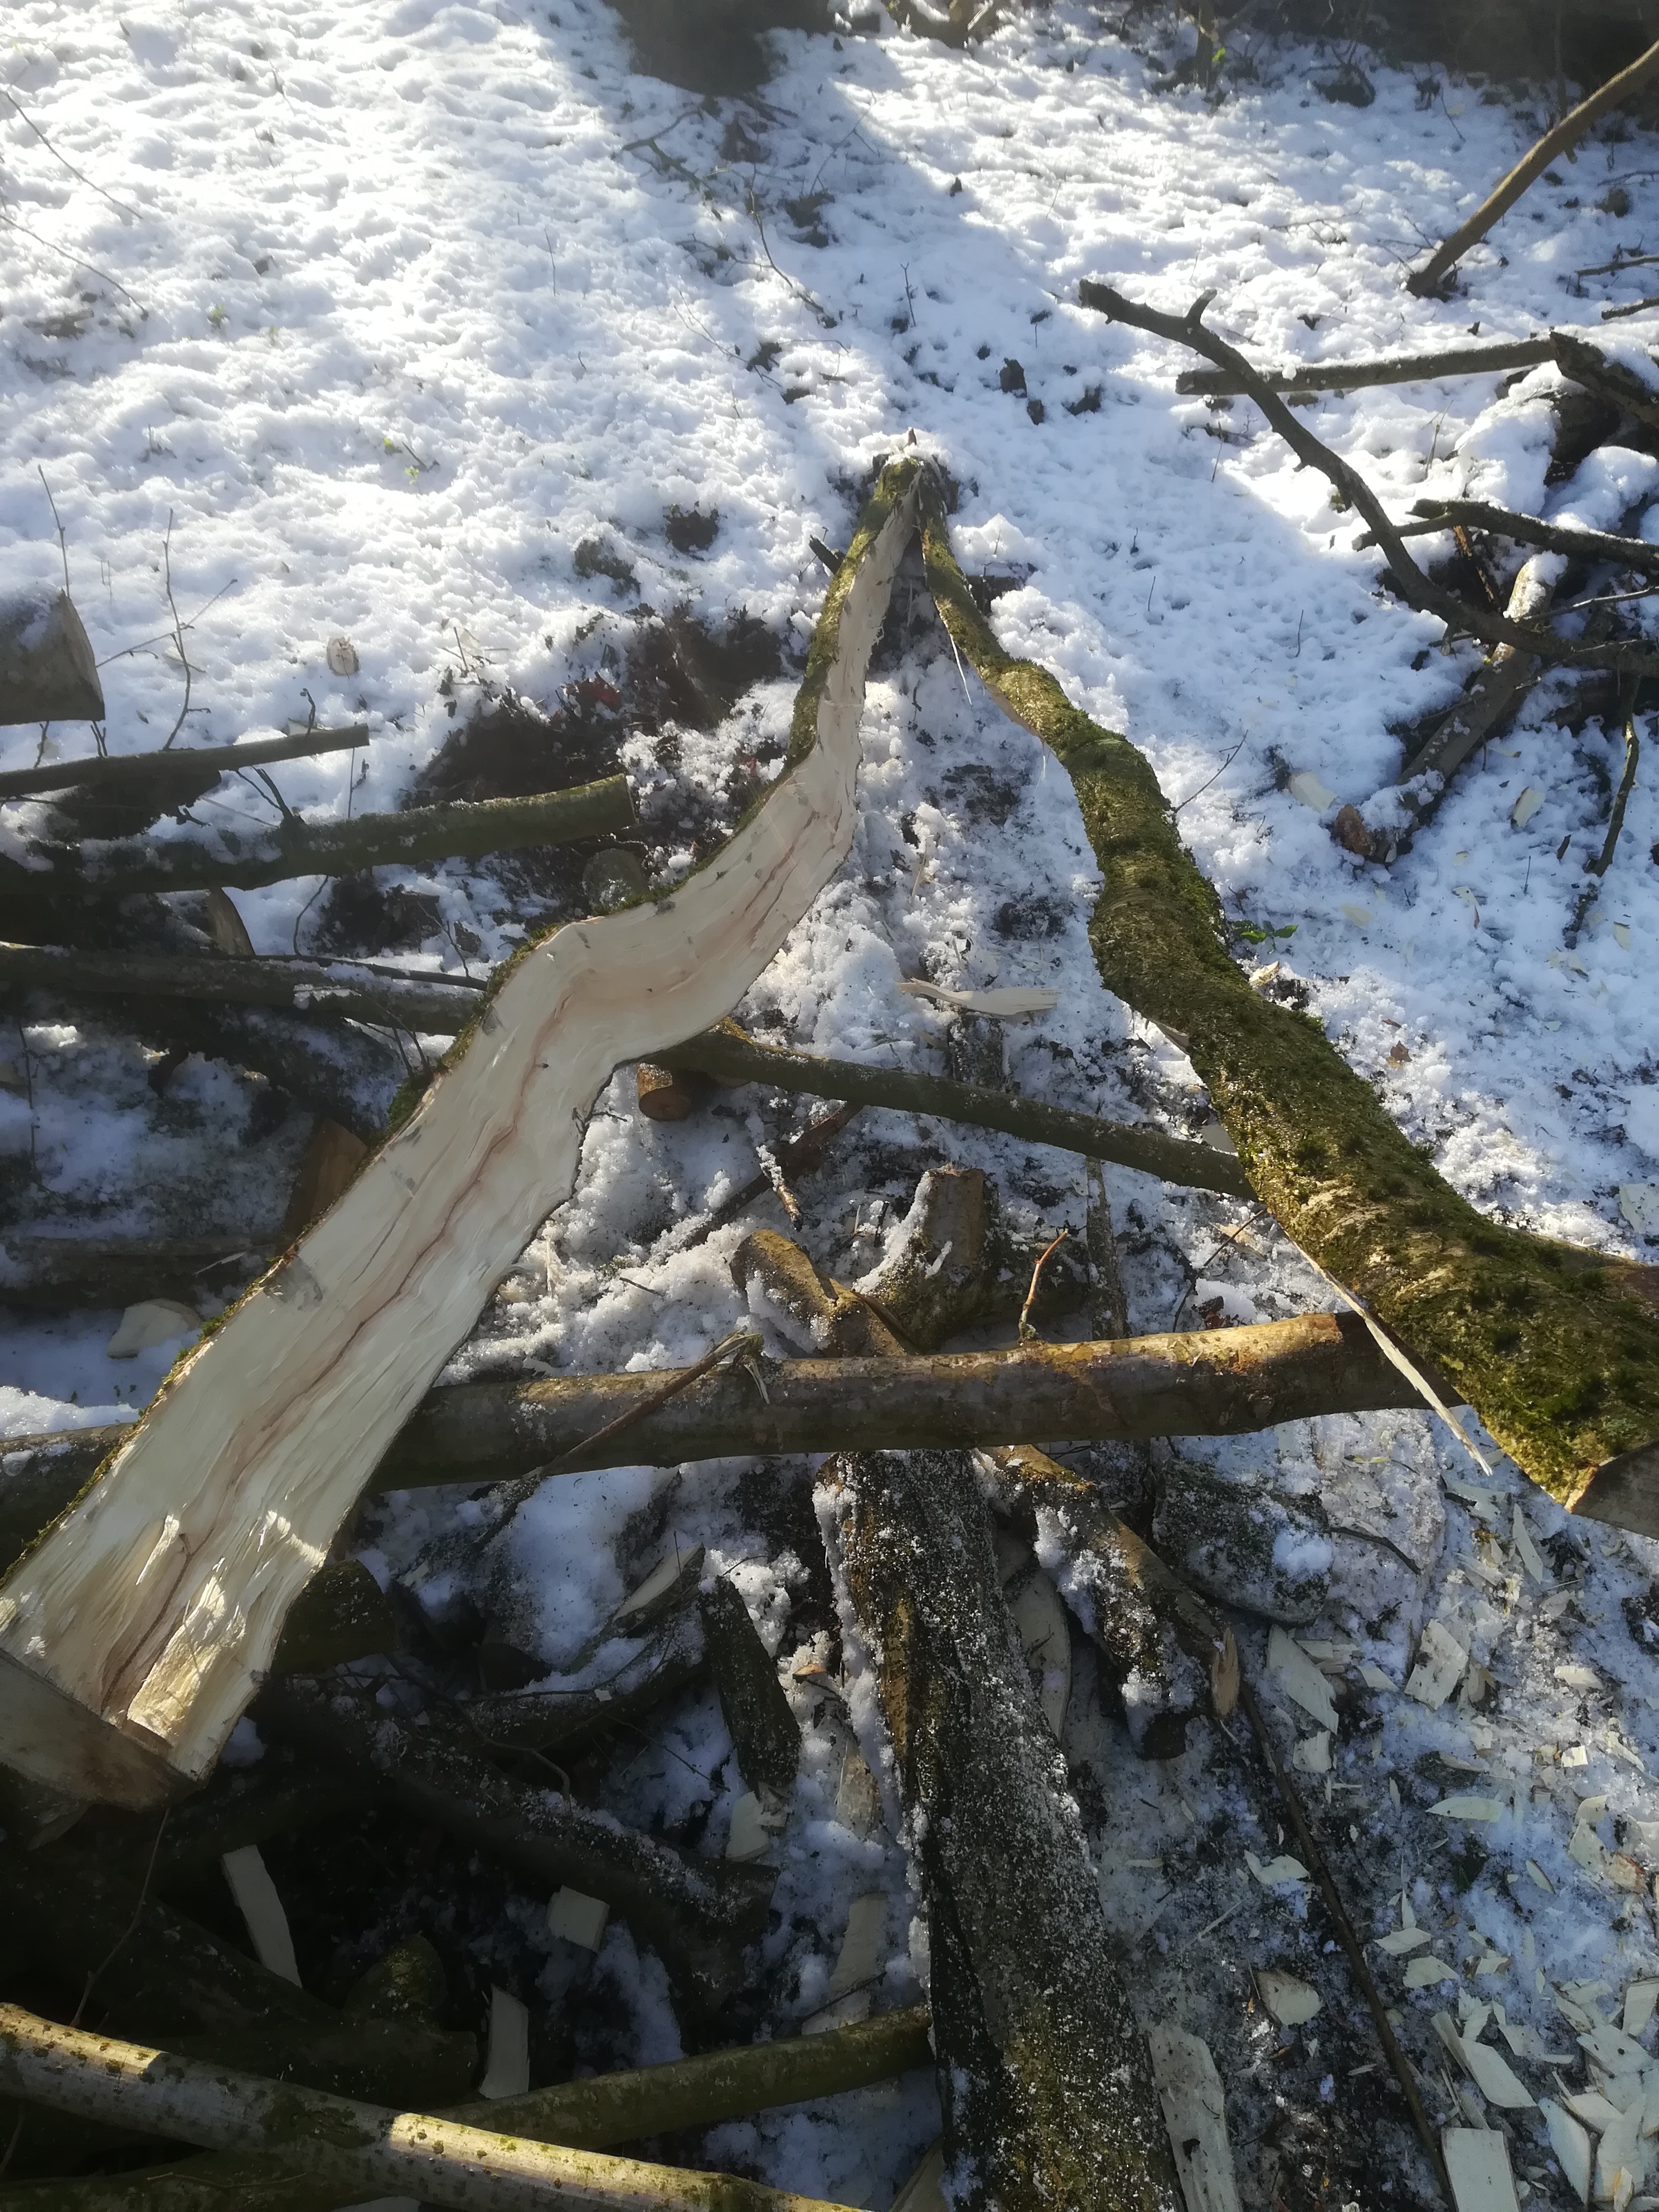
Step 1 Select a suitable looking length of hazel pole and trim the ends up so that as in this instance you don’t start trying to split through a knuckle.
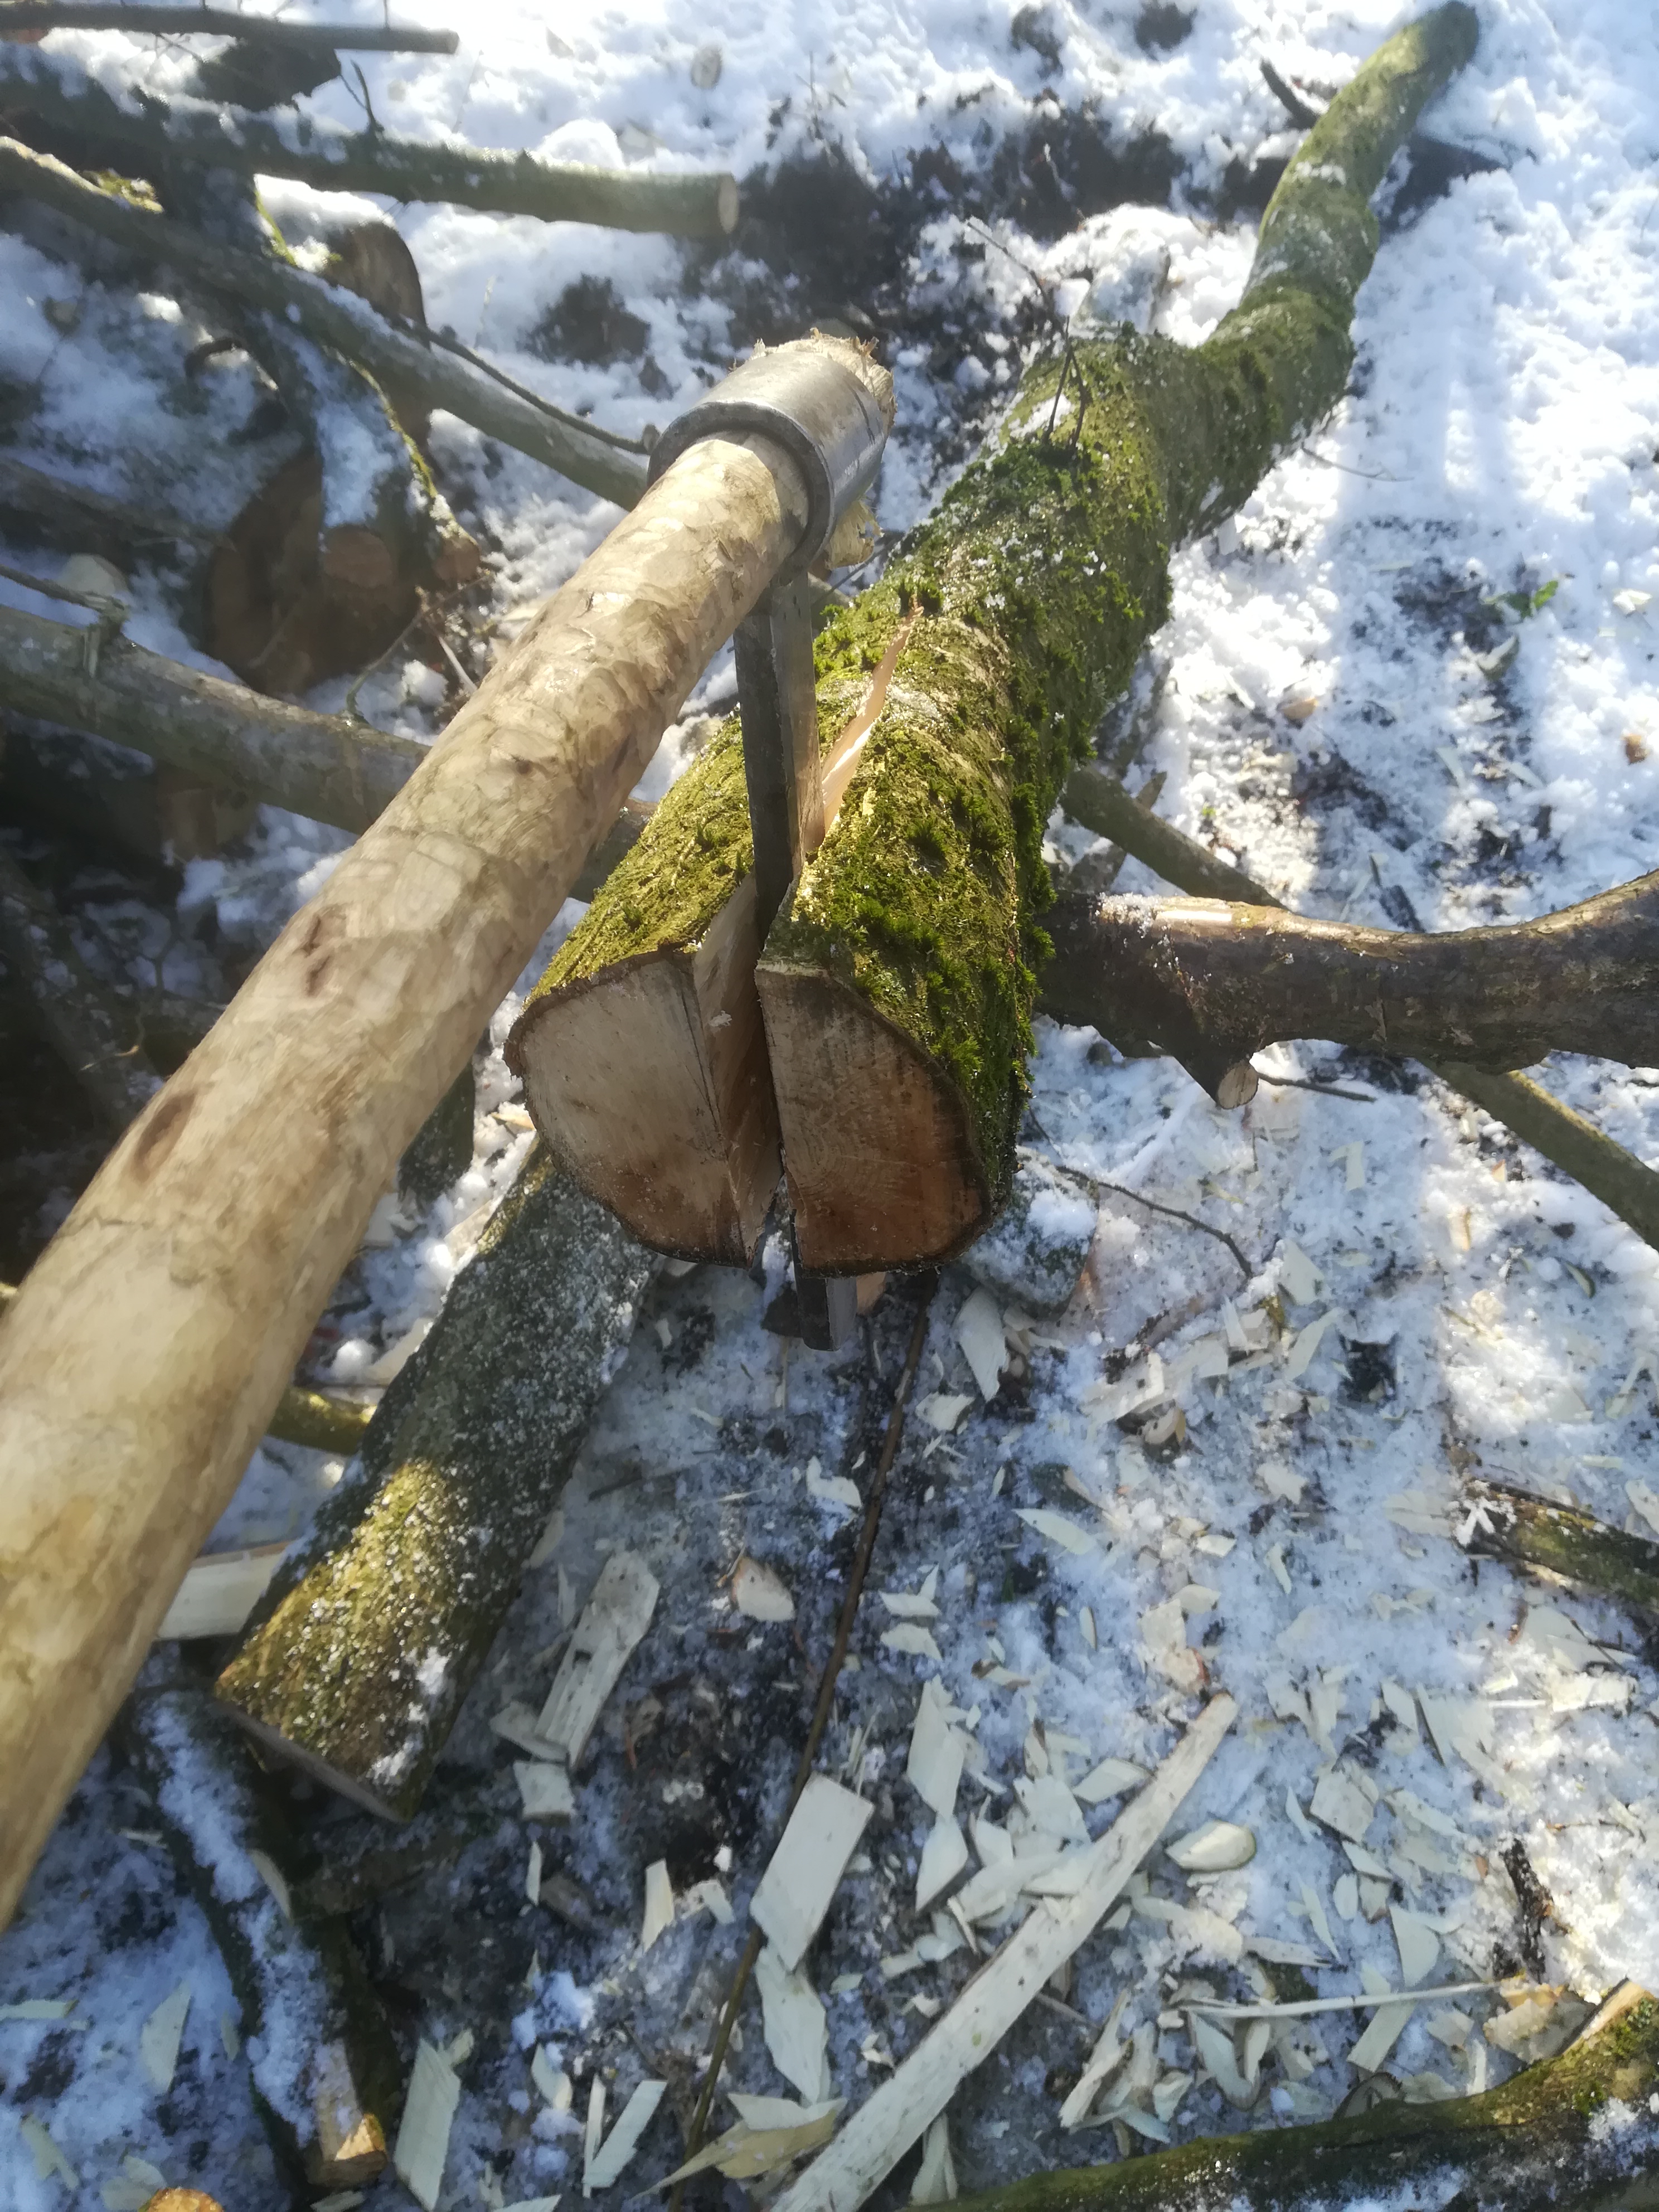
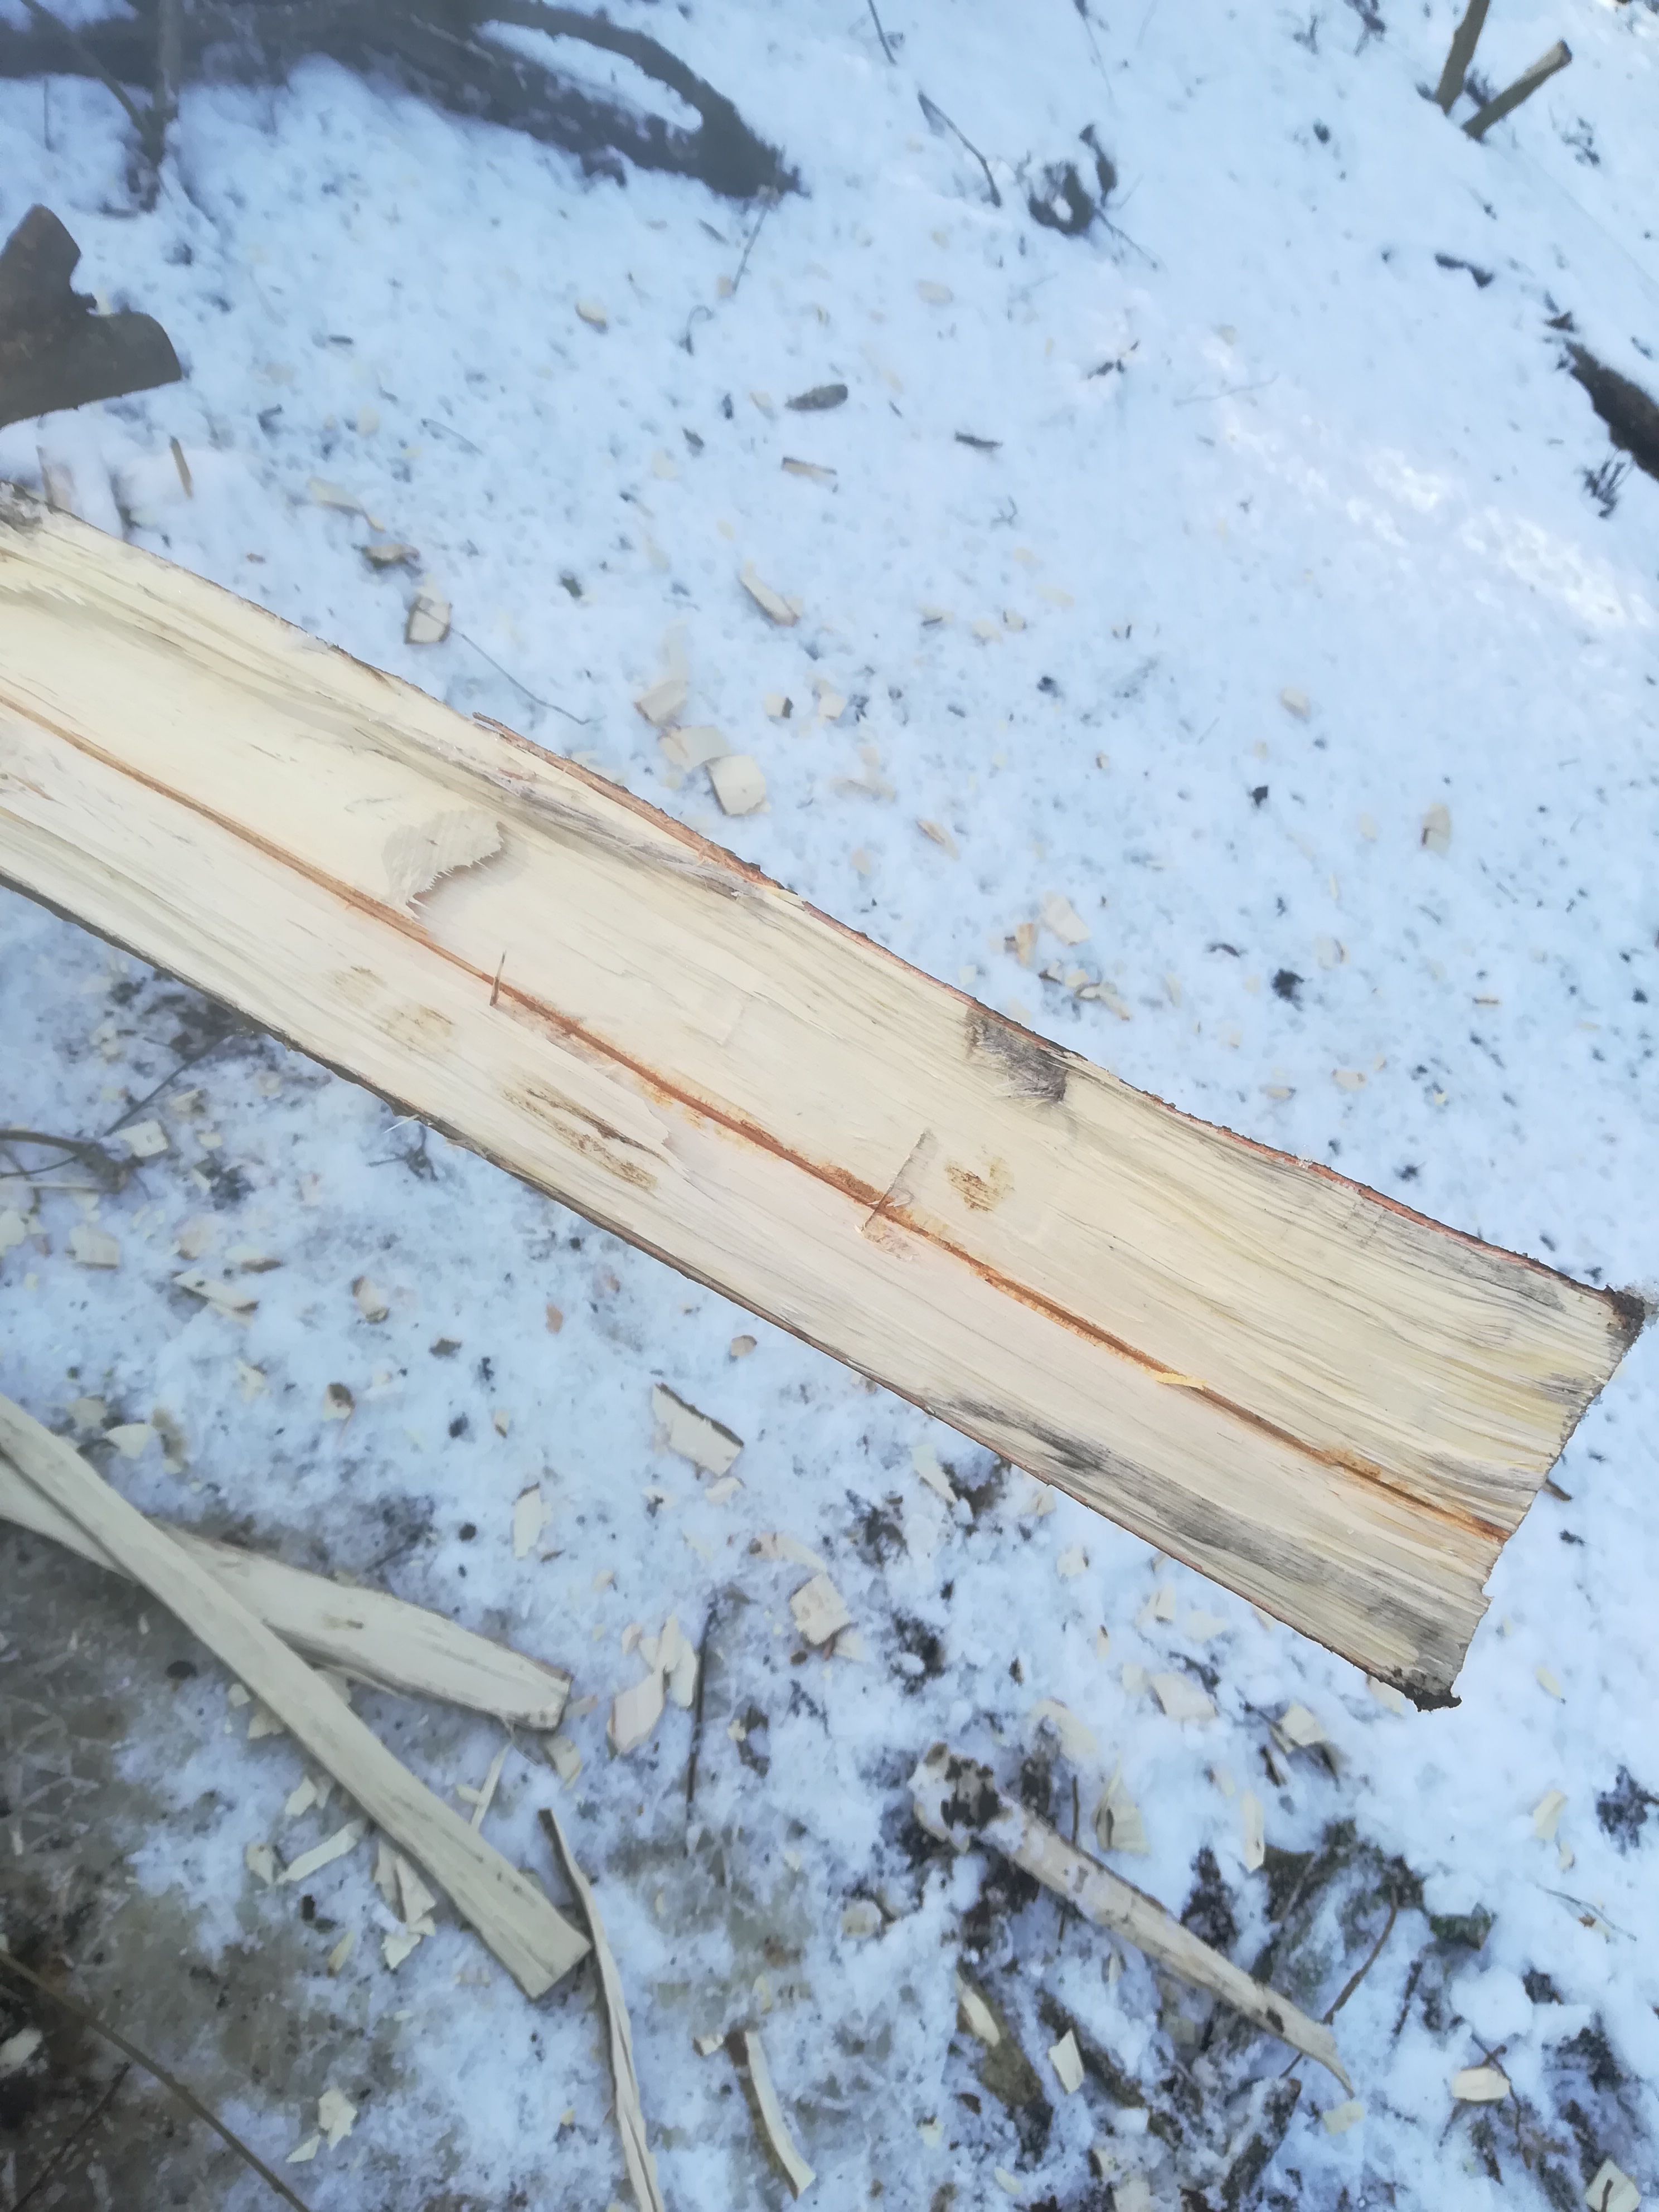
Next step is to start a split along the length of the stem, I use a fro which goes through the whole diameter and makes a good clean break. Next I insert a splitting wedge, this widens the gap so advancing the split down the length but also releases the fro.
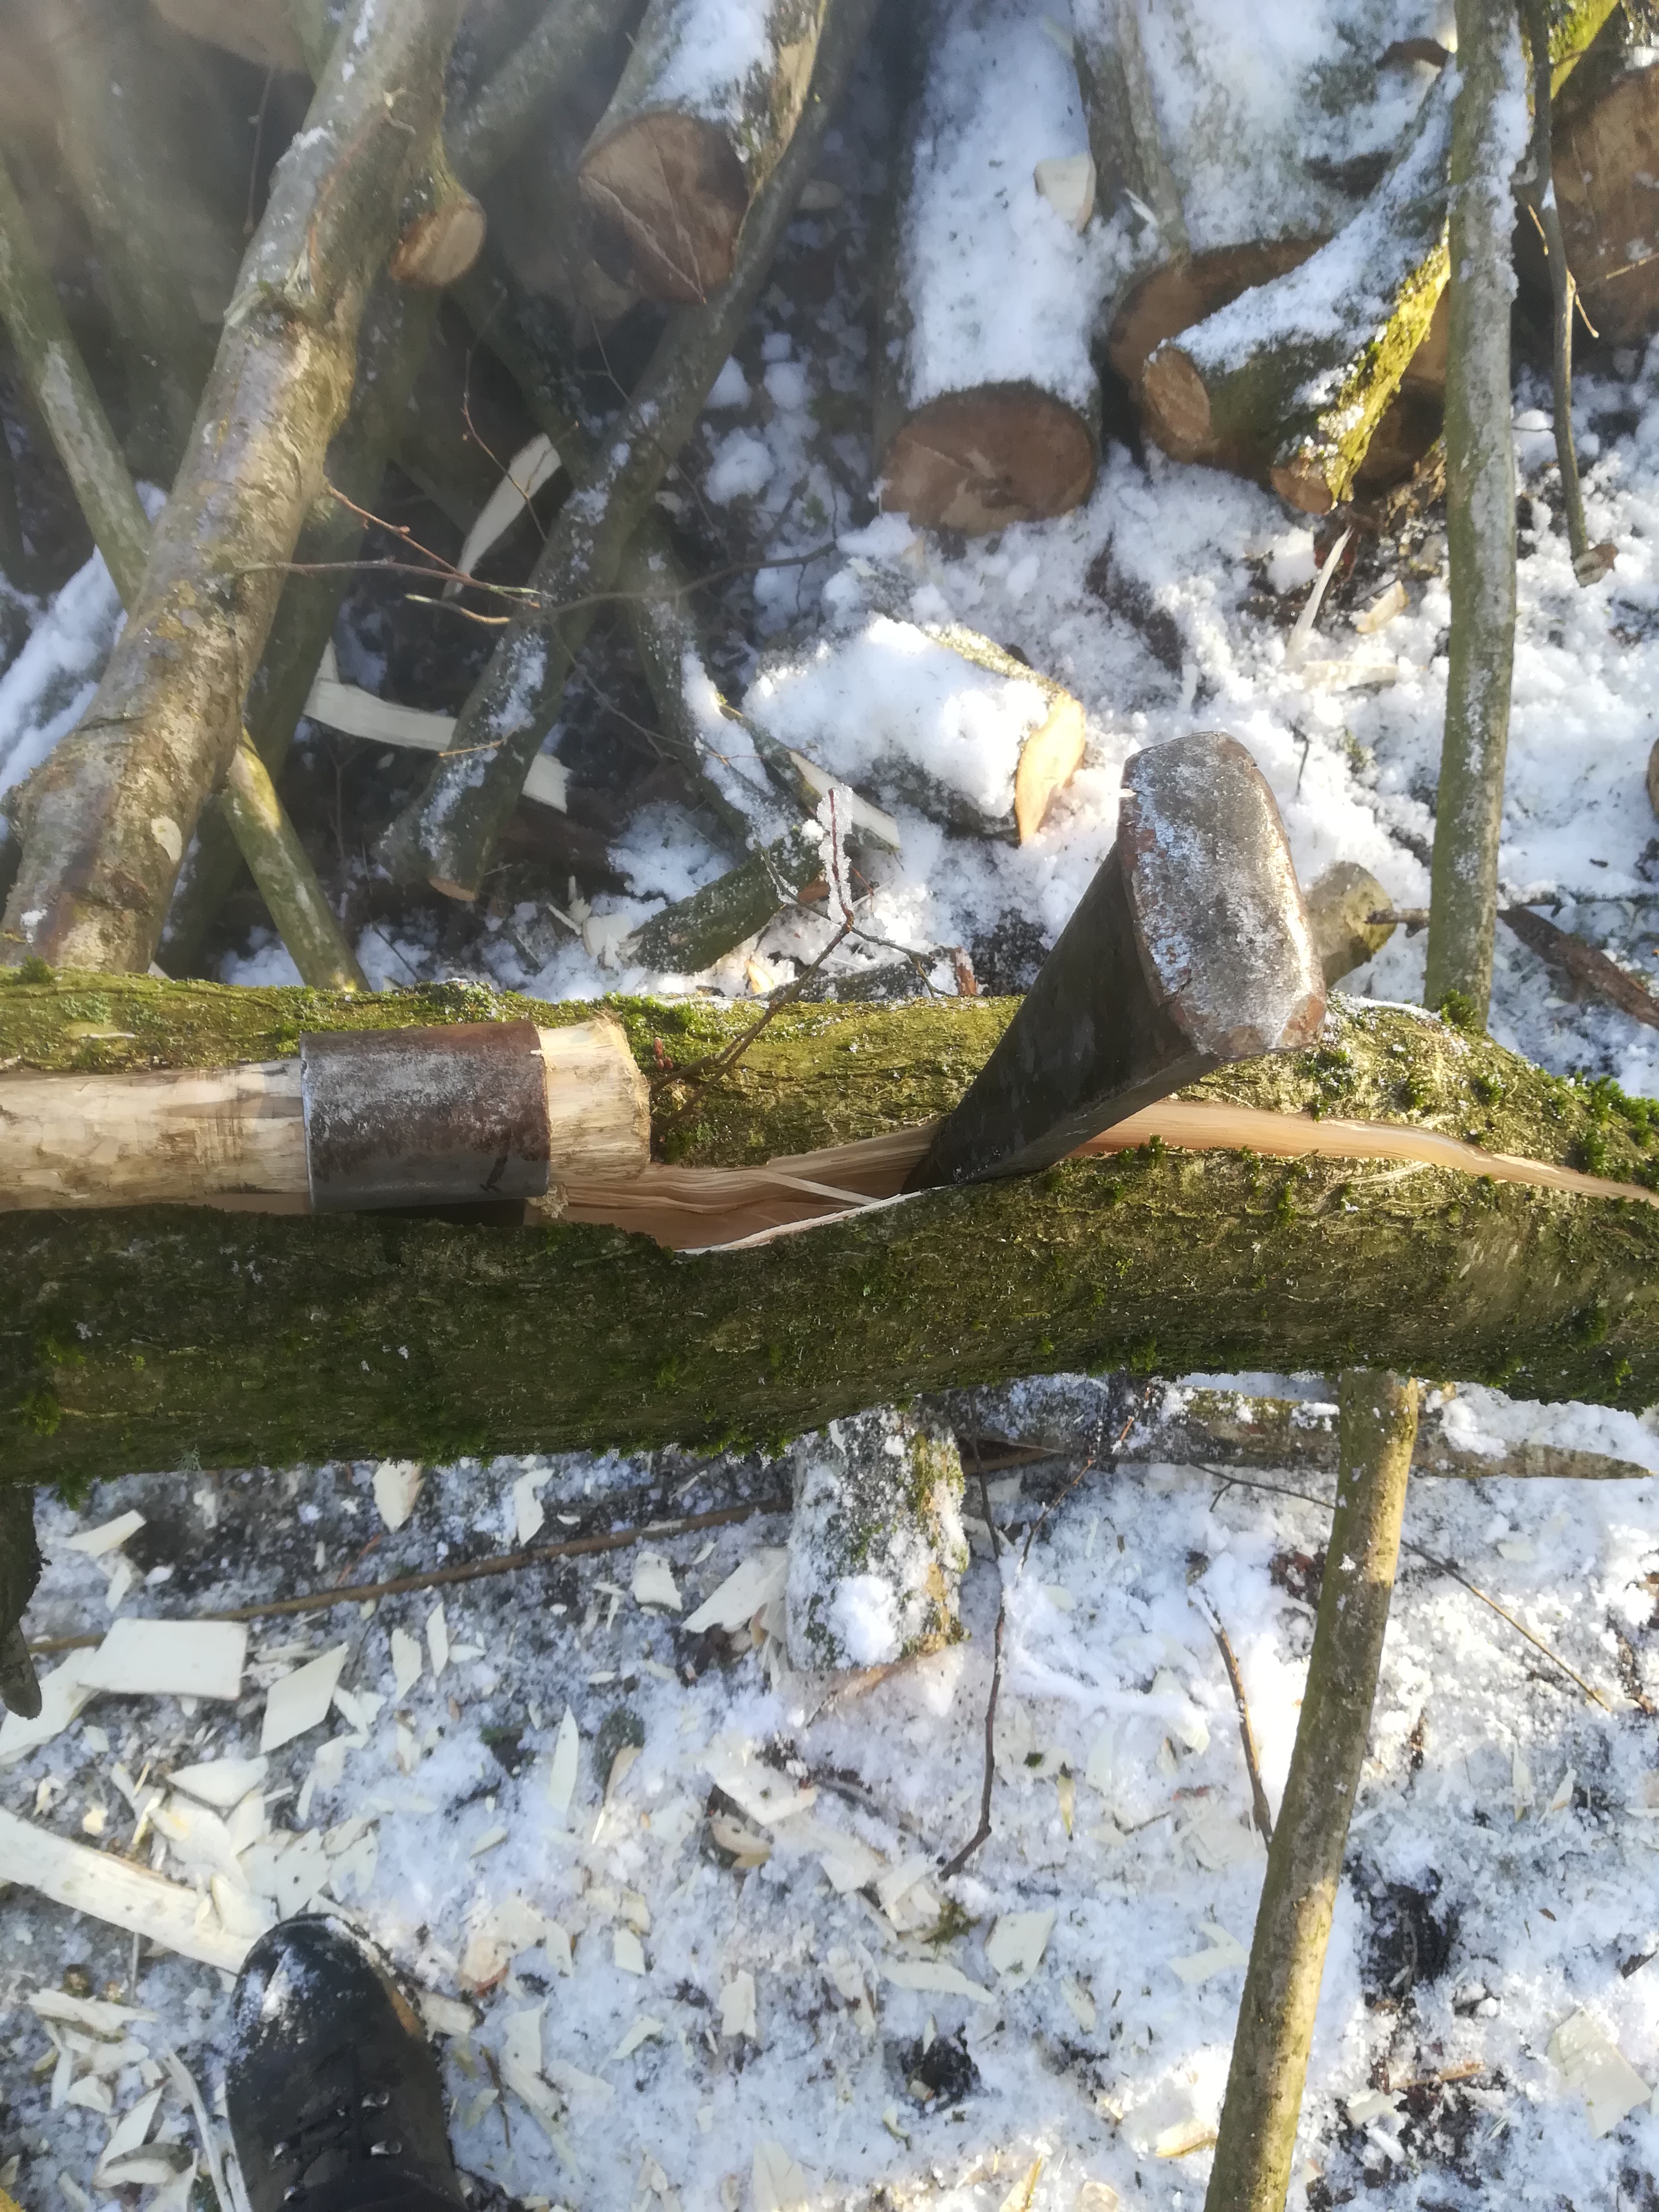
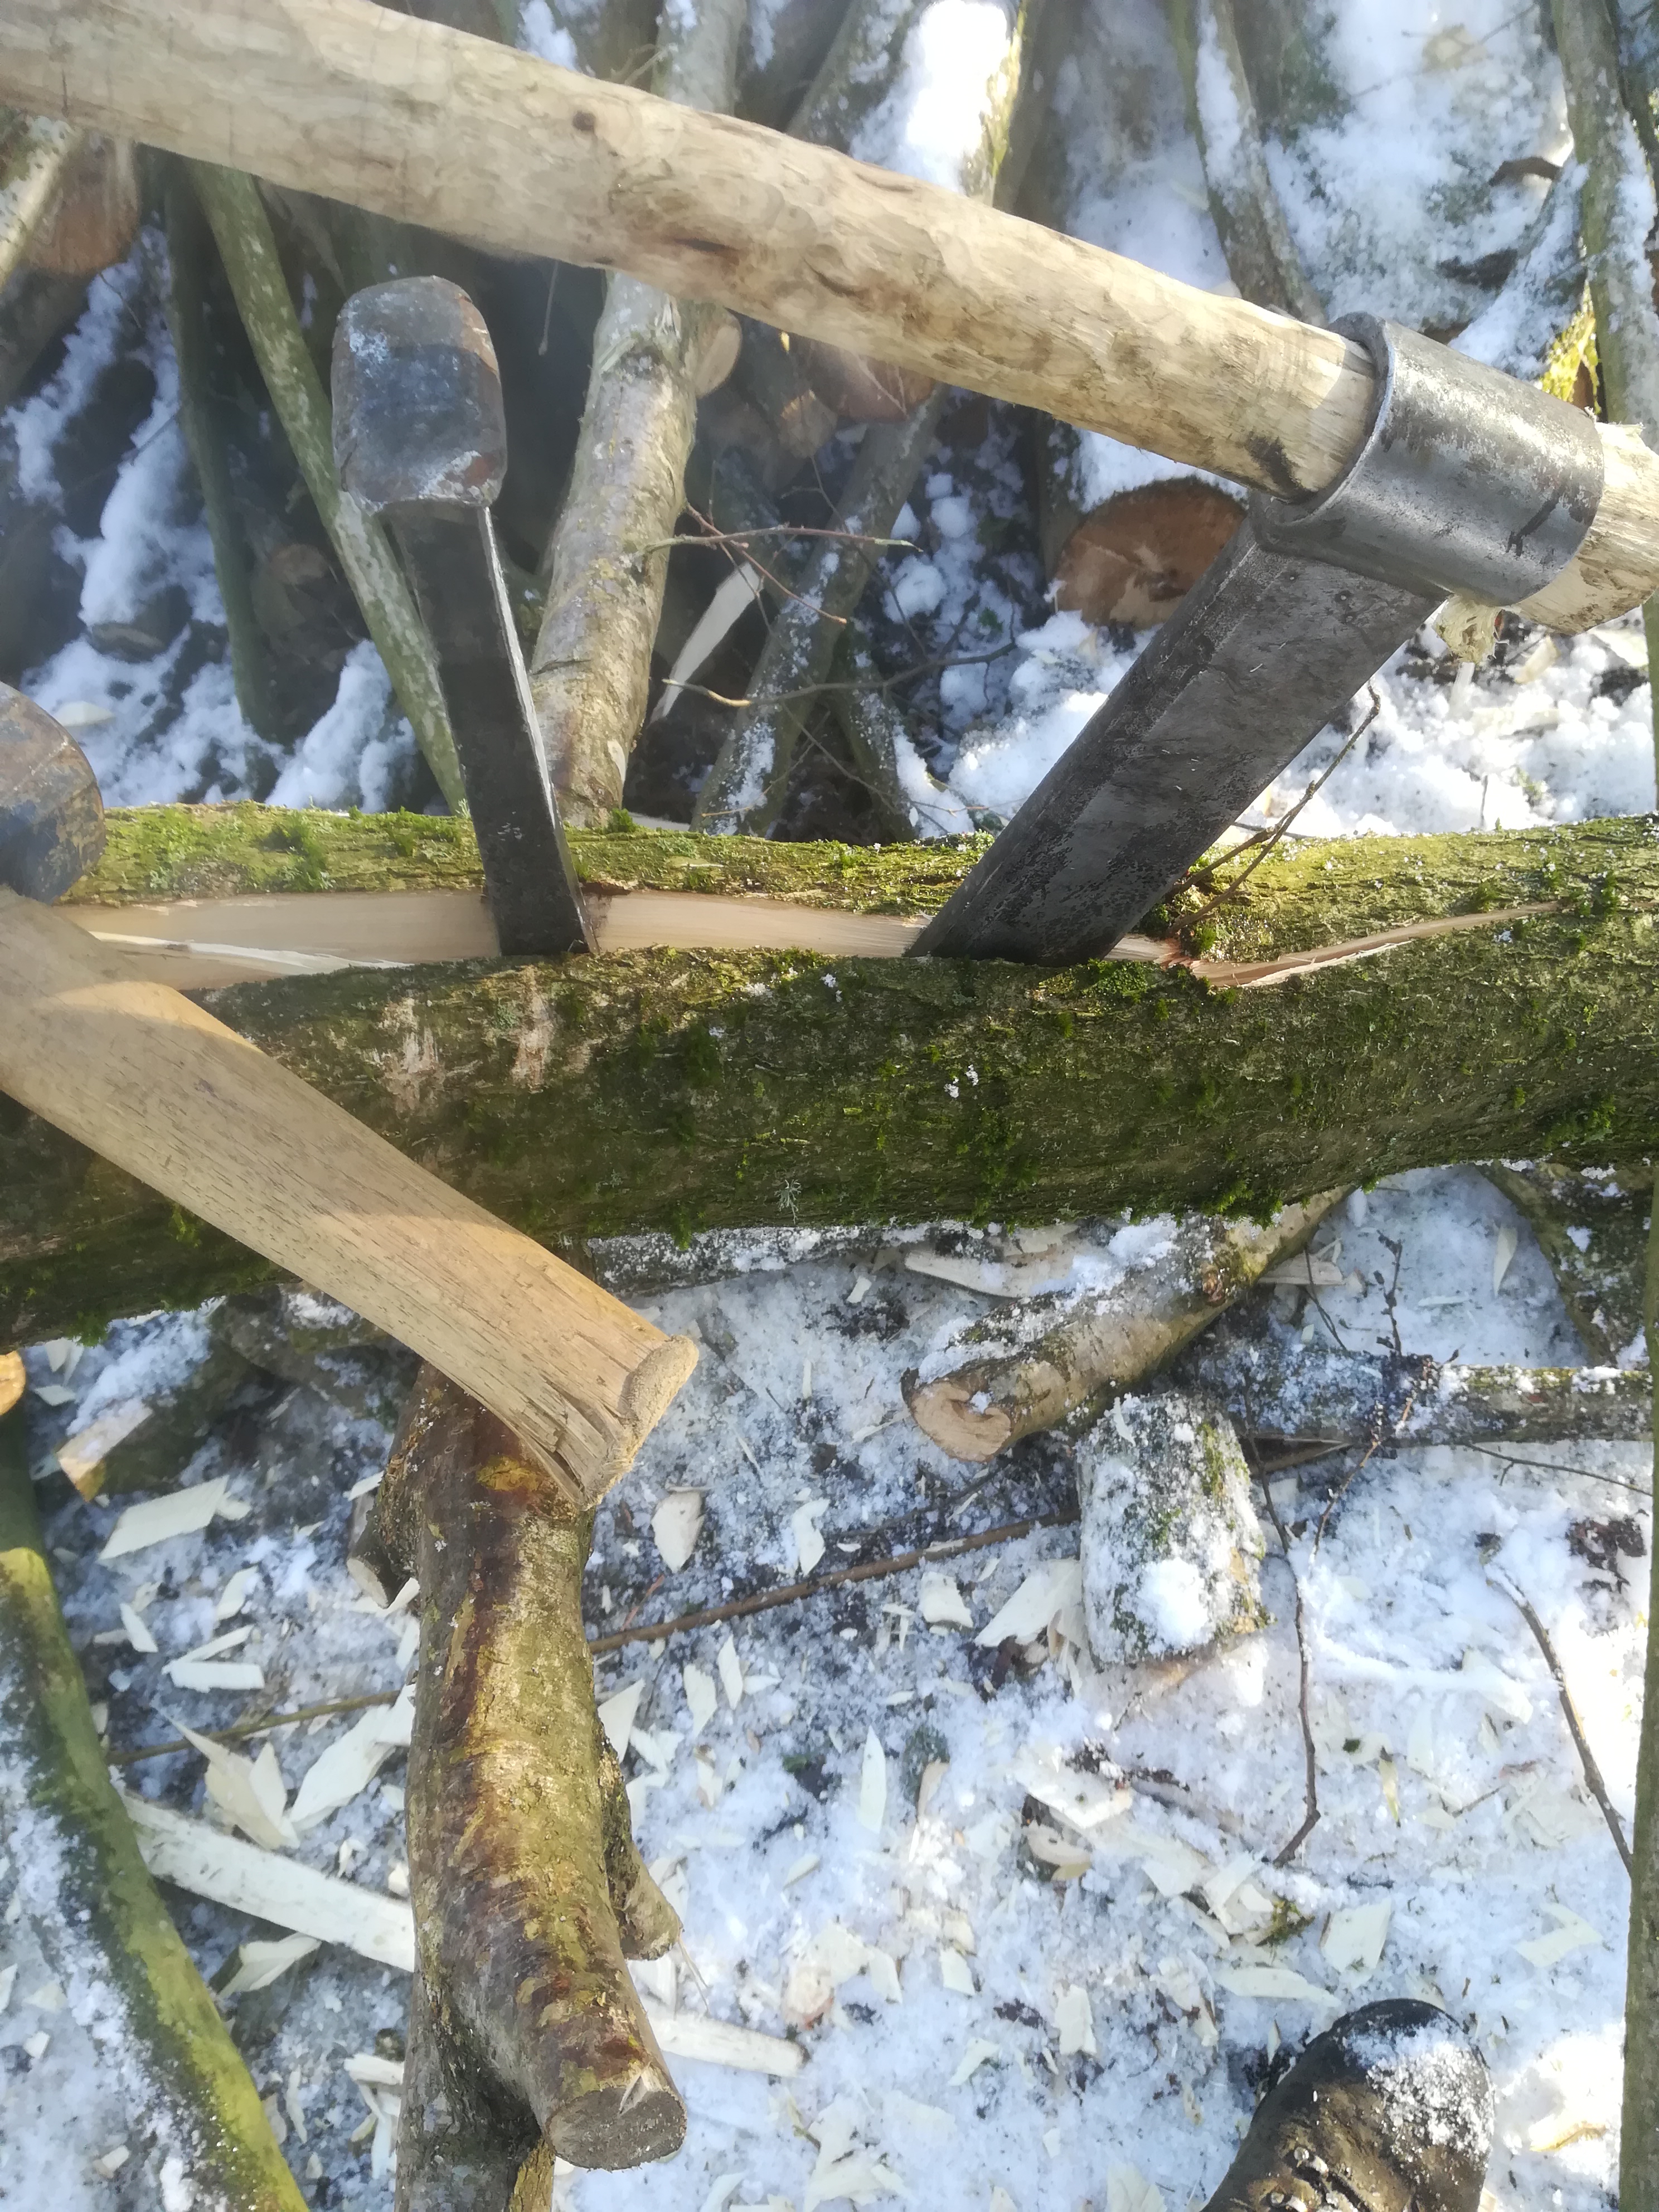
The fro can then be reinserted ahead of the wedge and it in turn used to widen and advance the split and so release the wedge and so on down the whole length. It is sometimes necessary to cut through strands that don’t split but remain tensioned across the split. You can use a saw or if there’s room get in with the bill hook. Just be careful not to hit the wedge or fro if you use the bill hook!
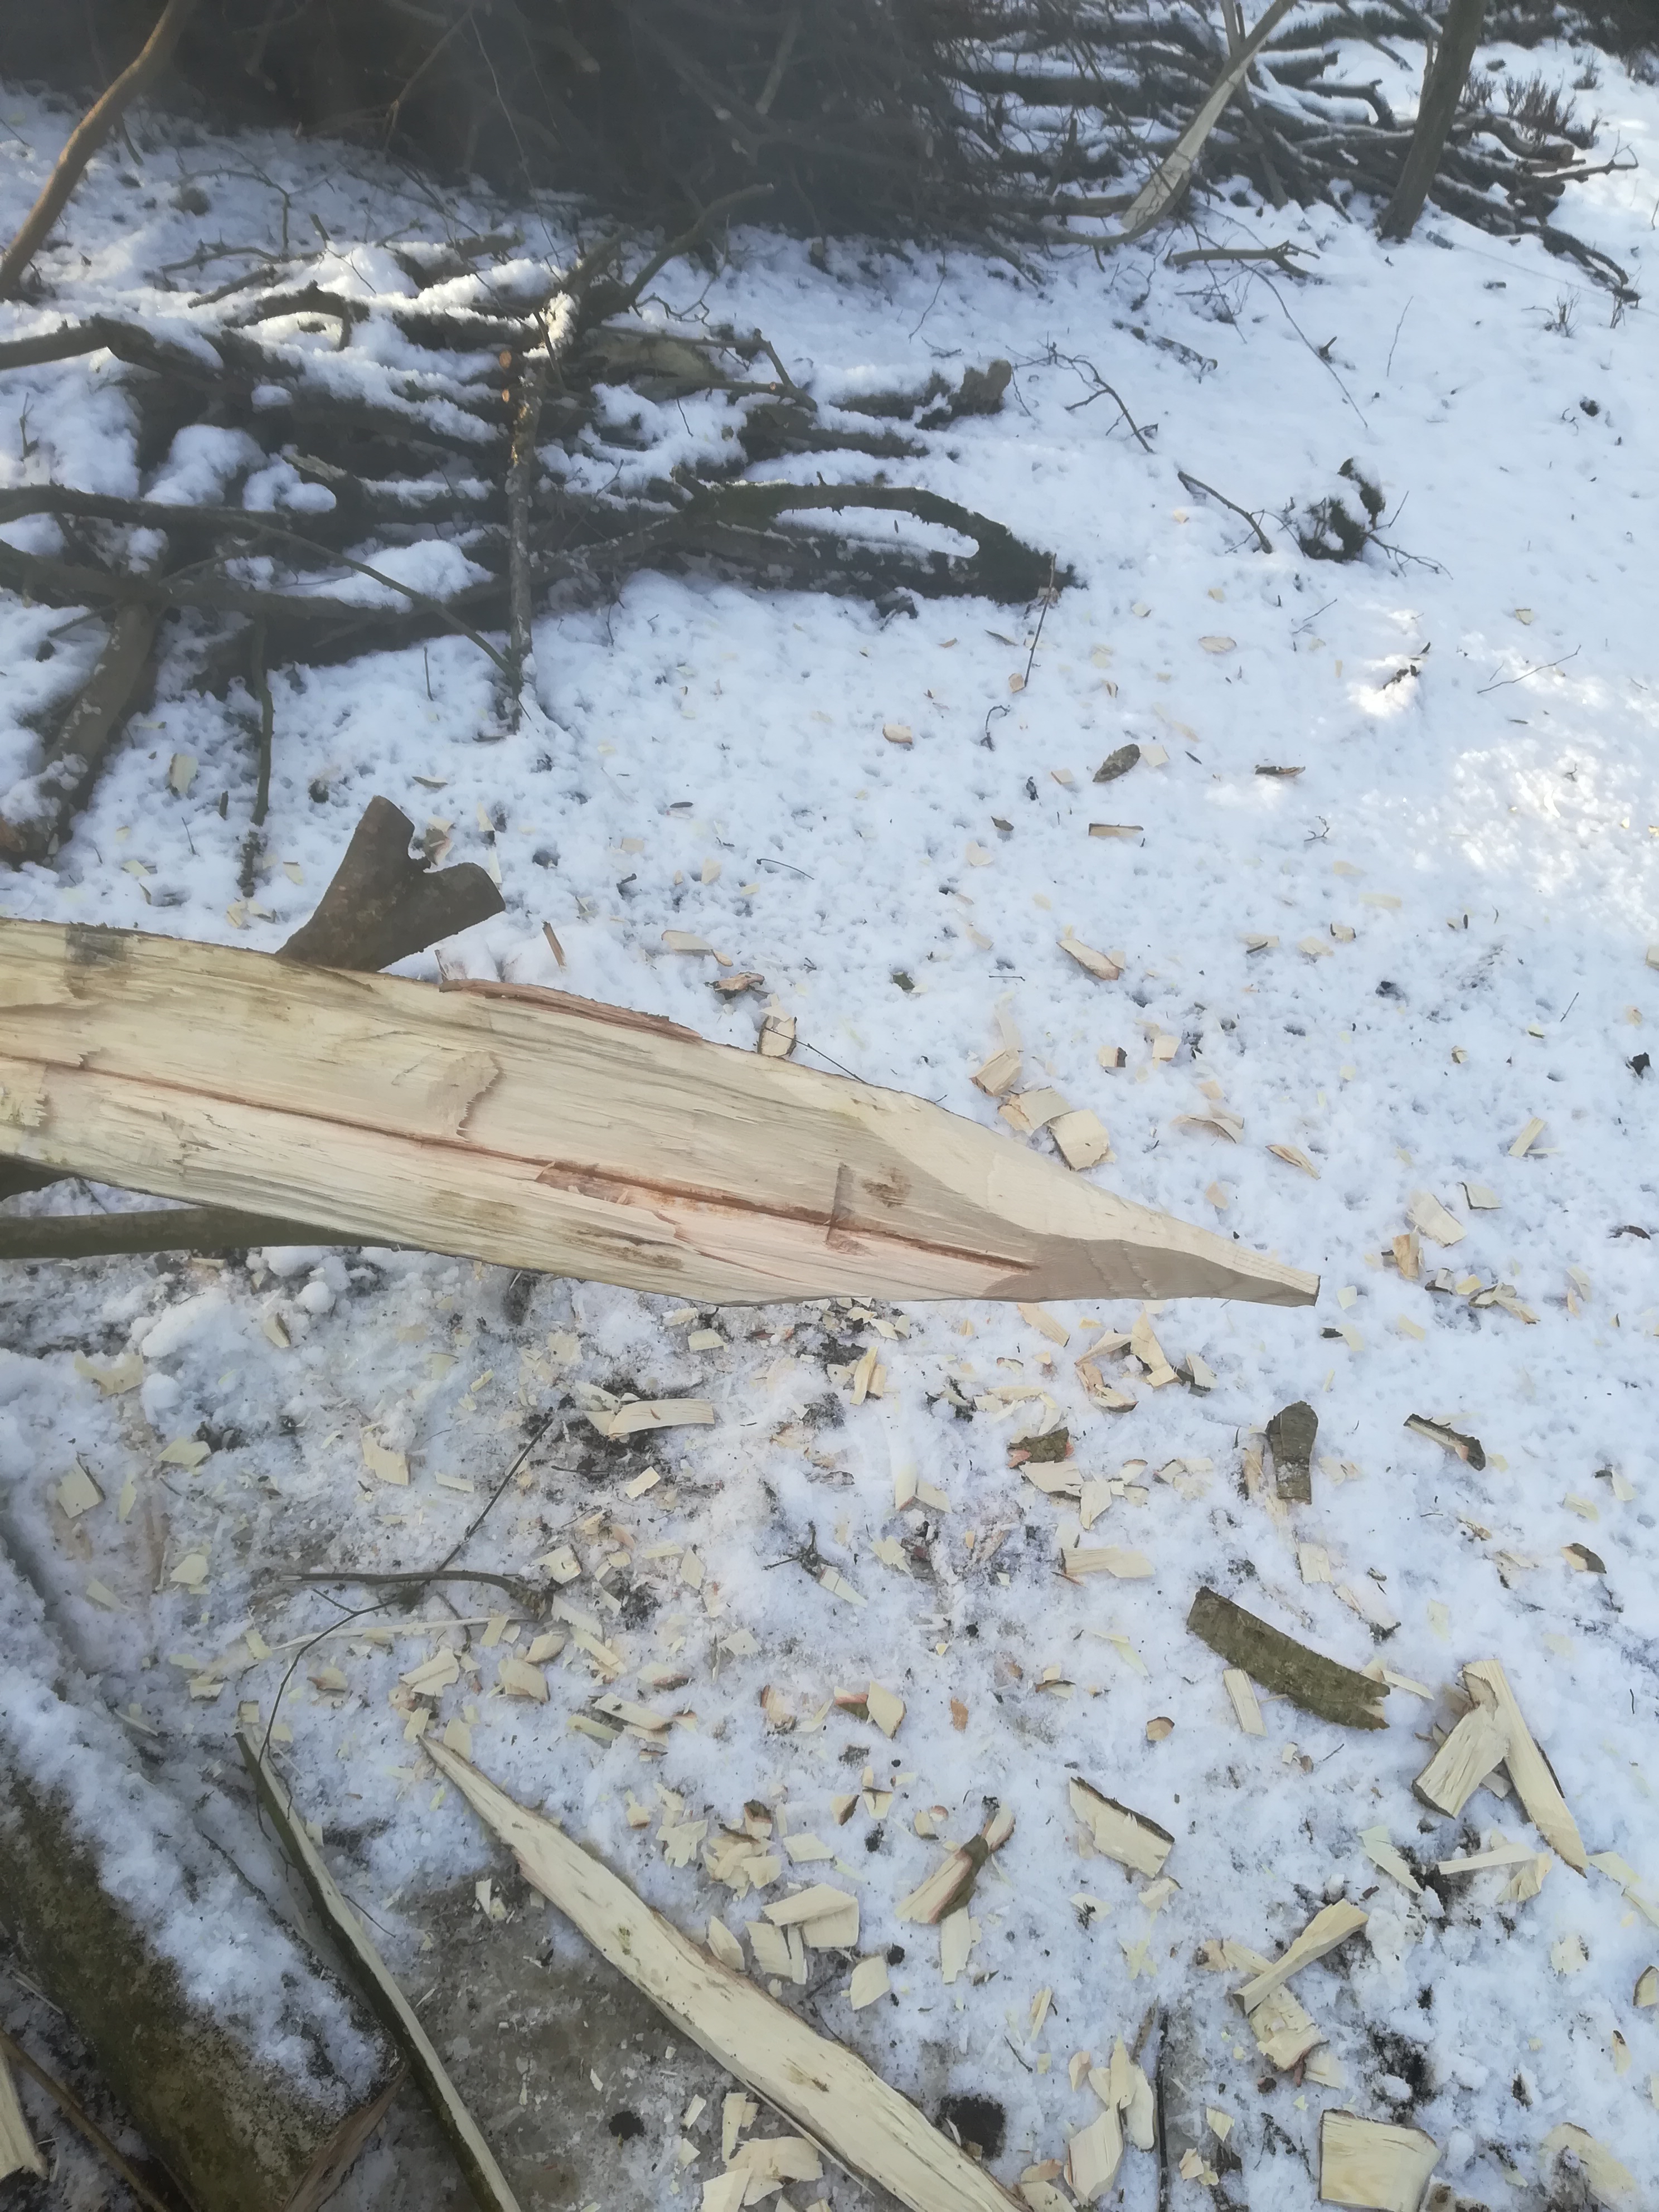
Then the bill hook can be used to put a point on the thicker end of the pole so that it can be pushed more easily into the ground.
So far so good but it is now important to check that the other end of the post fits into the post rammer. That’s the big yellow tube with handles.
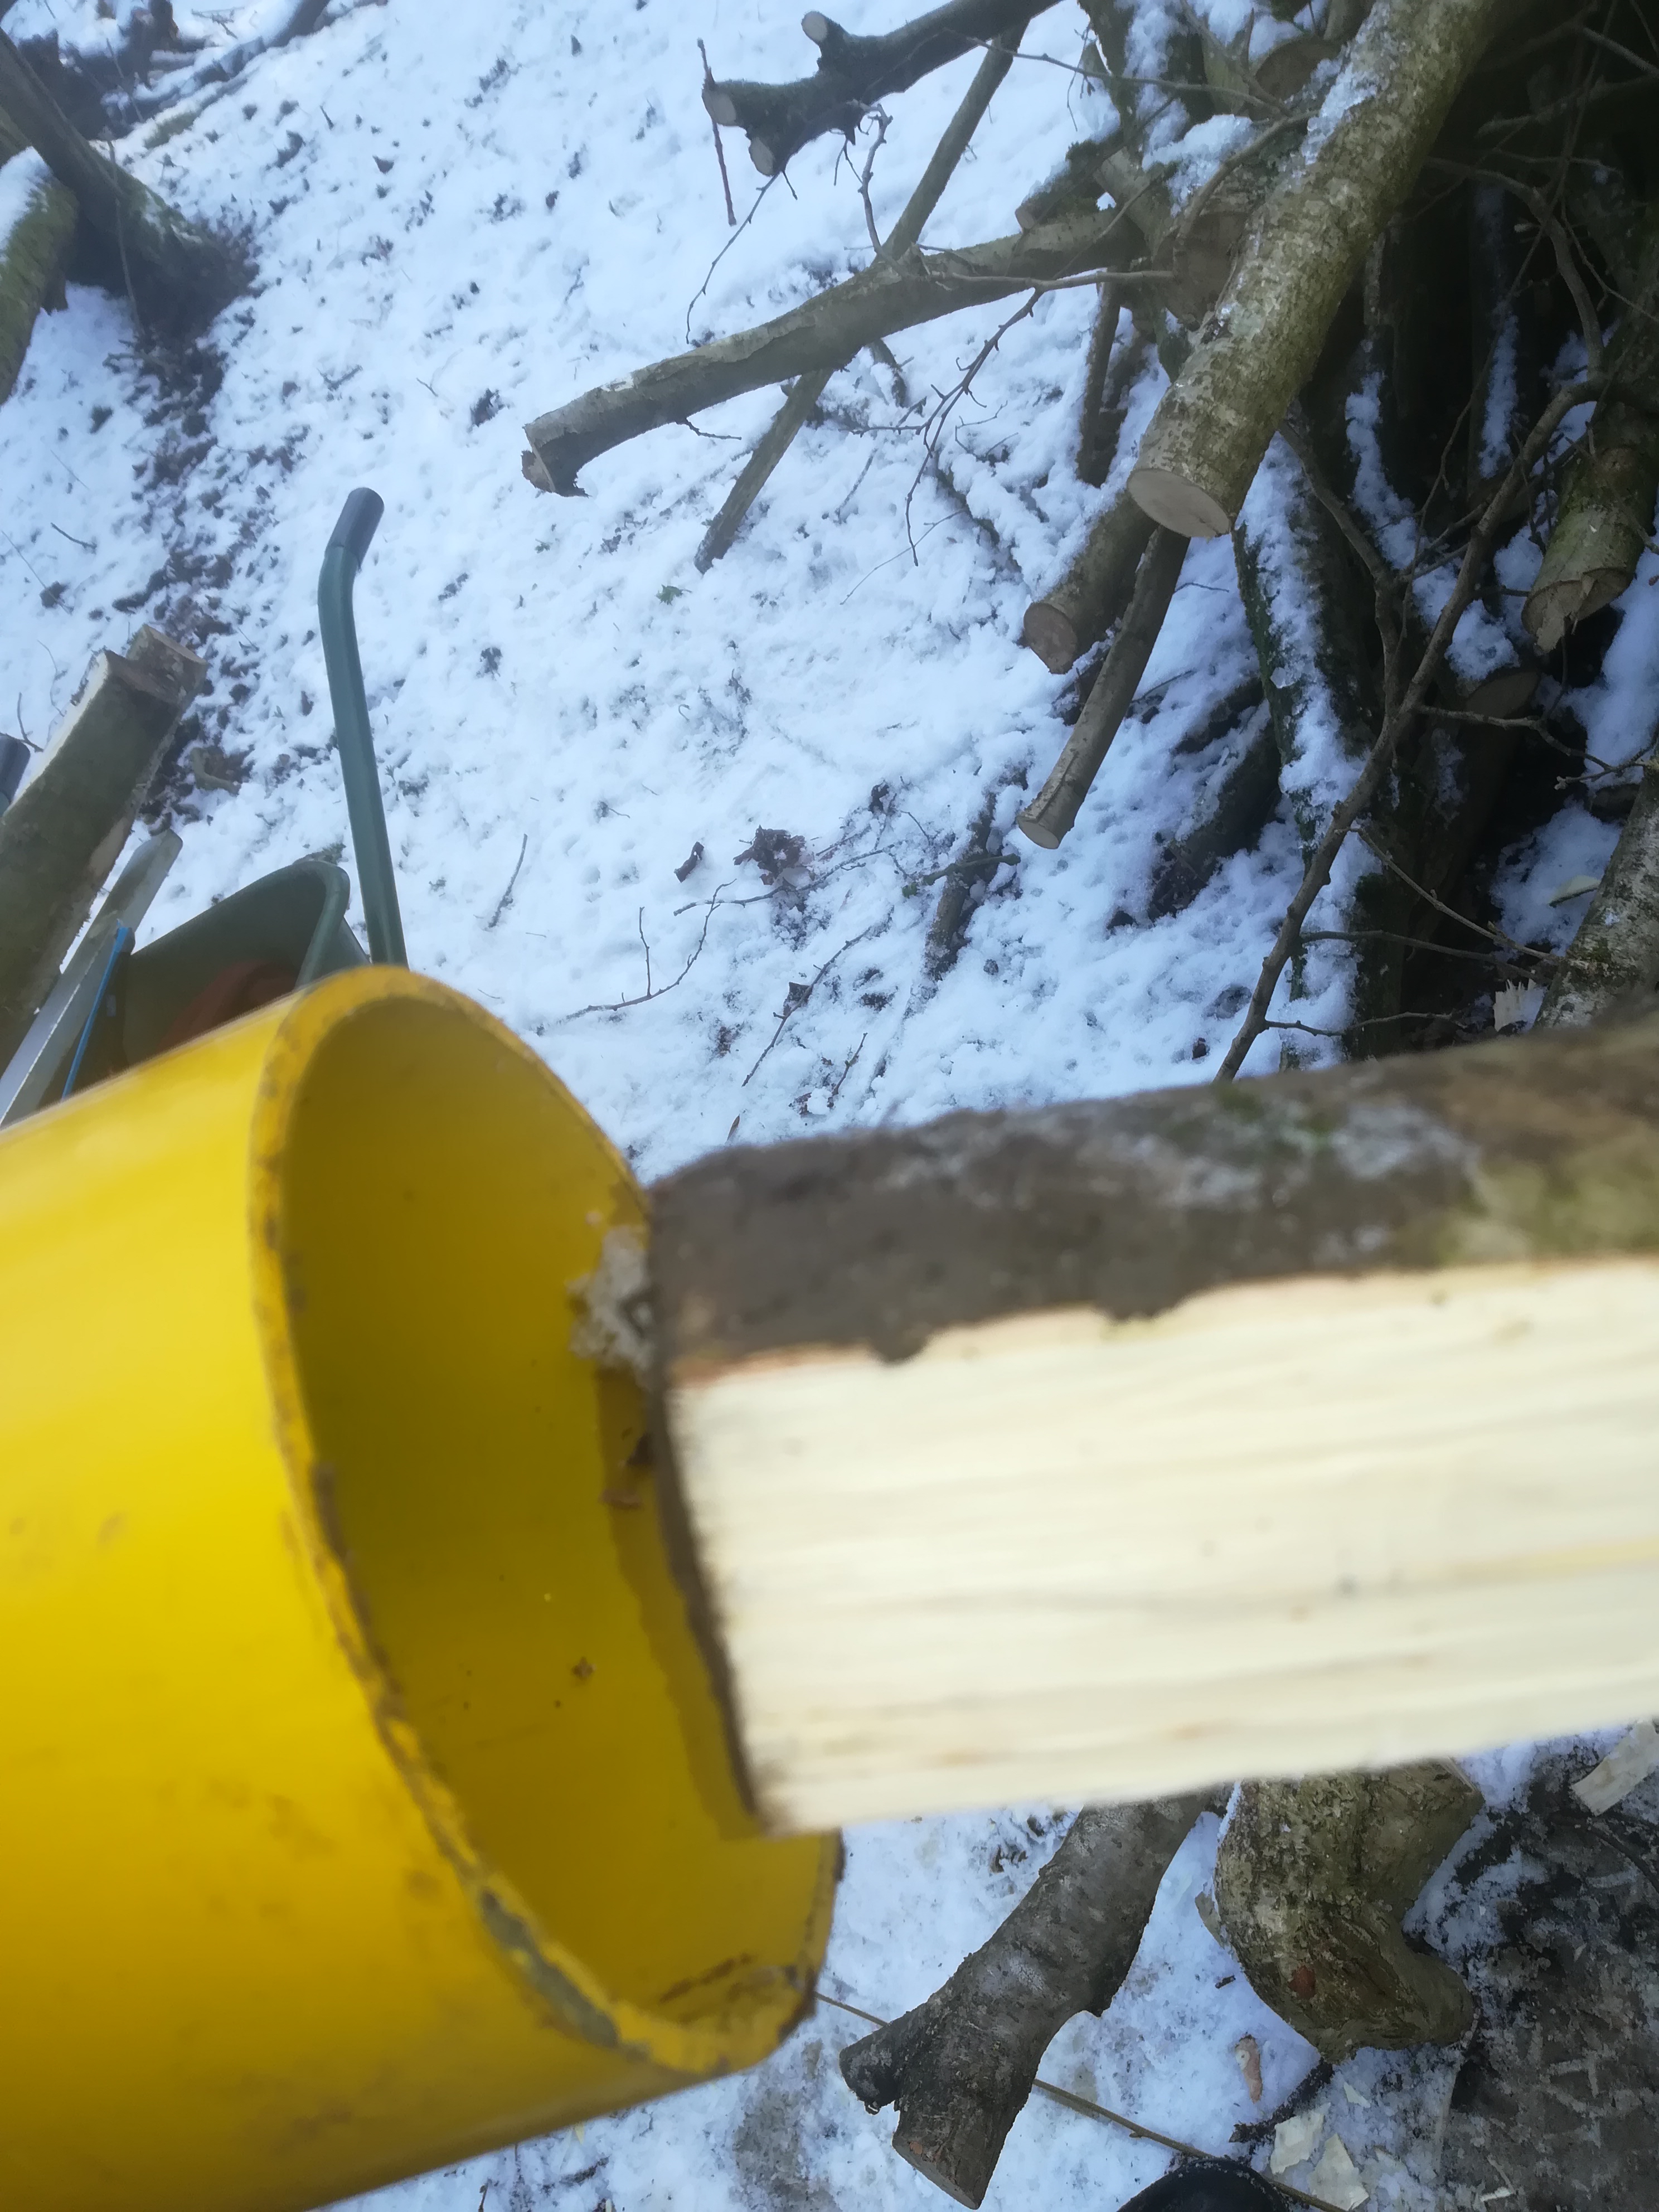
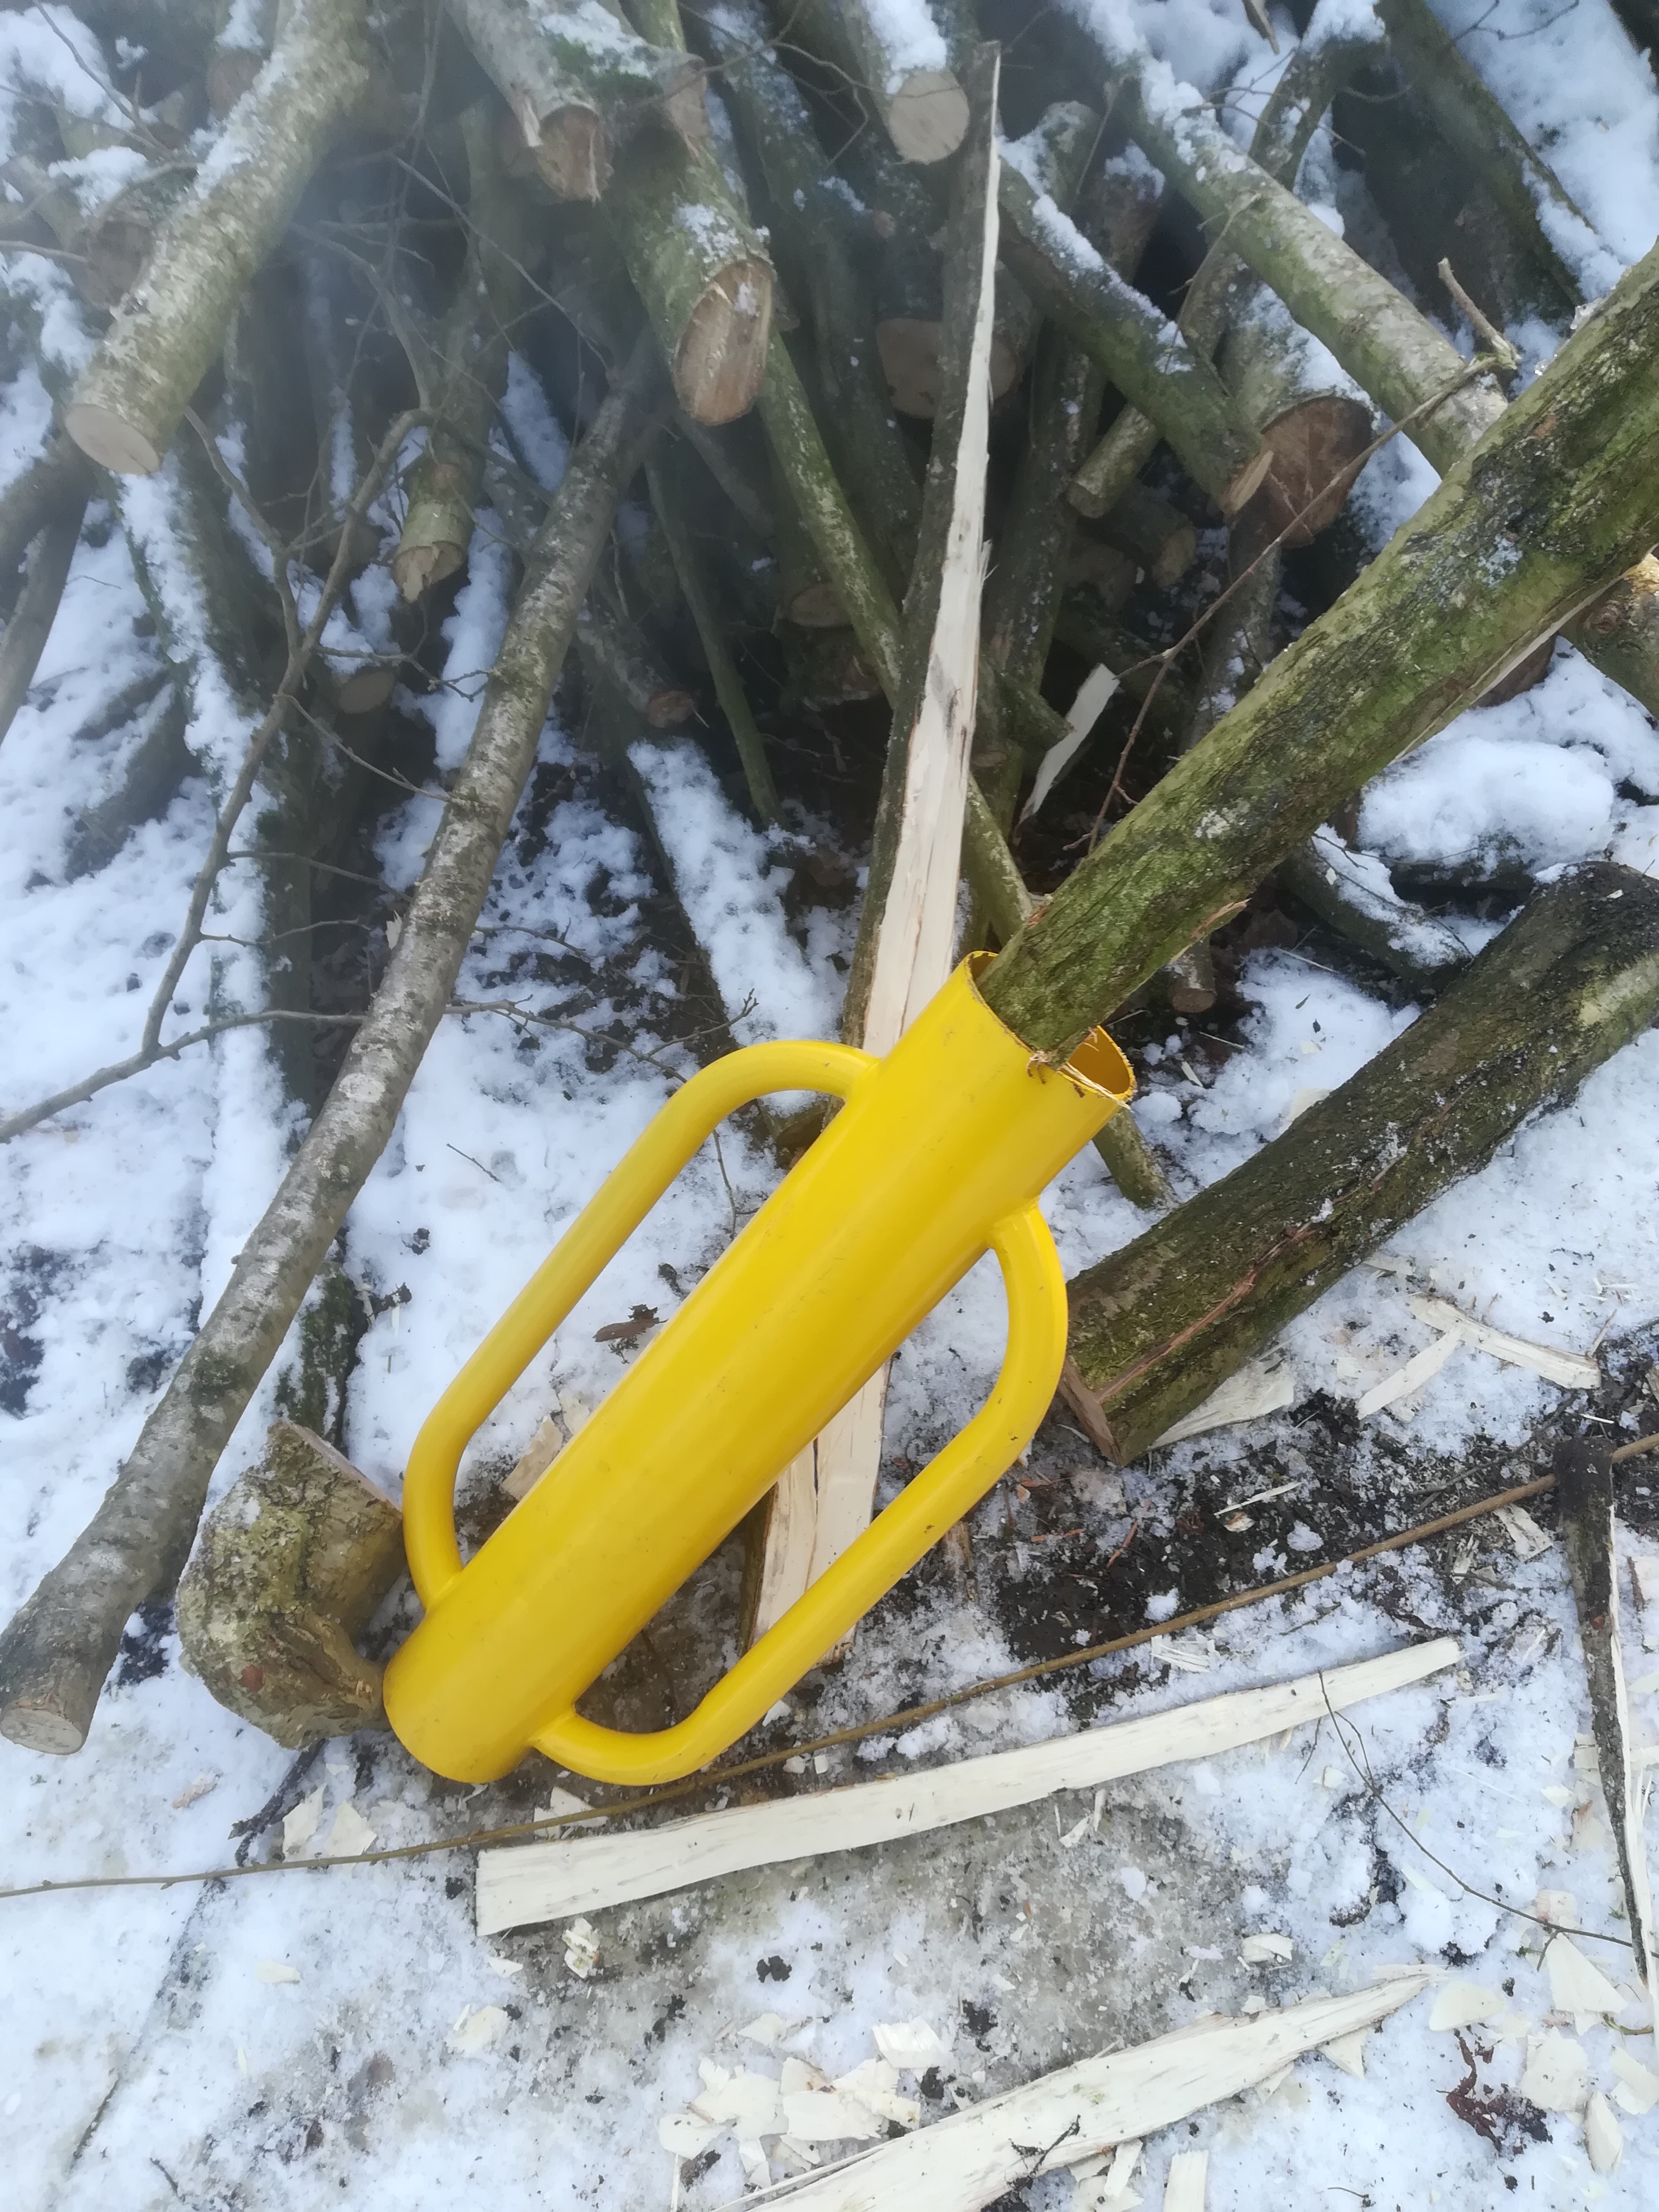
The post rammer is another of those tools that is very simple in design but make a job so much more practical and easier. I guess the alternative would be to use a sledge hammer but to be able to reach the top of the post you’d have to stand on a step ladder! Te rammers come in a couple of sizes, the one I am using is a 4″ diameter version which has enough weight to hammer the post home whilst also being practical for a one man operation.
With each post in place it is sensible every 5 or six posts to brace the post. This helps to stiffen the post and become rigid enough to act as an anchor to the wire tensioners that wind the excess fence wire and make the wire taut. more on these little devices next time.
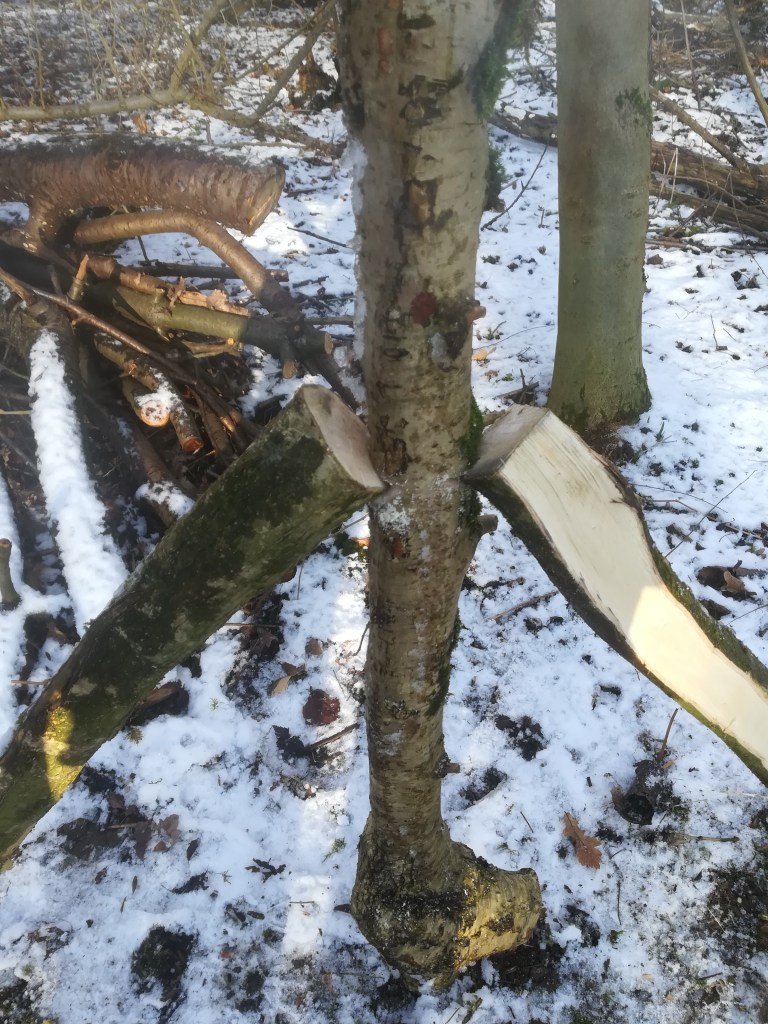
The slanting supports are cut to about 2/3 of the length of the post but prepared in exactly the same way. These are then banged in at an angle adjacent to the post. The support is offered up to the main post and where they touch I cut a slot in the main post just below that point and cut out a wedge. The support is then forced down into that notch and the same process completed on the other side. It is amazing how much rigidity that this creates and all without any nails or screws.
When all the posts are up,and that includes a doorway to allow periodic access, I will start on stringing up the three wires (top, bottom and middle heights off the ground) that run between each of the posts. the deer proof netting is tied to these wires.
Now lets get inside and warm my fingers up.
More next time……………
