The weather has been great this last couple of weeks, lovely bright sunny starts and dry and warm (12+C). Just a real joy to spend the day in the wood, working away with the bird song and the brighter light levels. Also the luxury of being able to sit out at lunch time in just a fleece top without having to put hat and scarf back on just to keep warm.
With the deer proof fencing in place (more on that later) it was time to get the hazel whips planted. I had ordered 300 bare rooted whips and they arrived back at the end of January. In order to stop these young plants from drying out I had dug them in within a small enclosure at the top of the wood. They arrive tied in bundles of 25 plants and so it was simply a matter of digging them out and putting them in a plastic bag and carrying them down to the coppice. It is really important that the tiny hair like roots don’t dry out during the handling process. These are the roots that will do all the work once the pant is in the ground, getting it quickly established and allowing the whip to grow away.
I wasn’t too anxious about having the coppice arithmetically accurate but did set out a couple of planting lines so that we could ensure that the spacing was roughly even across the width and that the spacing between each row was roughly even as well. The aim was to have roughly 4′ – 5′ between each plant.

lines for spacing 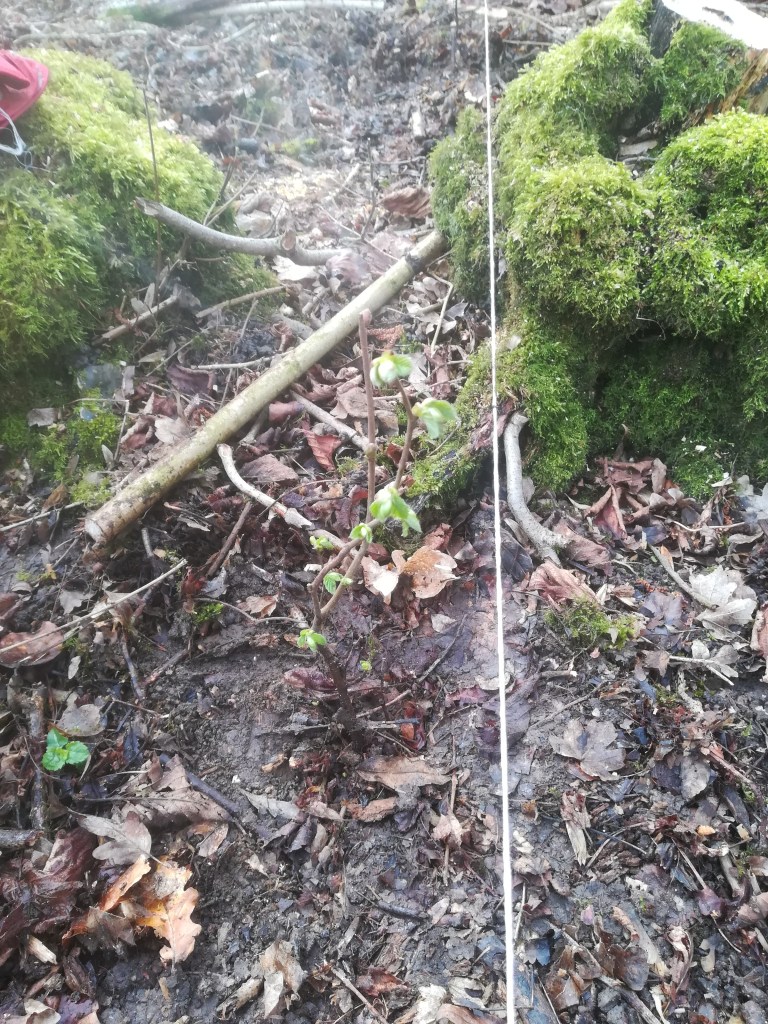
tiny hazel whip planted and ready to flourish
I bought a product called Rootgrow. The main ingredient is a mycorrhizal fungi, this is an organism that co-exist naturally and beneficially with the roots of nearly all plants and trees. These fungi help the bareroots establish, they are a thread-like fungus that dramatically increases the ability of roots to absorb essential nutrients from the soil and in return, the growing roots provide the perfect environment for the fungi to thrive. Well that’s what it said on the packet so we’ll see what happens.
Mrs Burr and I managed to plant 175 plants in a day and a half which given that the soil was very compacted clay, flinty and just plain hard work was good going. I hope that the ground has retained enough moisture to allow the young plants to get through this spell of dry weather. I don’t have a water supply in the wood and so watering them is impractical.
Having got the new plants in I have concentrated on finishing off layering those existing stools that looked healthy enough and now we are all set to watch as the coppice once more comes to life.
The rest of the week has been spent finishing off the fence by putting a roll of 3′ chicken wire around the bottom of the deer proof fencing . this should help prevent badgers and muntjac from burrowing under. I left and overlap of about 6″ at the bottom of the fence so that it could be pegged down. The pegs were made from parts of the cherry trees that I cut down earlier. Cherry very conveniently branches out along its limbs and has quite pronounce forks which when cut to shape act as perfect pegs. Simply whittle point onto one end and bang them in.
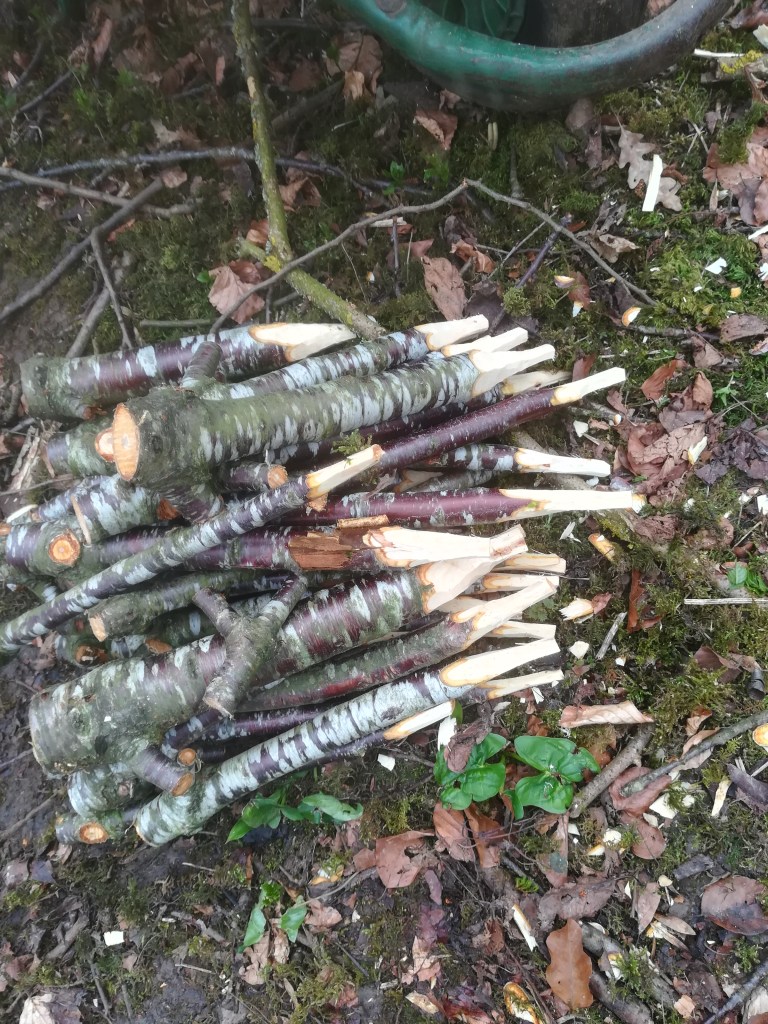
lots of pegs ready for use 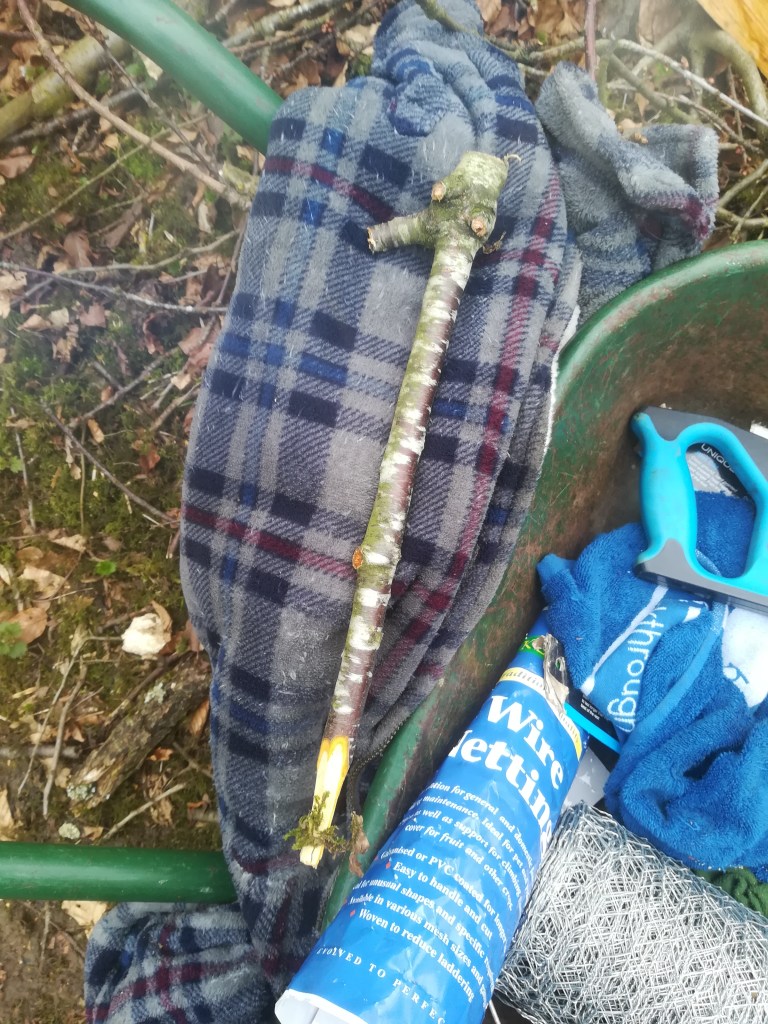
Single cherry peg
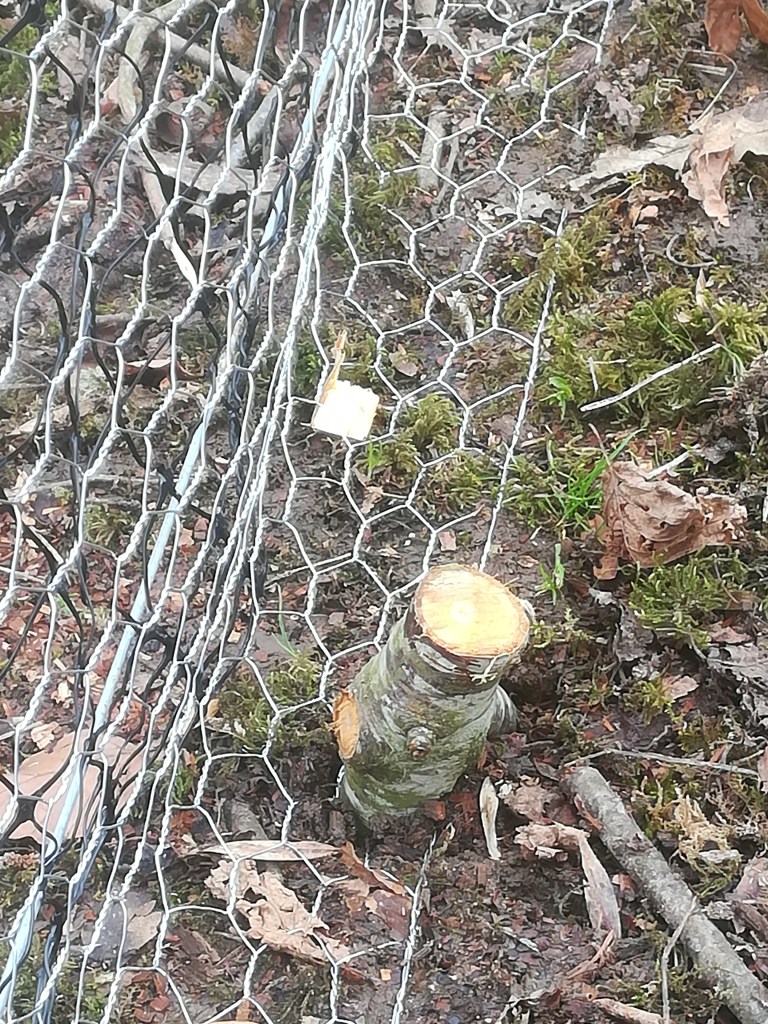
cherry pegs banged in to secure bottom of fence 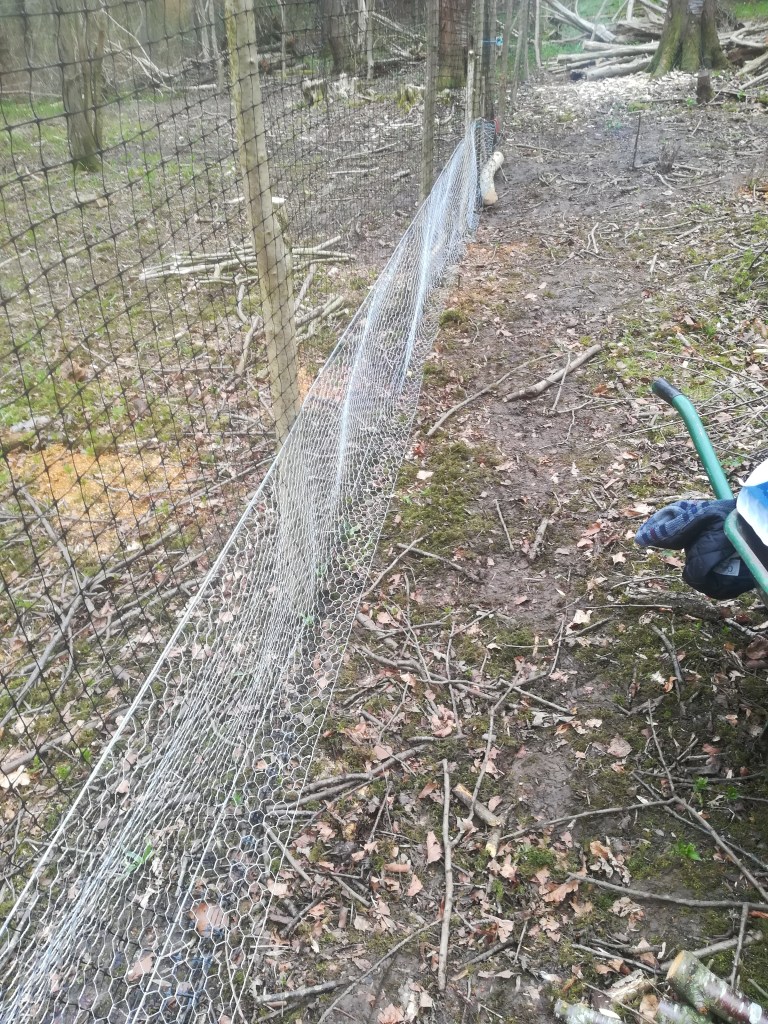
Fence showing overlap at the ground
I noticed another, different sort of fungus, this time on a cherry plum tree. It is a hard white mass that appears in single spots/blobs and also appears to establish itself along splits in the bark.

single blob fungus 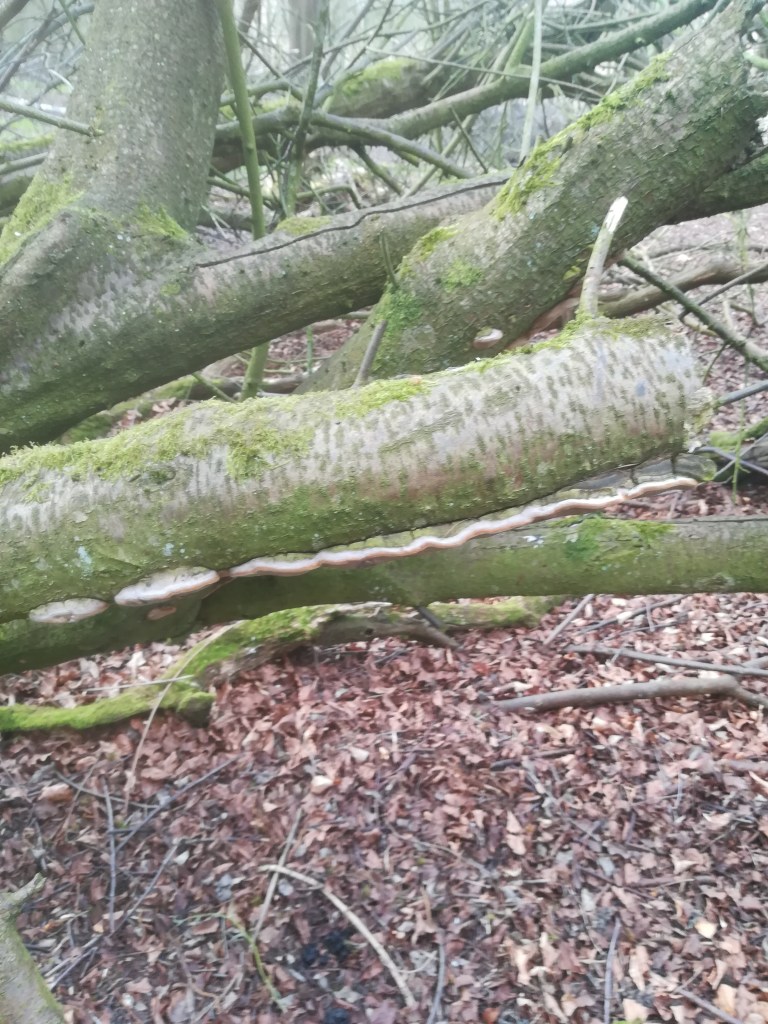
line of fungus along split
No idea what this is but as can be seen through the Rootgrow claims, fungal growth is not all bad. Some of the fungus growths are genuinely symbiotic and can benefit both fungus and plant.
More next time…………….
