Our memories seem to be very selective, some details or facts can be half read/noticed and blow me they seem to be remembered; others can be pored over and despite a conscious effort to commit them to memory they simply refuse to become lodged. I have a hopeless memory for wild flowers, no matter how often I am made aware of their names I seem to be unable to retain the information.
The other learning point was that it is much more difficult than it looks to take a good picture of a flower. Simple “point and press” techniques are hopelessly inadequate. To capture the true colours, the context ie scale and also the texture of the plants is quite an art. Hats off to those that do it well.
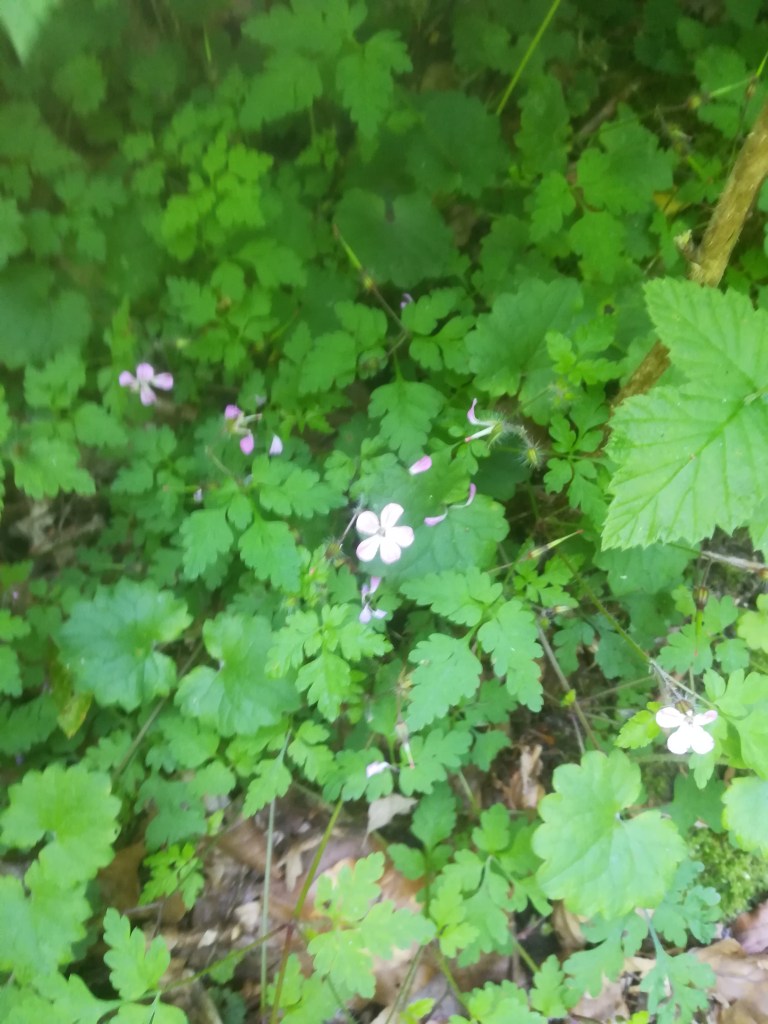
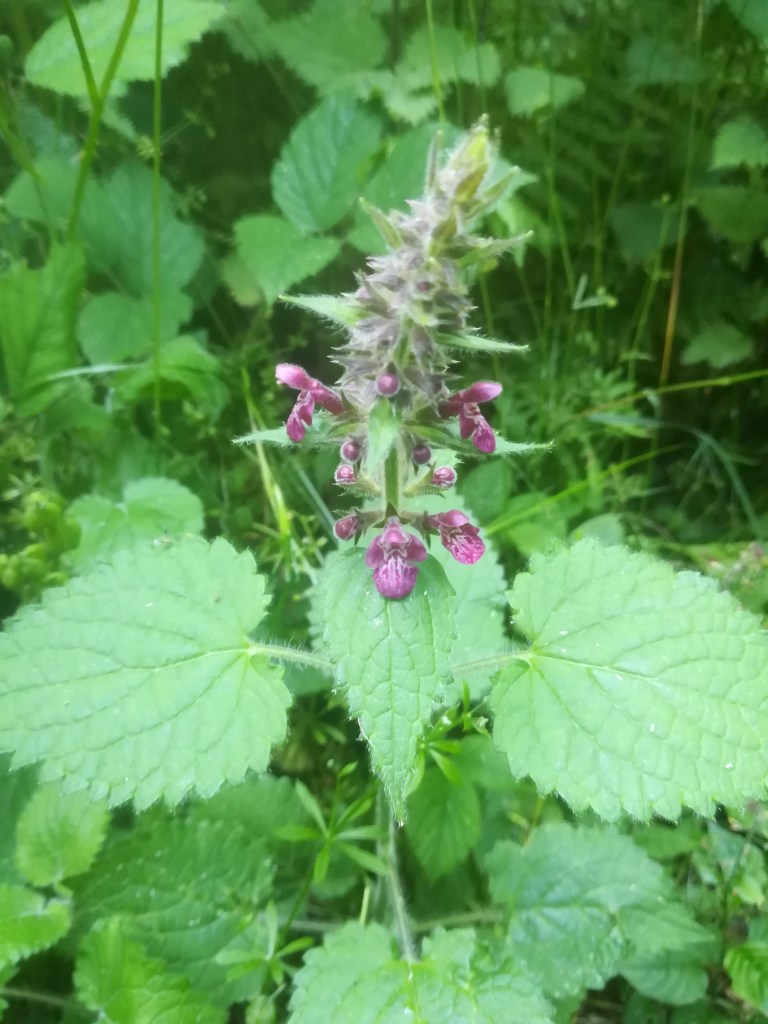
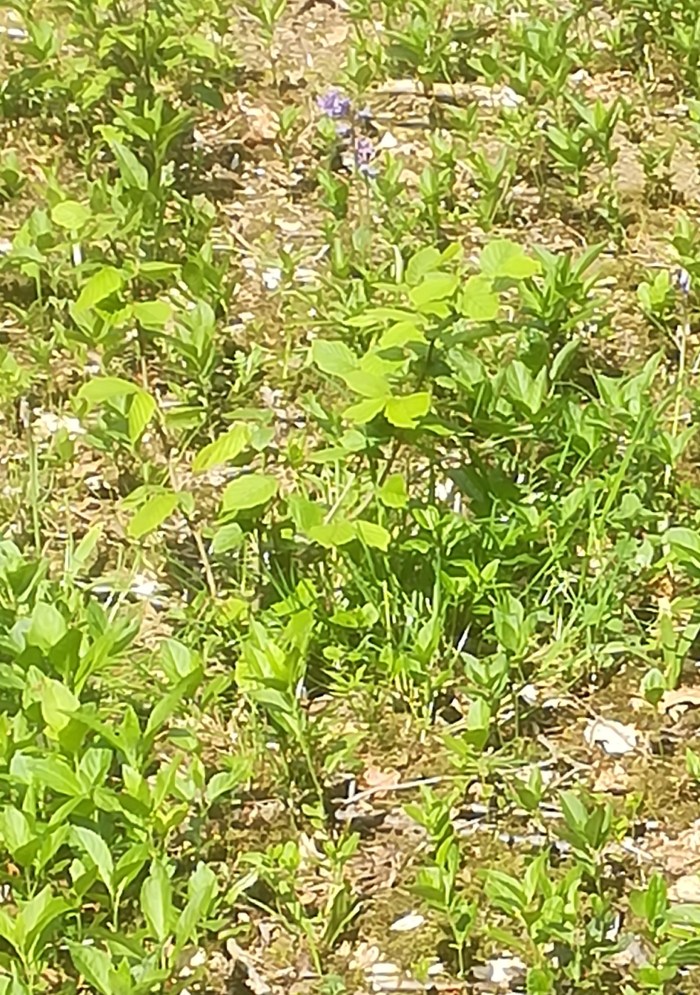
Here is a selection of the wild flowers that I stumbled on and photographed very badly during a walkaround the wood earlier this week and a deal of time spent looking them up in the wild flower book.
Herb-Robert
Germander Speedwell
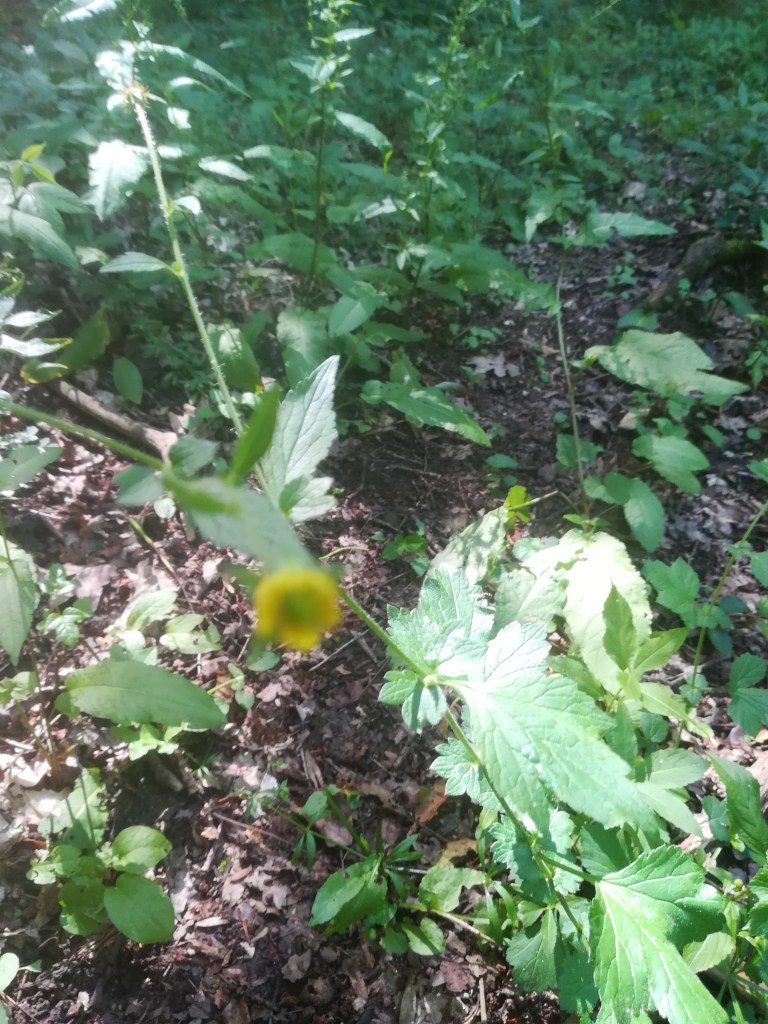
Wood Avens
Red Dead-Nettle
There are masses of others that I walked straight past unaware of their presence. I will make a better attempt at capturing their beauty and mysterious names another time.
In order to extend the shelter that houses the sawn wood it seemed a bit odd to be going out to buy some timber rather than use the stuff growing all around.
Anyway what could be more fitting for a felled tree but to be used to protect further timber, how very appropriate.
I had noticed a few fallen scots pine throughout the plantation section of the wood so inspected them for suitability. Unfortunately the softwood timber very rapidly deteriorates if left dead on the ground and none of the sections I looked at were suitable.
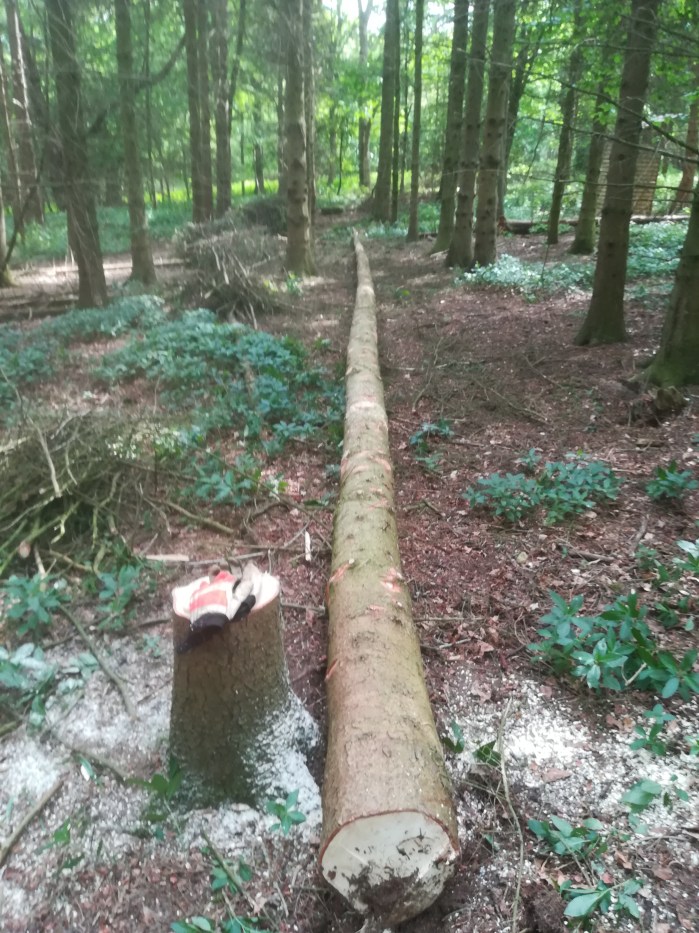
I then moved my search a bit closer to the container and spotted a tall scots pine with enough space around it for it to be felled relatively cleanly. There were a couple of ash struggling to get enough light so the removal of this particular tree will open up the canopy a little for them.
The actual cutting of the tree went well with the tree falling in the planned direction which is always a huge relief. However the area at the canopy level was a lot more congested than I had assumed and the tree hung up on some neighbouring branches. In actual fact the tree hadn’t fallen sufficiently to fully break the felling hinge so was well and truly stuck.
The first job then was to weaken the hinge by carefully sawing out the centre leaving two section at the edge for it to pivot on and hopefully break. the next job was to rig up the Tirfor winch and pull the tree off its stump and into the ground. Video below.
Winching the tree free from the stump, breaking the felling hinge
Once the tree was free from the stump the next job was to set up the winch to pull the base along and clear the tangled branches from the canopy and allow it to fall to the ground.
Base being pulled to clear it from the canopy above
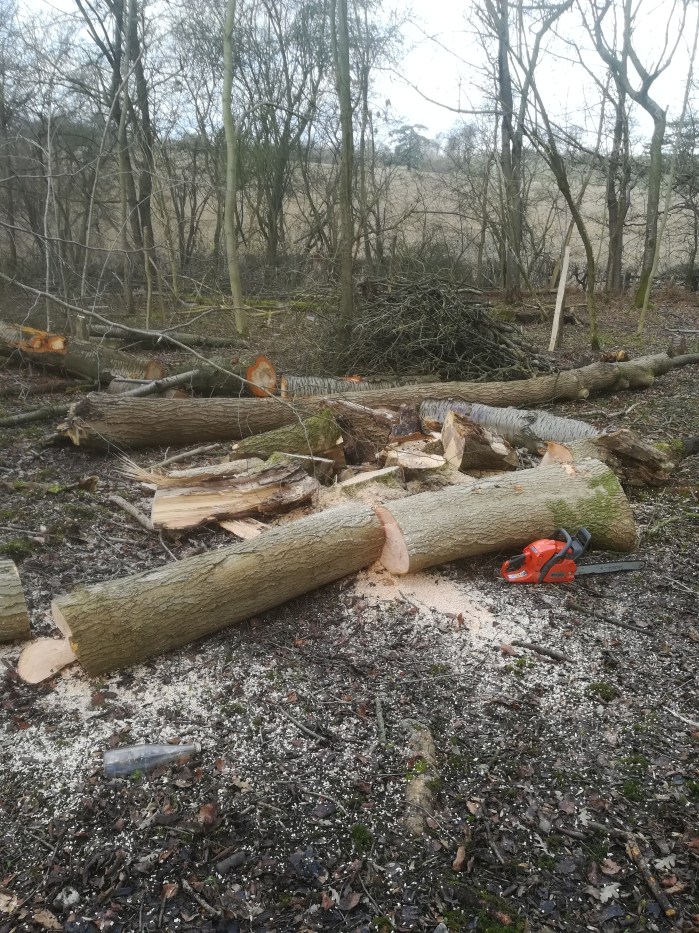
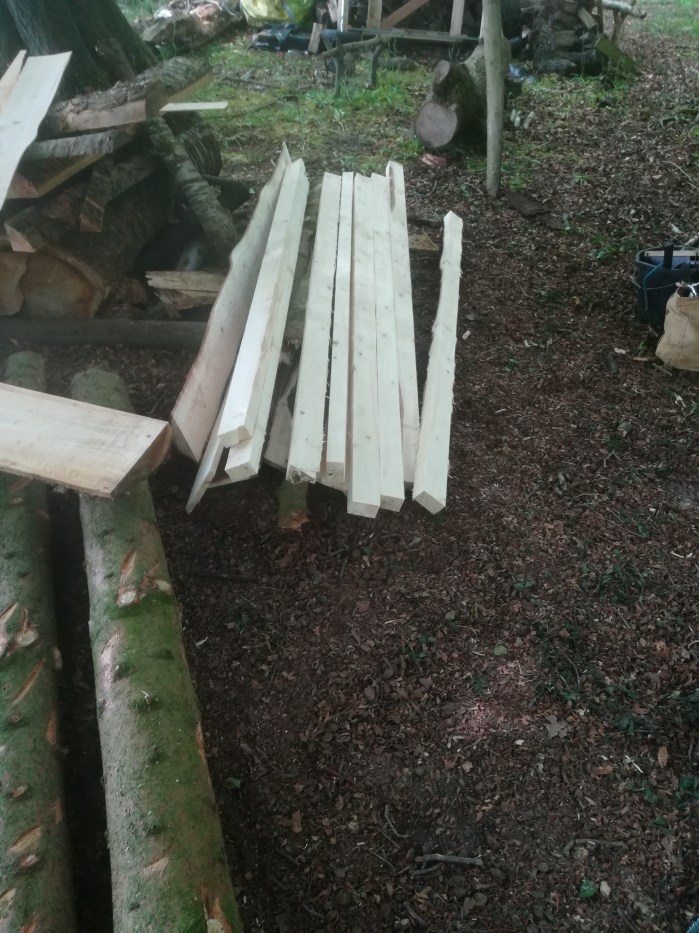
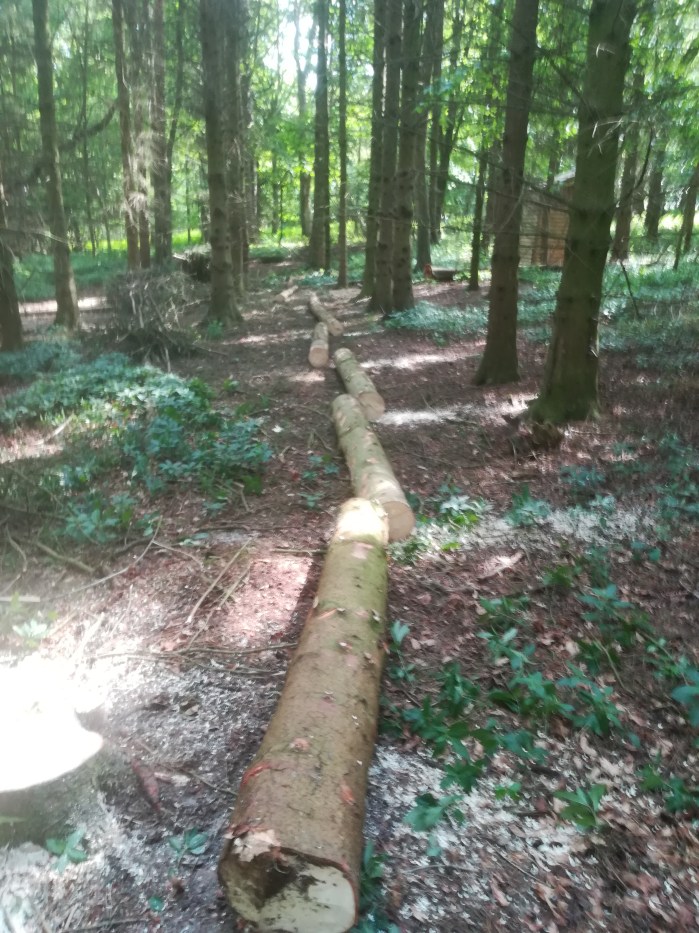
Great the tree was now on the ground and safe. Next job, clear all the side branches, snedding, as its known, and then cut the trunk into suitable lengths – 7′ in this case.
snedding complete
7′ sections
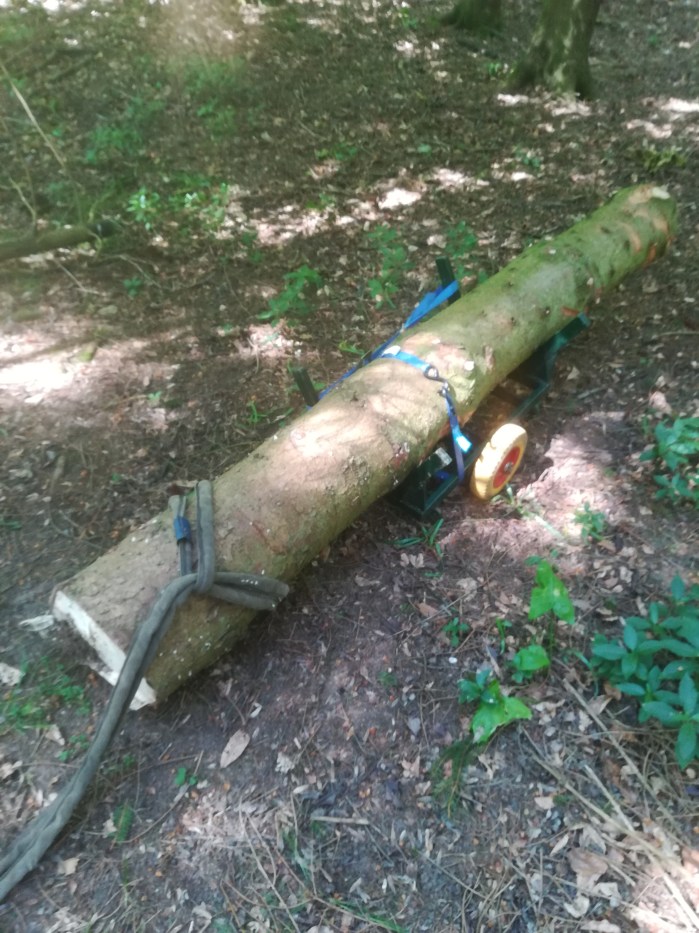
Then transport the logs back to the mill. My approach has always been to try and minimise the impact that I have on the rest of the wood so I haven’t cut out any access paths. I used the bogey trolley for this job as it is very maneuverable and can weave in between the existing trees.
trolley loaded with a log and pulling strap
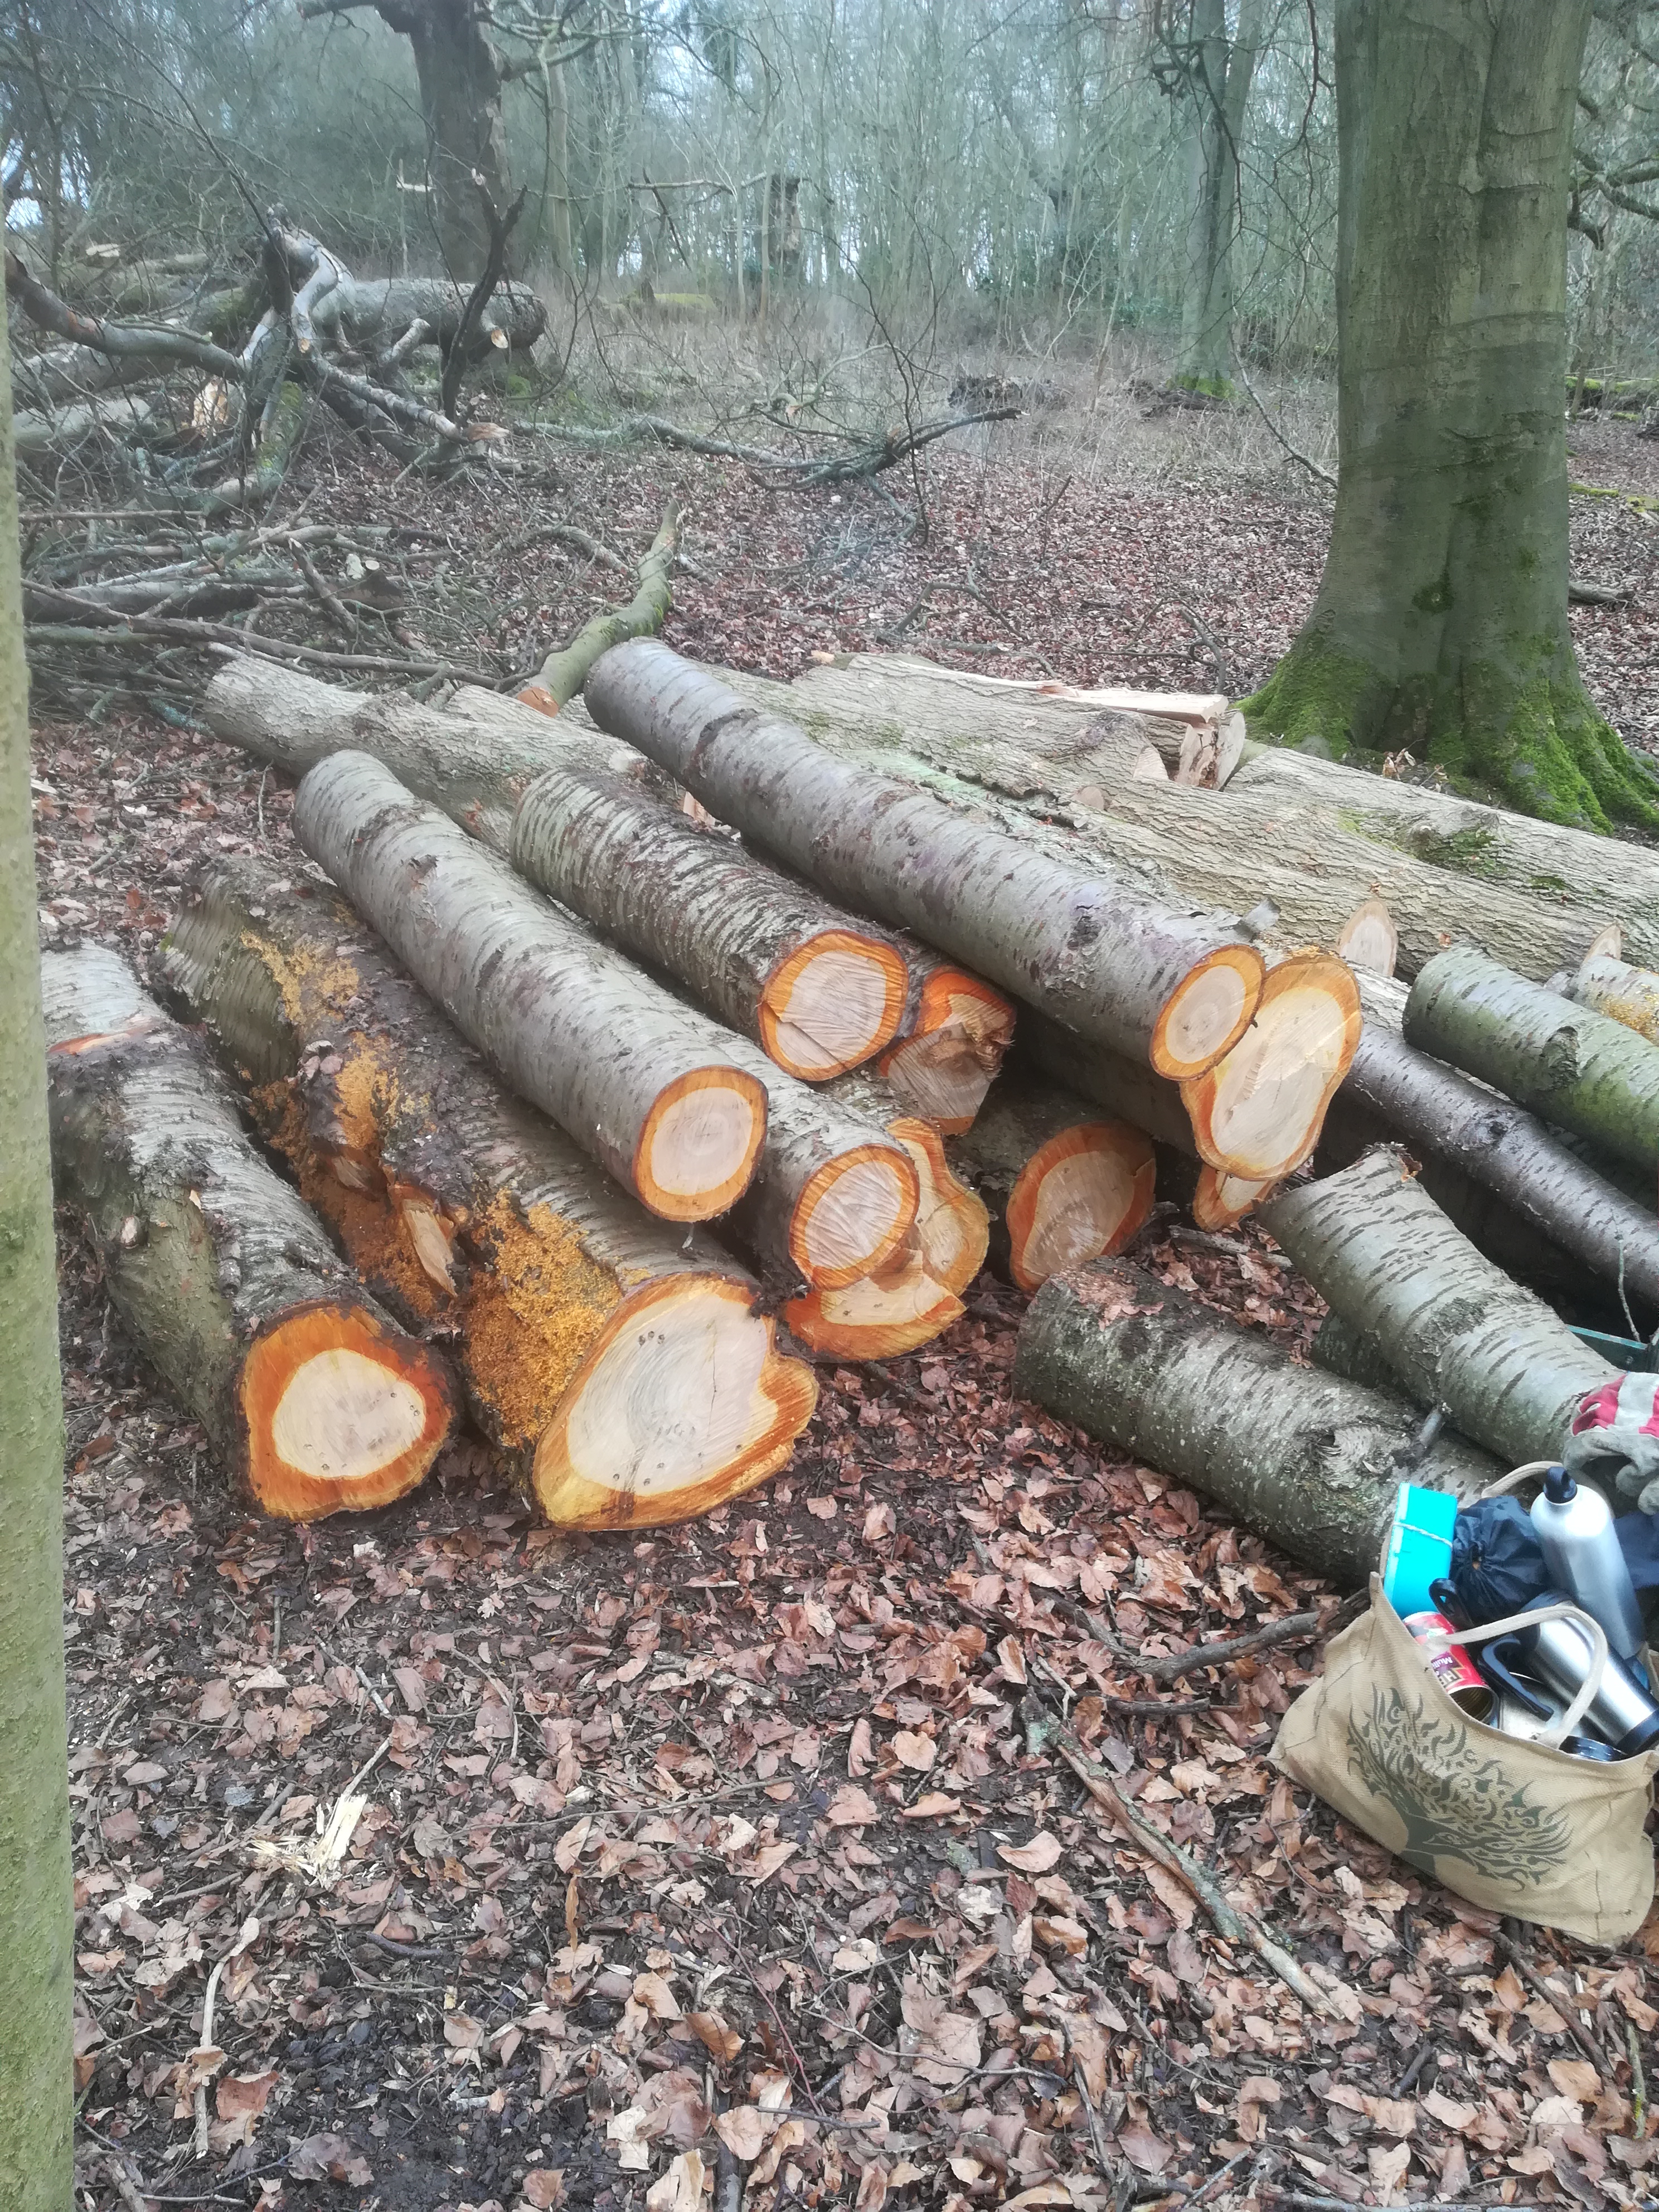
tree completely removed
log pile next to the mill
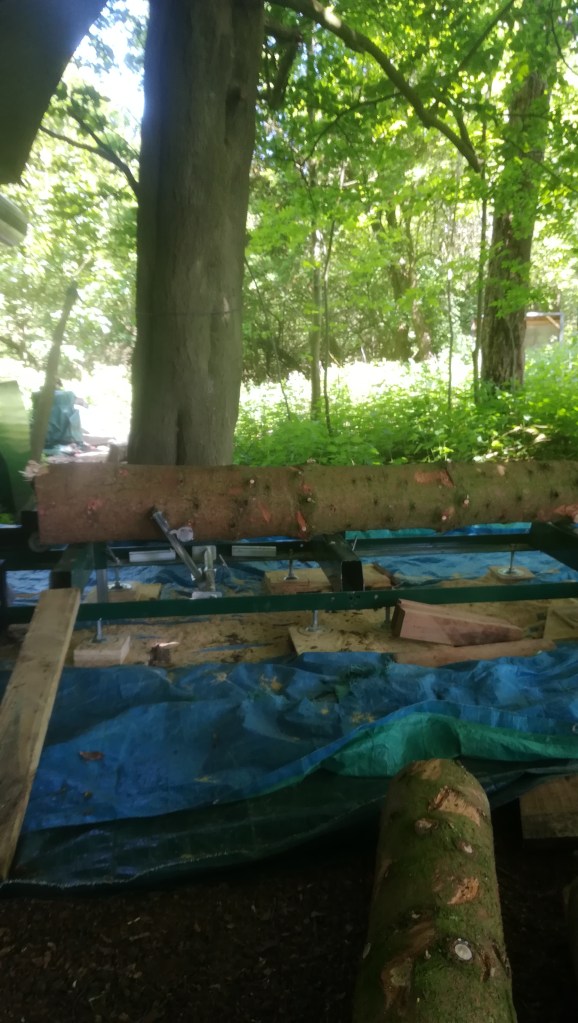
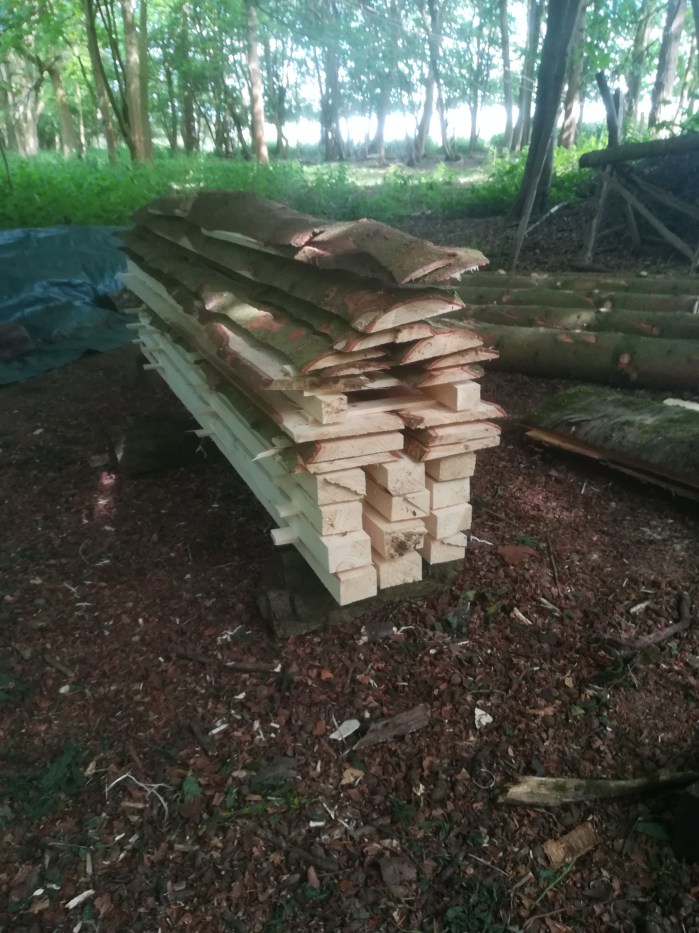
I processed the first two logs ie the thickest and next thickest to see what sort of practical dimensions of timber I could generate. I was very pleased to end up with 9 x 7′ lengths of 2″ x 3″ and a lot of waney edged pieces that will work well to clad the framework of the timber shed.
log loaded on the mill
some useful pieces
finished timber
Really satisfying day. I don’t know who was more surprised; me or the tree with the way that it worked out.
Its about 6 weeks since the hazel whips were planted in the newly formed hazel coupe. the weather when they went in was spring like but since then we have had a weird mixture of lovely warm and then seasonally cool/cold windy days.
Still the hazel seem to be coping and most appear to be settling into their new locations and are putting on growth.
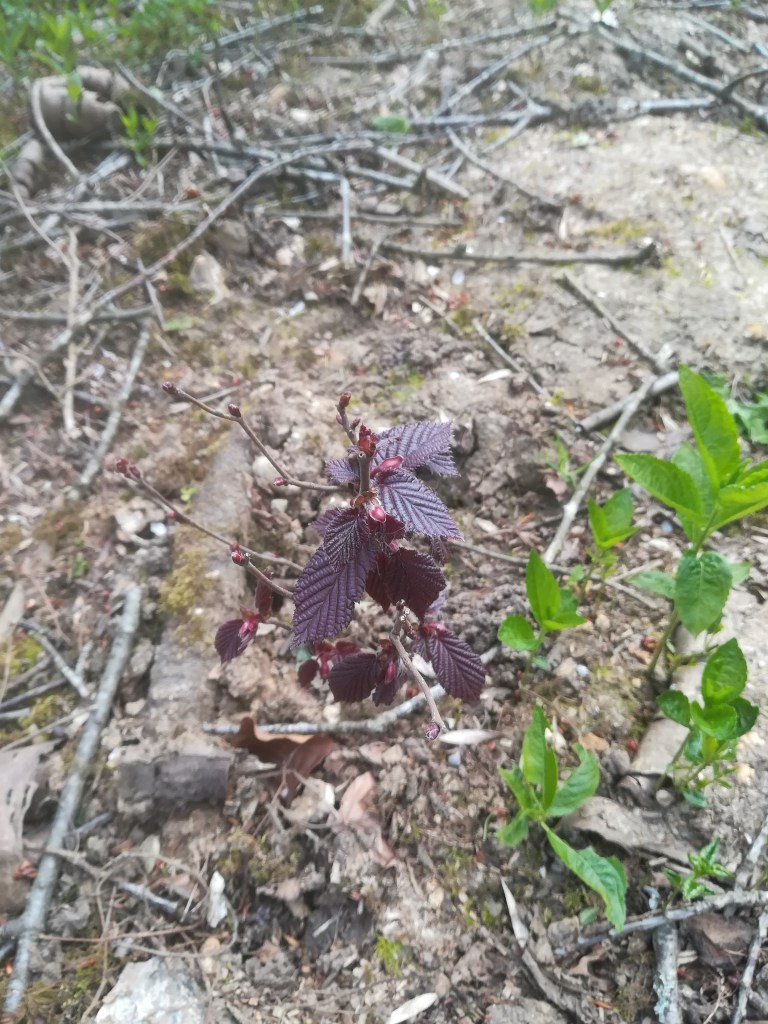
I had a good look around the coupe a couple of weeks ago and noticed that there is a rogue plant in the mix, in amongst all the hazel there is a red leaved hazel! I think that this is a mistake and am not quite sure how the nursery would have mixed up the two varieties.
I think that it could be Corylus avellane red majestic. This is an ornamental tree and doesn’t really belong in a woodland setting. I will see how this particular sapling develops during the growing season but will almost certainly uproot it in the autumn and bring it back to the garden for replanting in a more appropriate context.
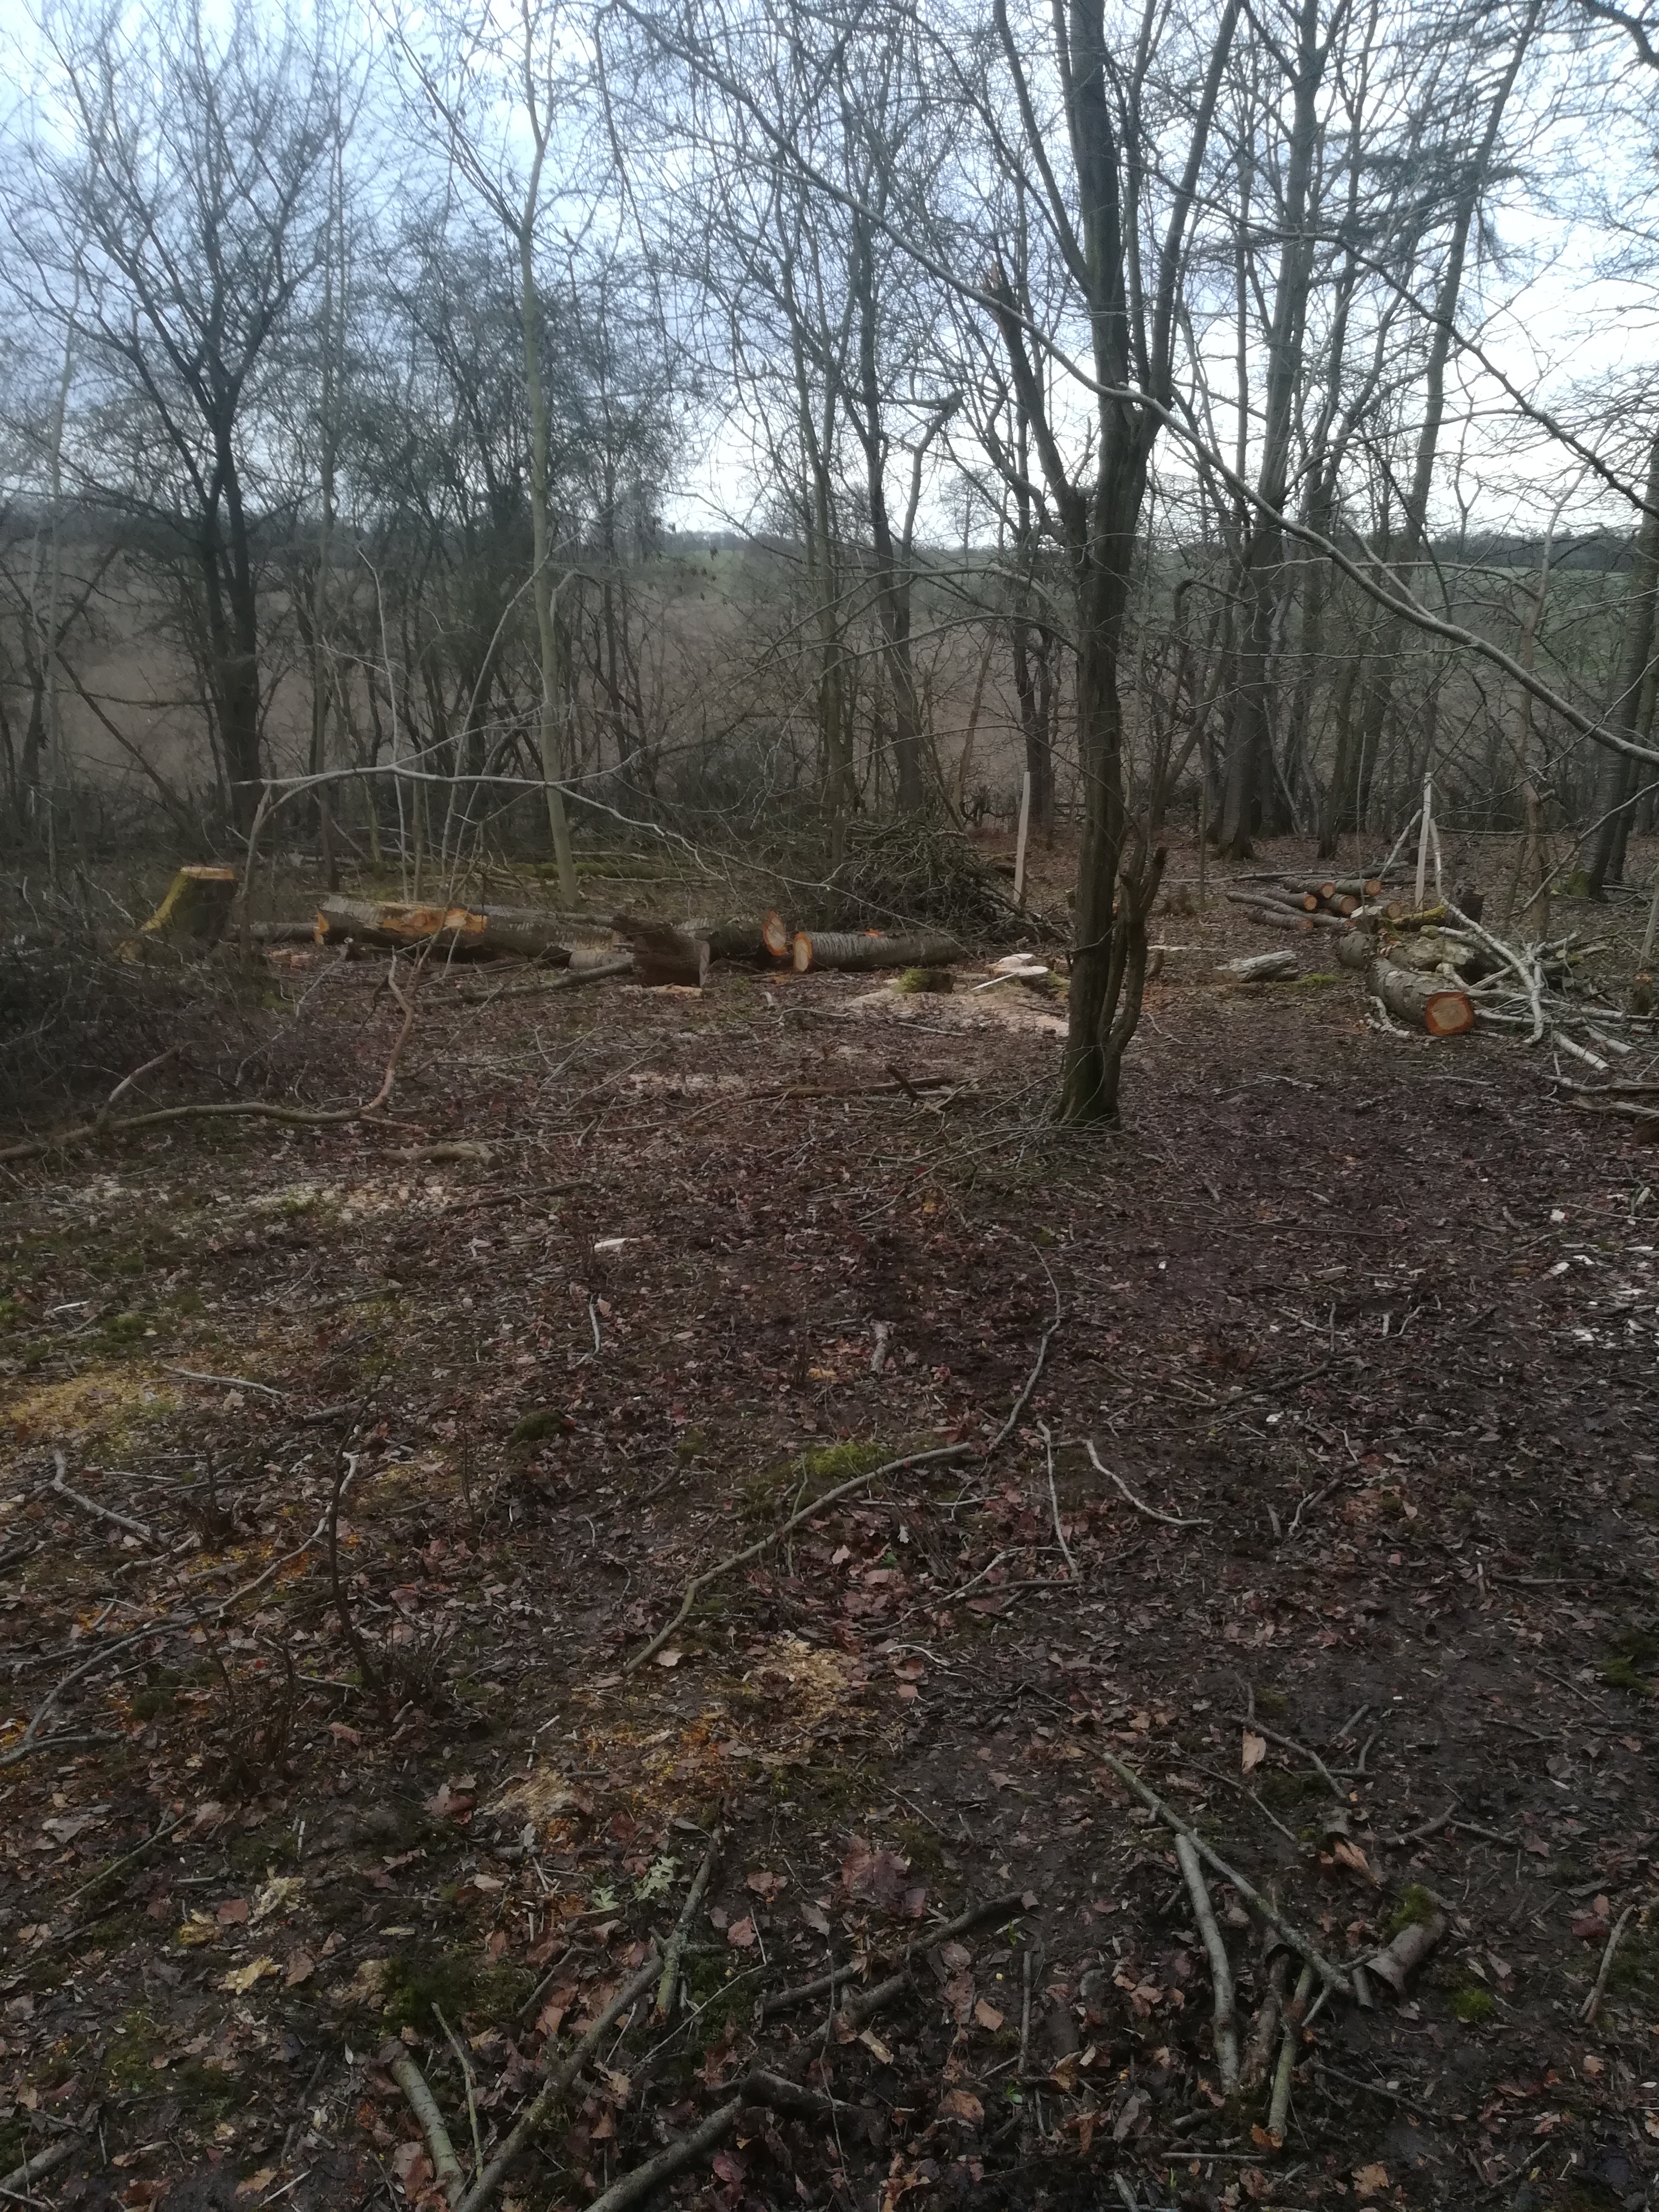
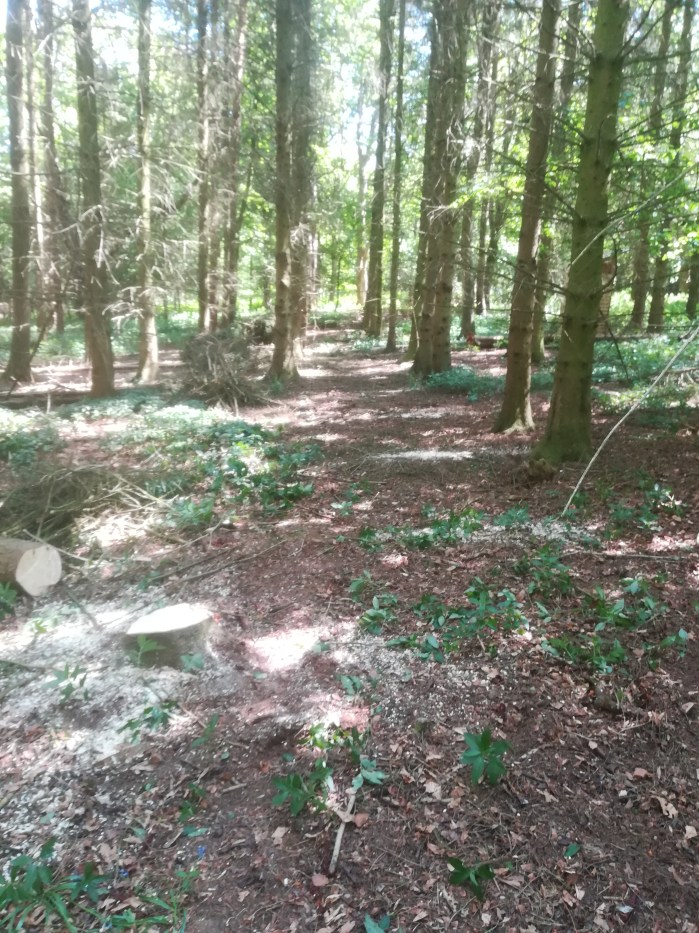
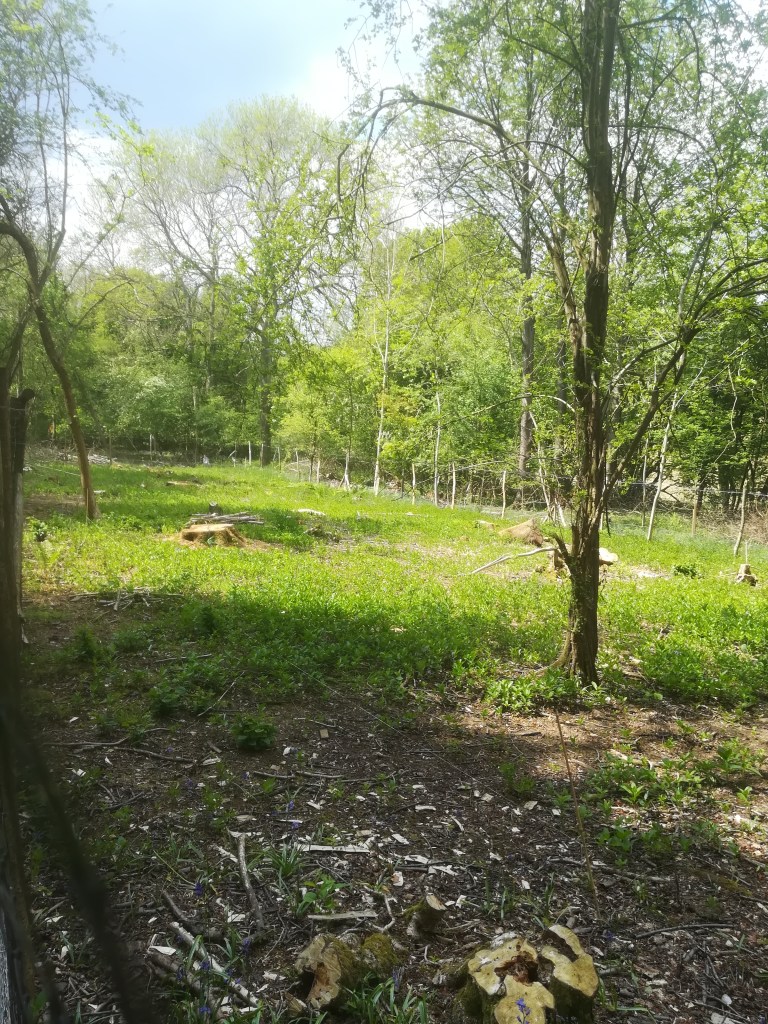
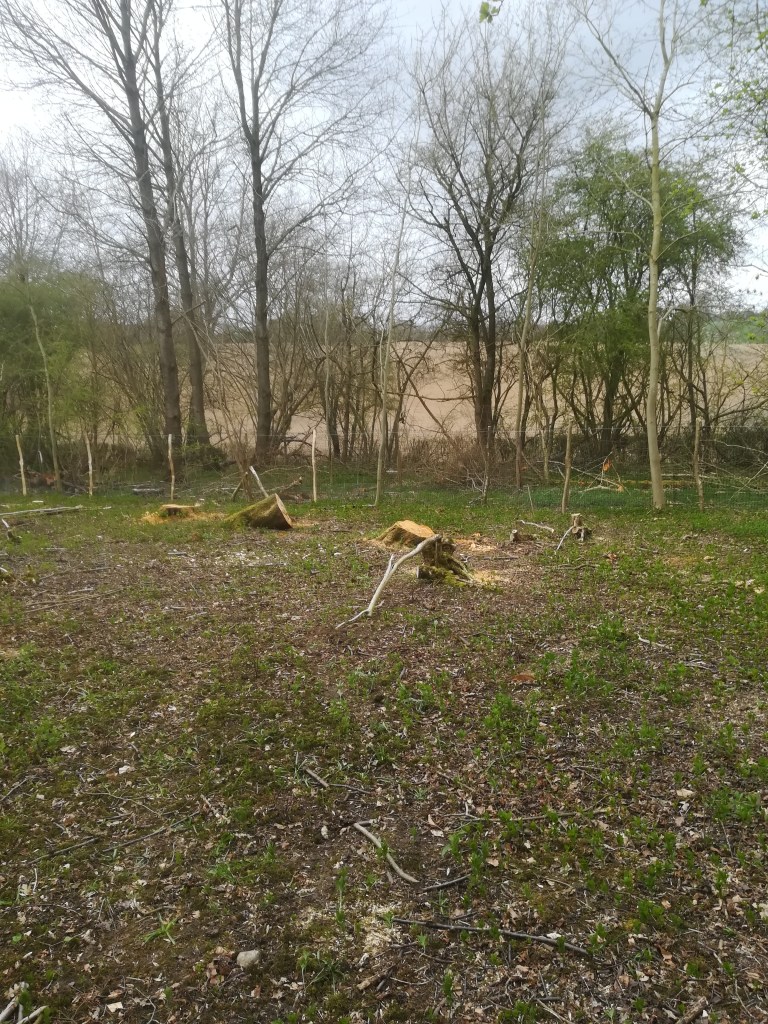
Early April
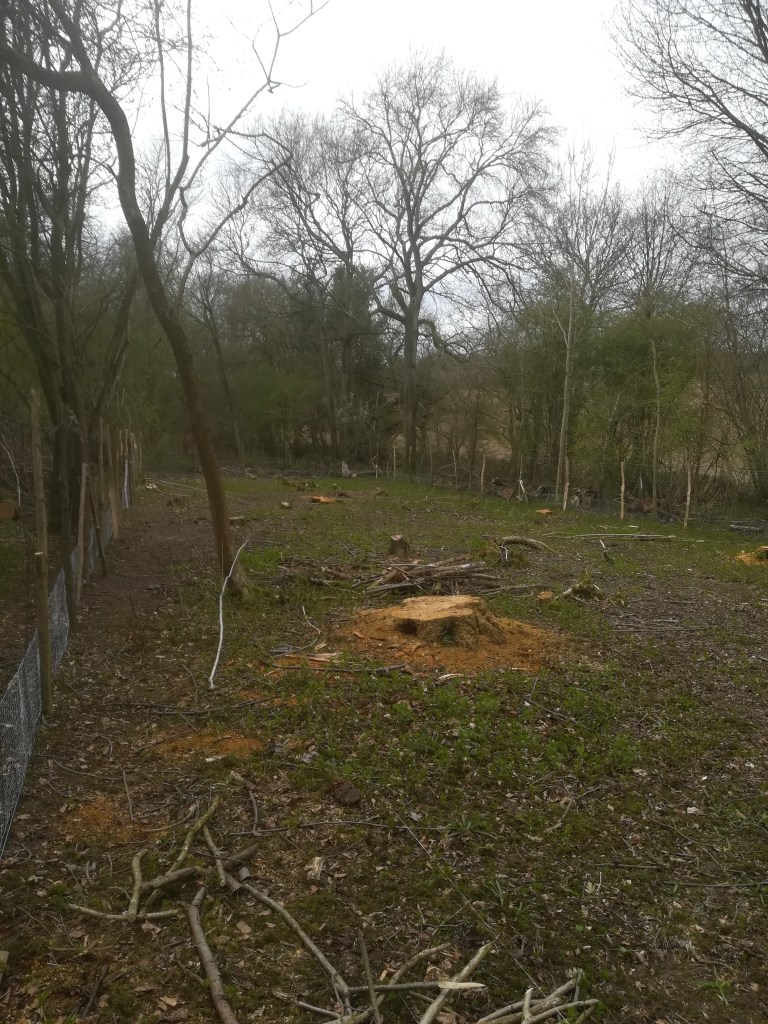
Early May
The pictures above demonstrate how the bare coupe has developed in the 4 weeks or so between them being taken. The sun is now reaching the woodland floor having opened up the canopy and the wild flowers have started to flourish, particularly as they are no longer subject to the ravages of deer grazing.
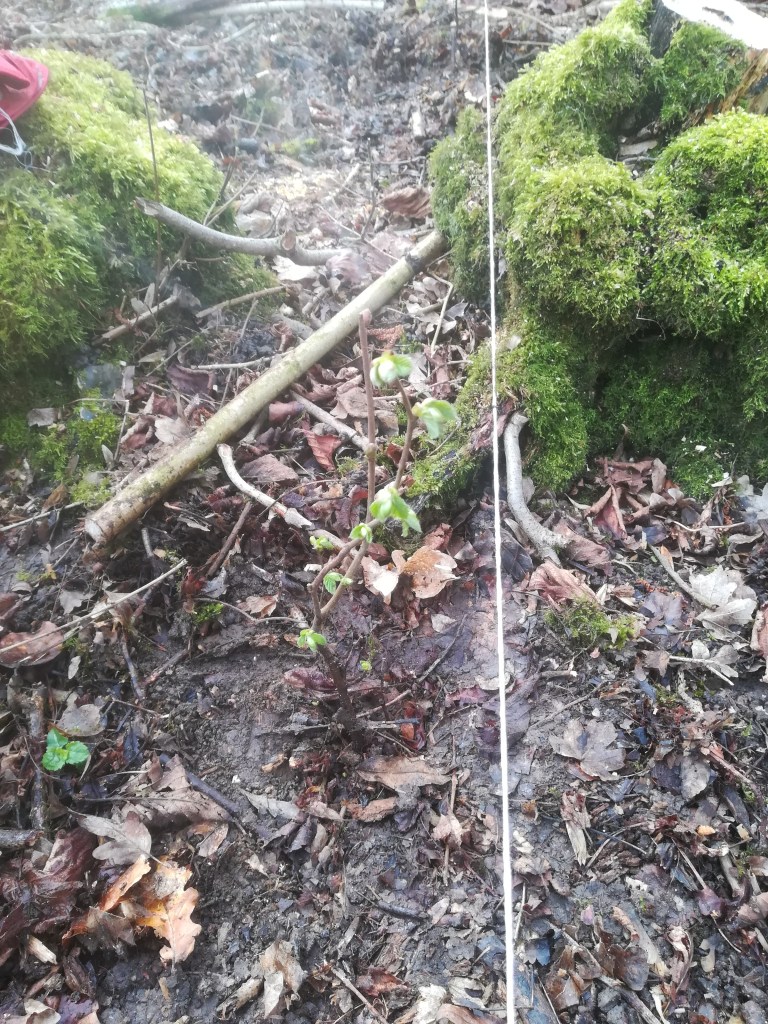
Hazel saplings getting established
Not easy to see but the picture above shows one of the hazel whips getting established and bursting to leaf. there is also an further one shown in the immediate foreground. Hopefully these will continue to thrive and start to dominate the surrounding undergrowth.
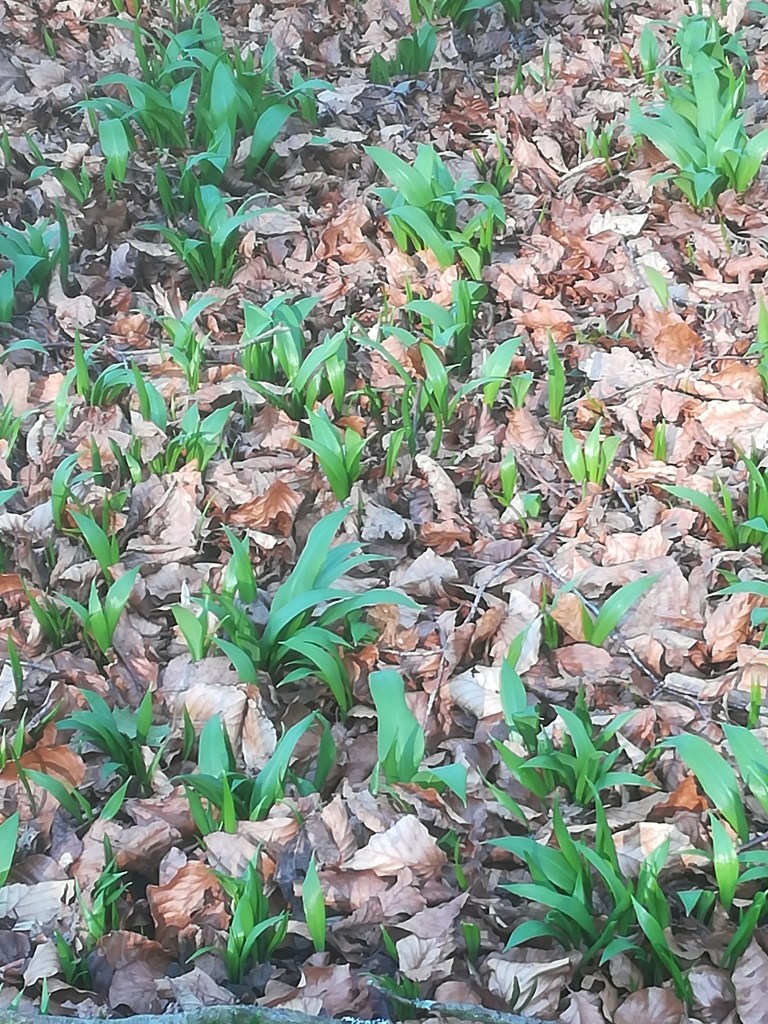
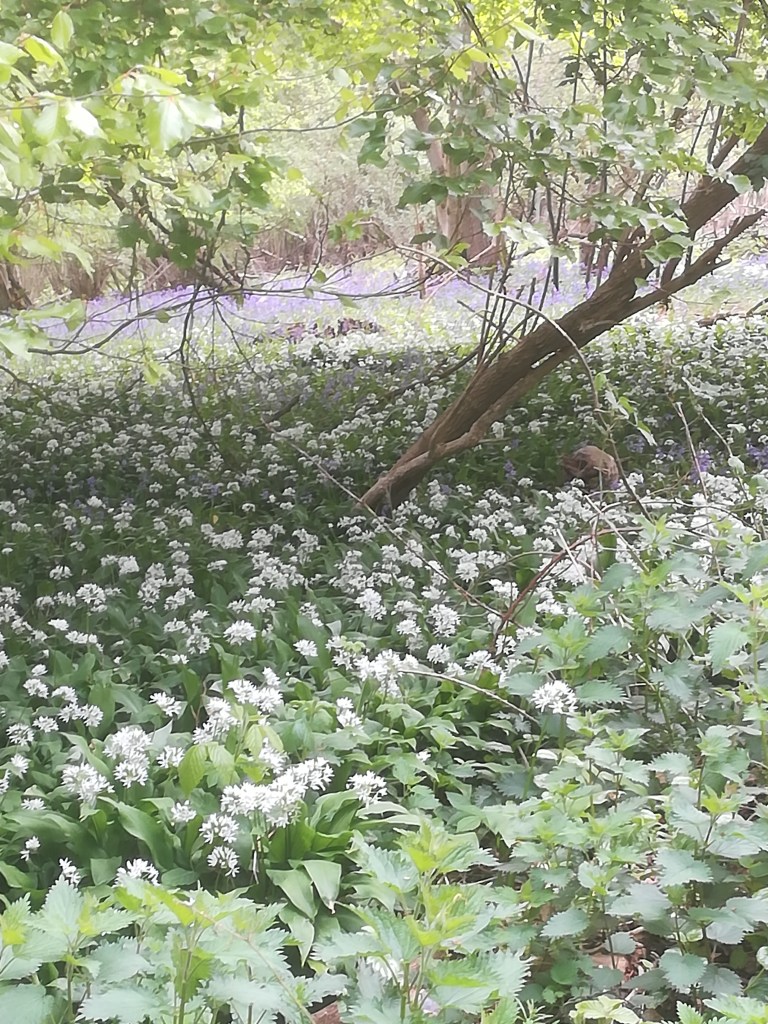
Elsewhere in the wood the wild garlic has now gone to flower (but still very tasty). the flowers can be broken down into their individual florets and make a very attractive addition and potent flavour kick to a bowl of salad leaves. this picture also shows a blue haze of bluebells in the background. These flowers seem to thrive no matter what is thrown at them.
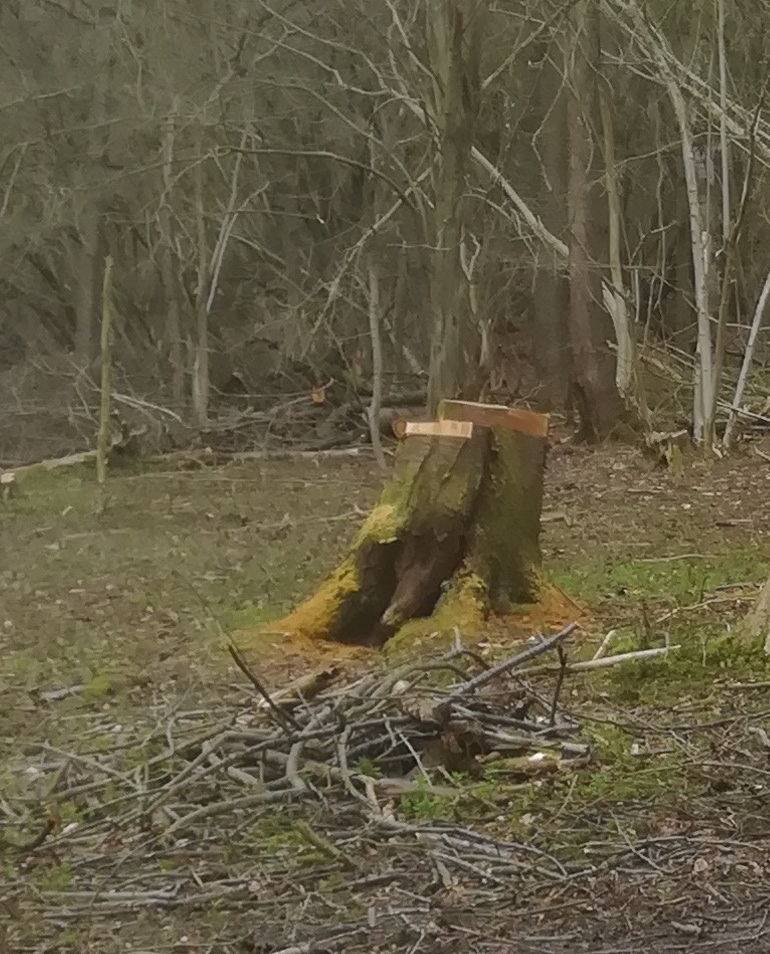
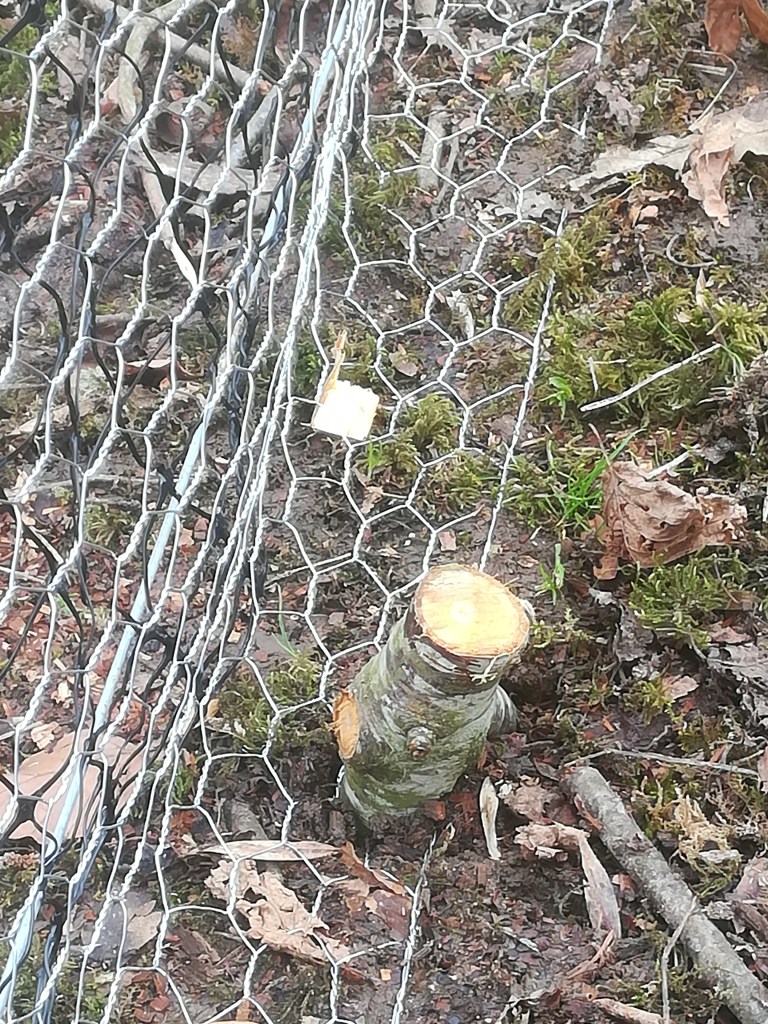
One of the last tasks at the end of forming the first hazel coppice coupe, was to chainsaw the cherry tree stumps as near to the ground as possible. The wild cherries will almost certainly regrow from the stumps but, the lower they are the less likely they are to become a nuisance in terms of shade, and the more likely I will be able to keep on top of and regrowth through periodic pruning.
cherry tree stump
The actual job of cutting the stump down with the chain saw was relatively easy and I soon had each of the stumps down to the ground. The more challenging job was breaking the resultant lumps of wood into manageable chunks that I could carry out of the gate. Yes, this is one of those jobs that should have been done in a different sequence – earlier! I should have cut these down, loaded them onto the log carrier and carted them off before I fenced the area in. Instead I left them until I had completed the planting and the fencing resulting in the log carrier not being able to get through the gate!
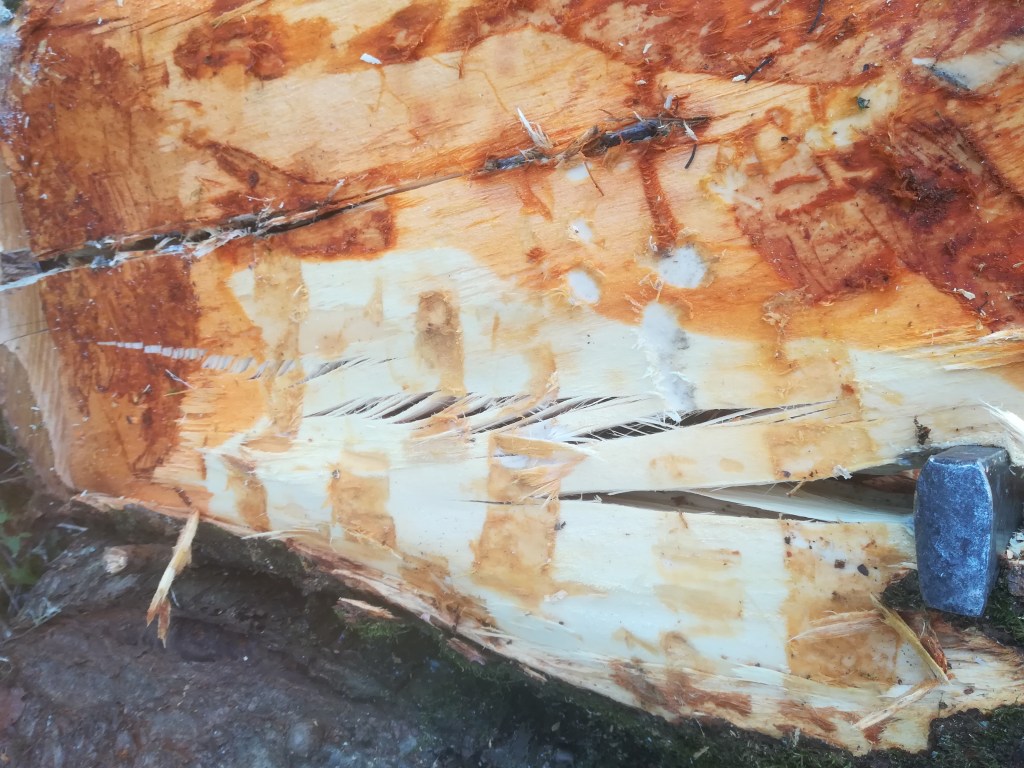
Simple issue though, why not just split the logs down using the wood splitter wedges and carry them out. What could be difficult about that?
tearing rather than splitting
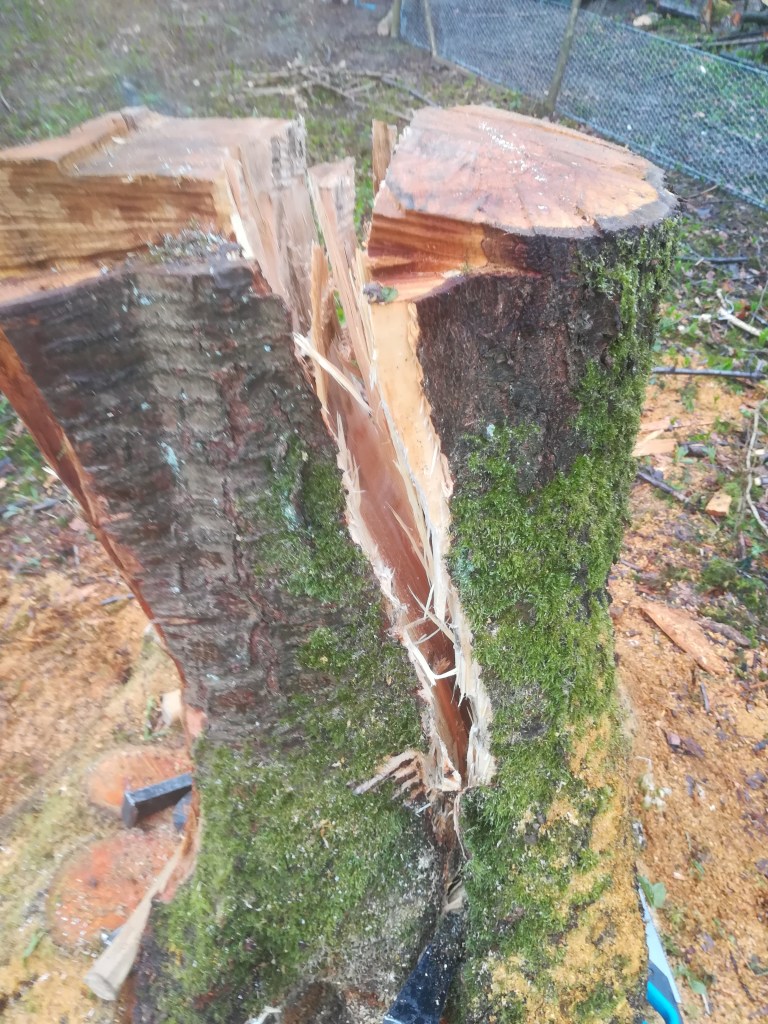
The problem is that the cherry wood simply doesn’t split, at best it tears apart with fibres holding it together until the last one is severed.
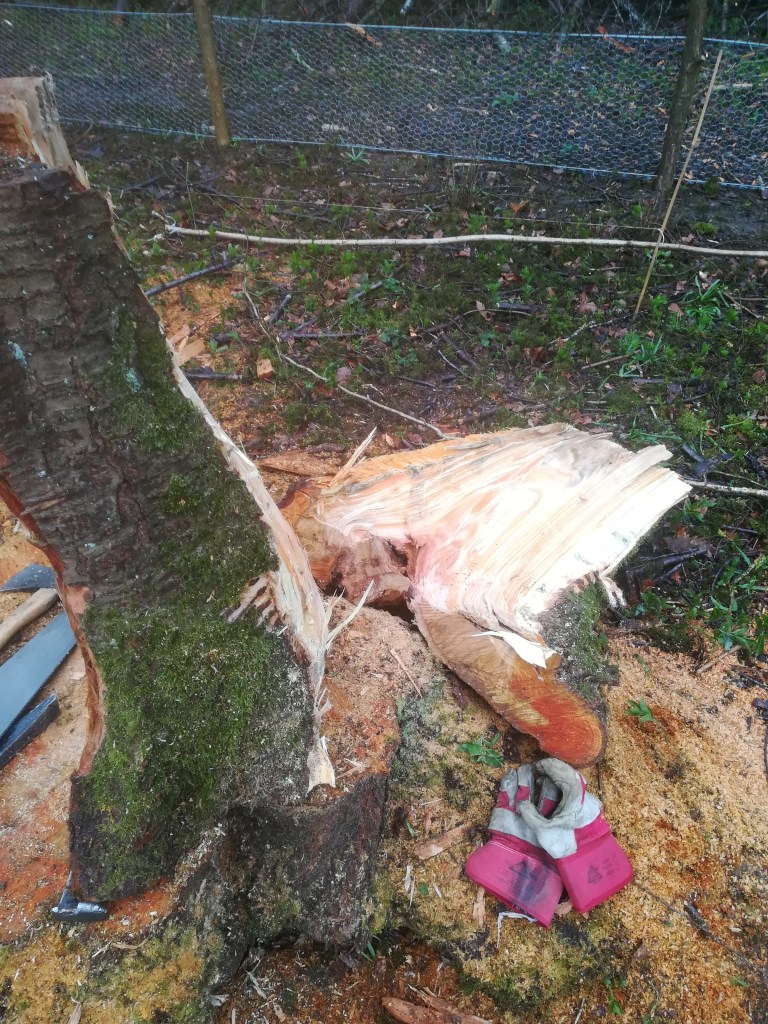
nearly there
Phew, finally in two carriable bits
The cherry is naturally more resilient to splitting than say oak or ash but this was further exacerbated by the grain of the wood being so convoluted, twisted and intertwined near the base of the stem. Still got there in the end.
cherry stumps taken right down
hazel stools also taken down
clear coppice ready for all that regrowth
The last coupe of days have been a mixture of sunshine and showers so hopefully the hazel whips that we planted will have the right conditions for growing away and starting to get established in their new home.
The weather has been great this last couple of weeks, lovely bright sunny starts and dry and warm (12+C). Just a real joy to spend the day in the wood, working away with the bird song and the brighter light levels. Also the luxury of being able to sit out at lunch time in just a fleece top without having to put hat and scarf back on just to keep warm.
With the deer proof fencing in place (more on that later) it was time to get the hazel whips planted. I had ordered 300 bare rooted whips and they arrived back at the end of January. In order to stop these young plants from drying out I had dug them in within a small enclosure at the top of the wood. They arrive tied in bundles of 25 plants and so it was simply a matter of digging them out and putting them in a plastic bag and carrying them down to the coppice. It is really important that the tiny hair like roots don’t dry out during the handling process. These are the roots that will do all the work once the pant is in the ground, getting it quickly established and allowing the whip to grow away.
I wasn’t too anxious about having the coppice arithmetically accurate but did set out a couple of planting lines so that we could ensure that the spacing was roughly even across the width and that the spacing between each row was roughly even as well. The aim was to have roughly 4′ – 5′ between each plant.
lines for spacing
tiny hazel whip planted and ready to flourish
I bought a product called Rootgrow. The main ingredient is a mycorrhizal fungi, this is an organism that co-exist naturally and beneficially with the roots of nearly all plants and trees. These fungi help the bareroots establish, they are a thread-like fungus that dramatically increases the ability of roots to absorb essential nutrients from the soil and in return, the growing roots provide the perfect environment for the fungi to thrive. Well that’s what it said on the packet so we’ll see what happens.
Mrs Burr and I managed to plant 175 plants in a day and a half which given that the soil was very compacted clay, flinty and just plain hard work was good going. I hope that the ground has retained enough moisture to allow the young plants to get through this spell of dry weather. I don’t have a water supply in the wood and so watering them is impractical.
Having got the new plants in I have concentrated on finishing off layering those existing stools that looked healthy enough and now we are all set to watch as the coppice once more comes to life.
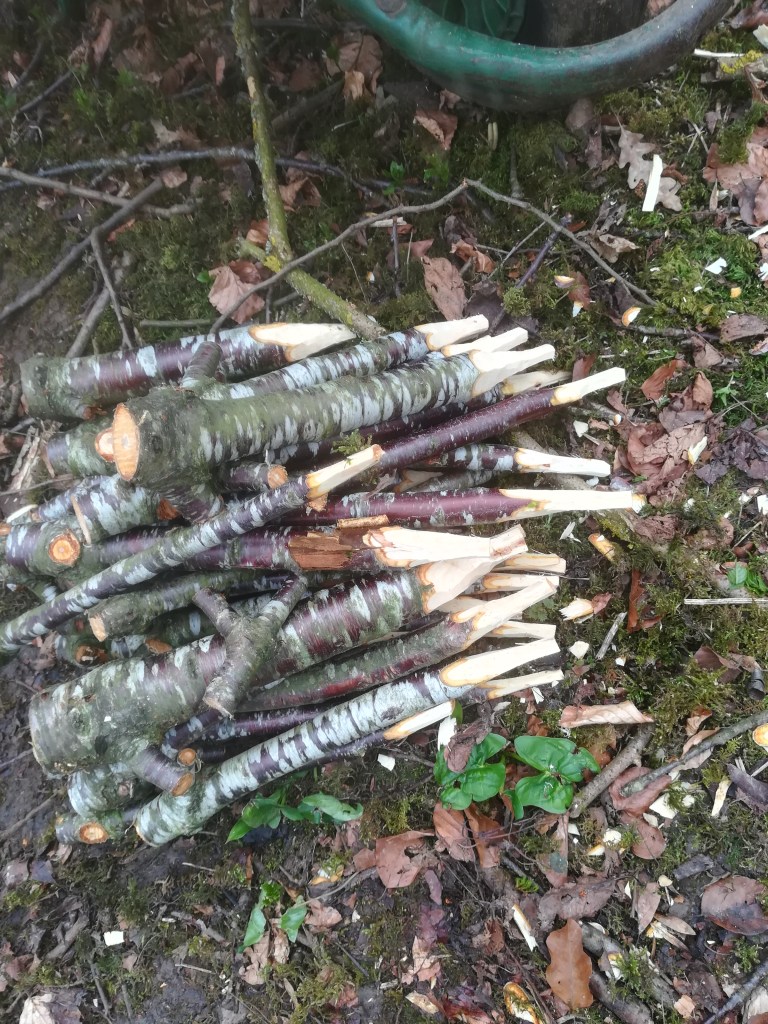
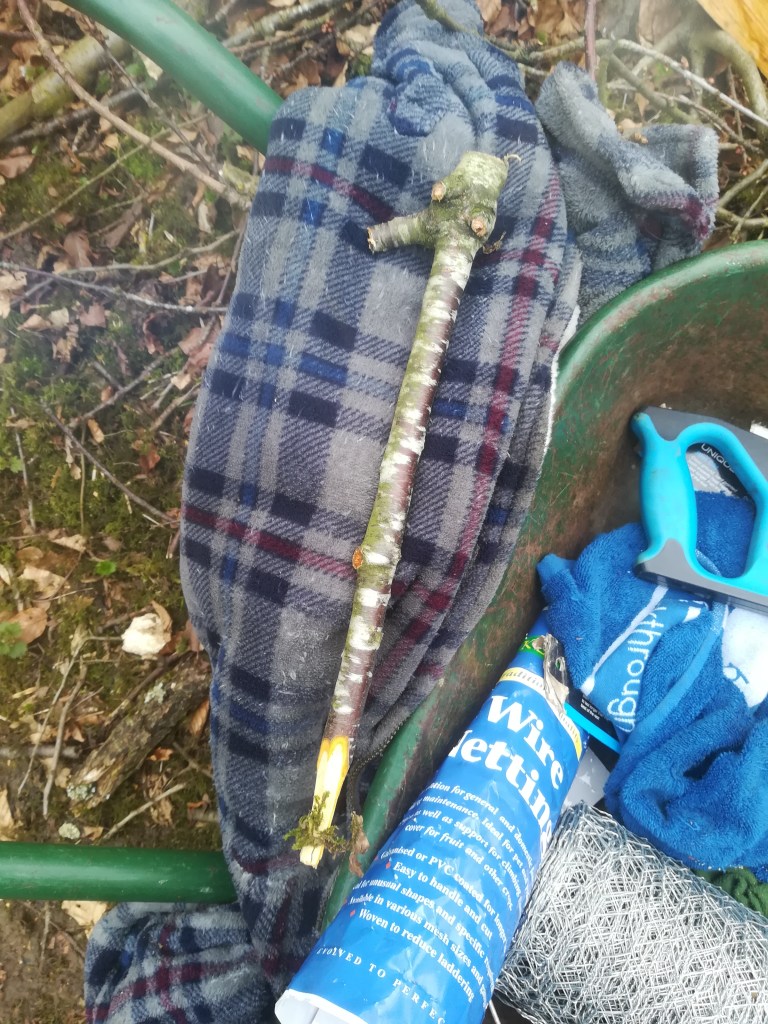
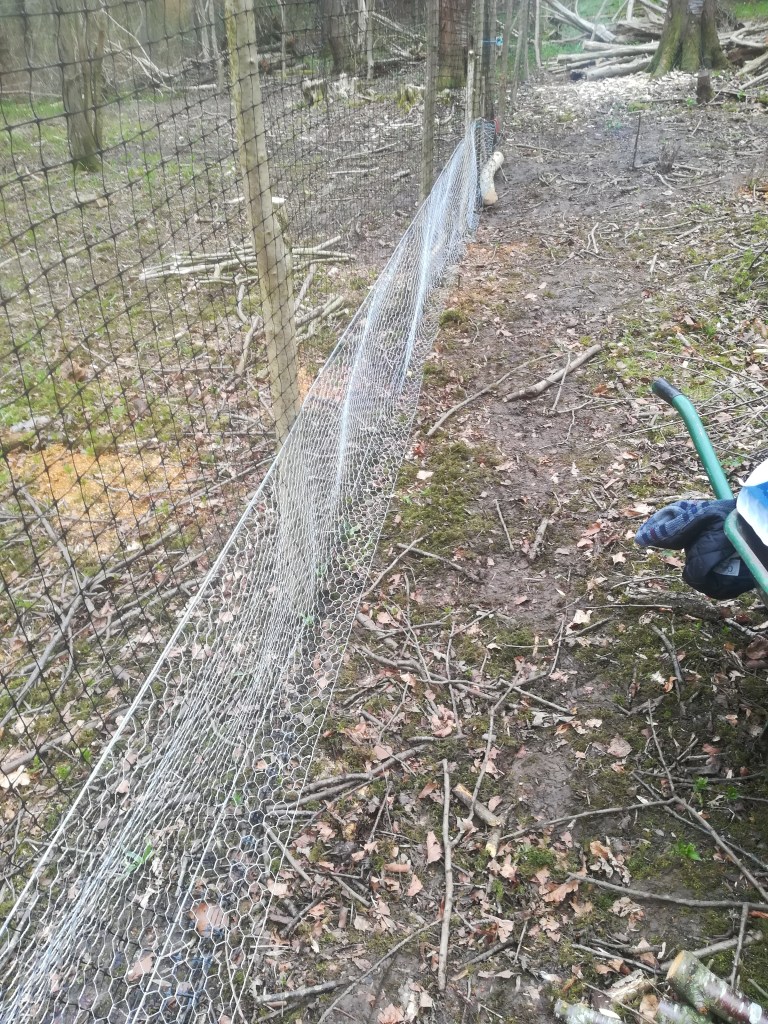
The rest of the week has been spent finishing off the fence by putting a roll of 3′ chicken wire around the bottom of the deer proof fencing . this should help prevent badgers and muntjac from burrowing under. I left and overlap of about 6″ at the bottom of the fence so that it could be pegged down. The pegs were made from parts of the cherry trees that I cut down earlier. Cherry very conveniently branches out along its limbs and has quite pronounce forks which when cut to shape act as perfect pegs. Simply whittle point onto one end and bang them in.
lots of pegs ready for use
Single cherry peg
cherry pegs banged in to secure bottom of fence
Fence showing overlap at the ground
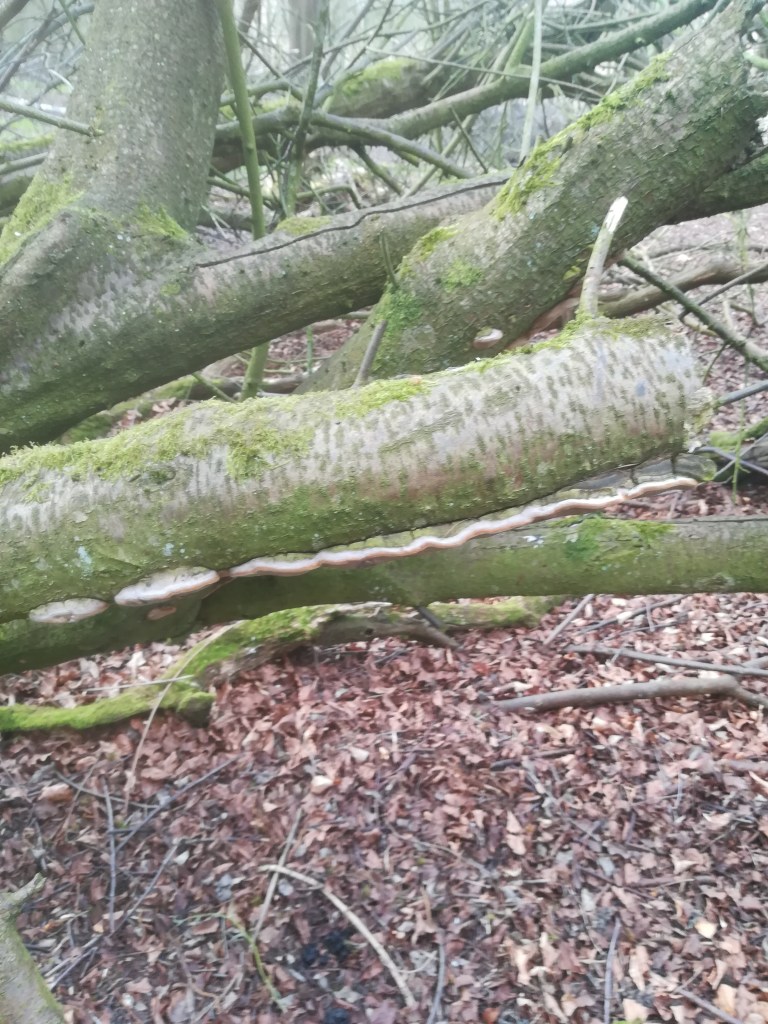
I noticed another, different sort of fungus, this time on a cherry plum tree. It is a hard white mass that appears in single spots/blobs and also appears to establish itself along splits in the bark.
single blob fungus
line of fungus along split
No idea what this is but as can be seen through the Rootgrow claims, fungal growth is not all bad. Some of the fungus growths are genuinely symbiotic and can benefit both fungus and plant.
A windy week with some very strong gusts whipping through the trees, but no damage as far as I can tell to date. There is a real danger of trapped branches being disturbed by the wind and drooping down on anyone underneath. These are rather gruesomely called “widow makers” as they have fatal results. Always as well to look overhead before getting absorbed in a task even in still conditions if you are disturbing the tree itself.
An old proverb says that March comes in like a lion and leaves like a lamb. Well to date we have had plenty of the roaring and not much of the gamboling.
Most of the last week has been spent putting up the 6′ high deer proof fencing around the coppice. Desperately aware that I am behind the ideal time for this activity and so am pushing on so that we can start and complete the planting next week! Very late but hopefully the hazel will be tolerant. Generally hazel is a plant that likes to survive and isn’t looking for excuses to shrivel up and die so here goes.
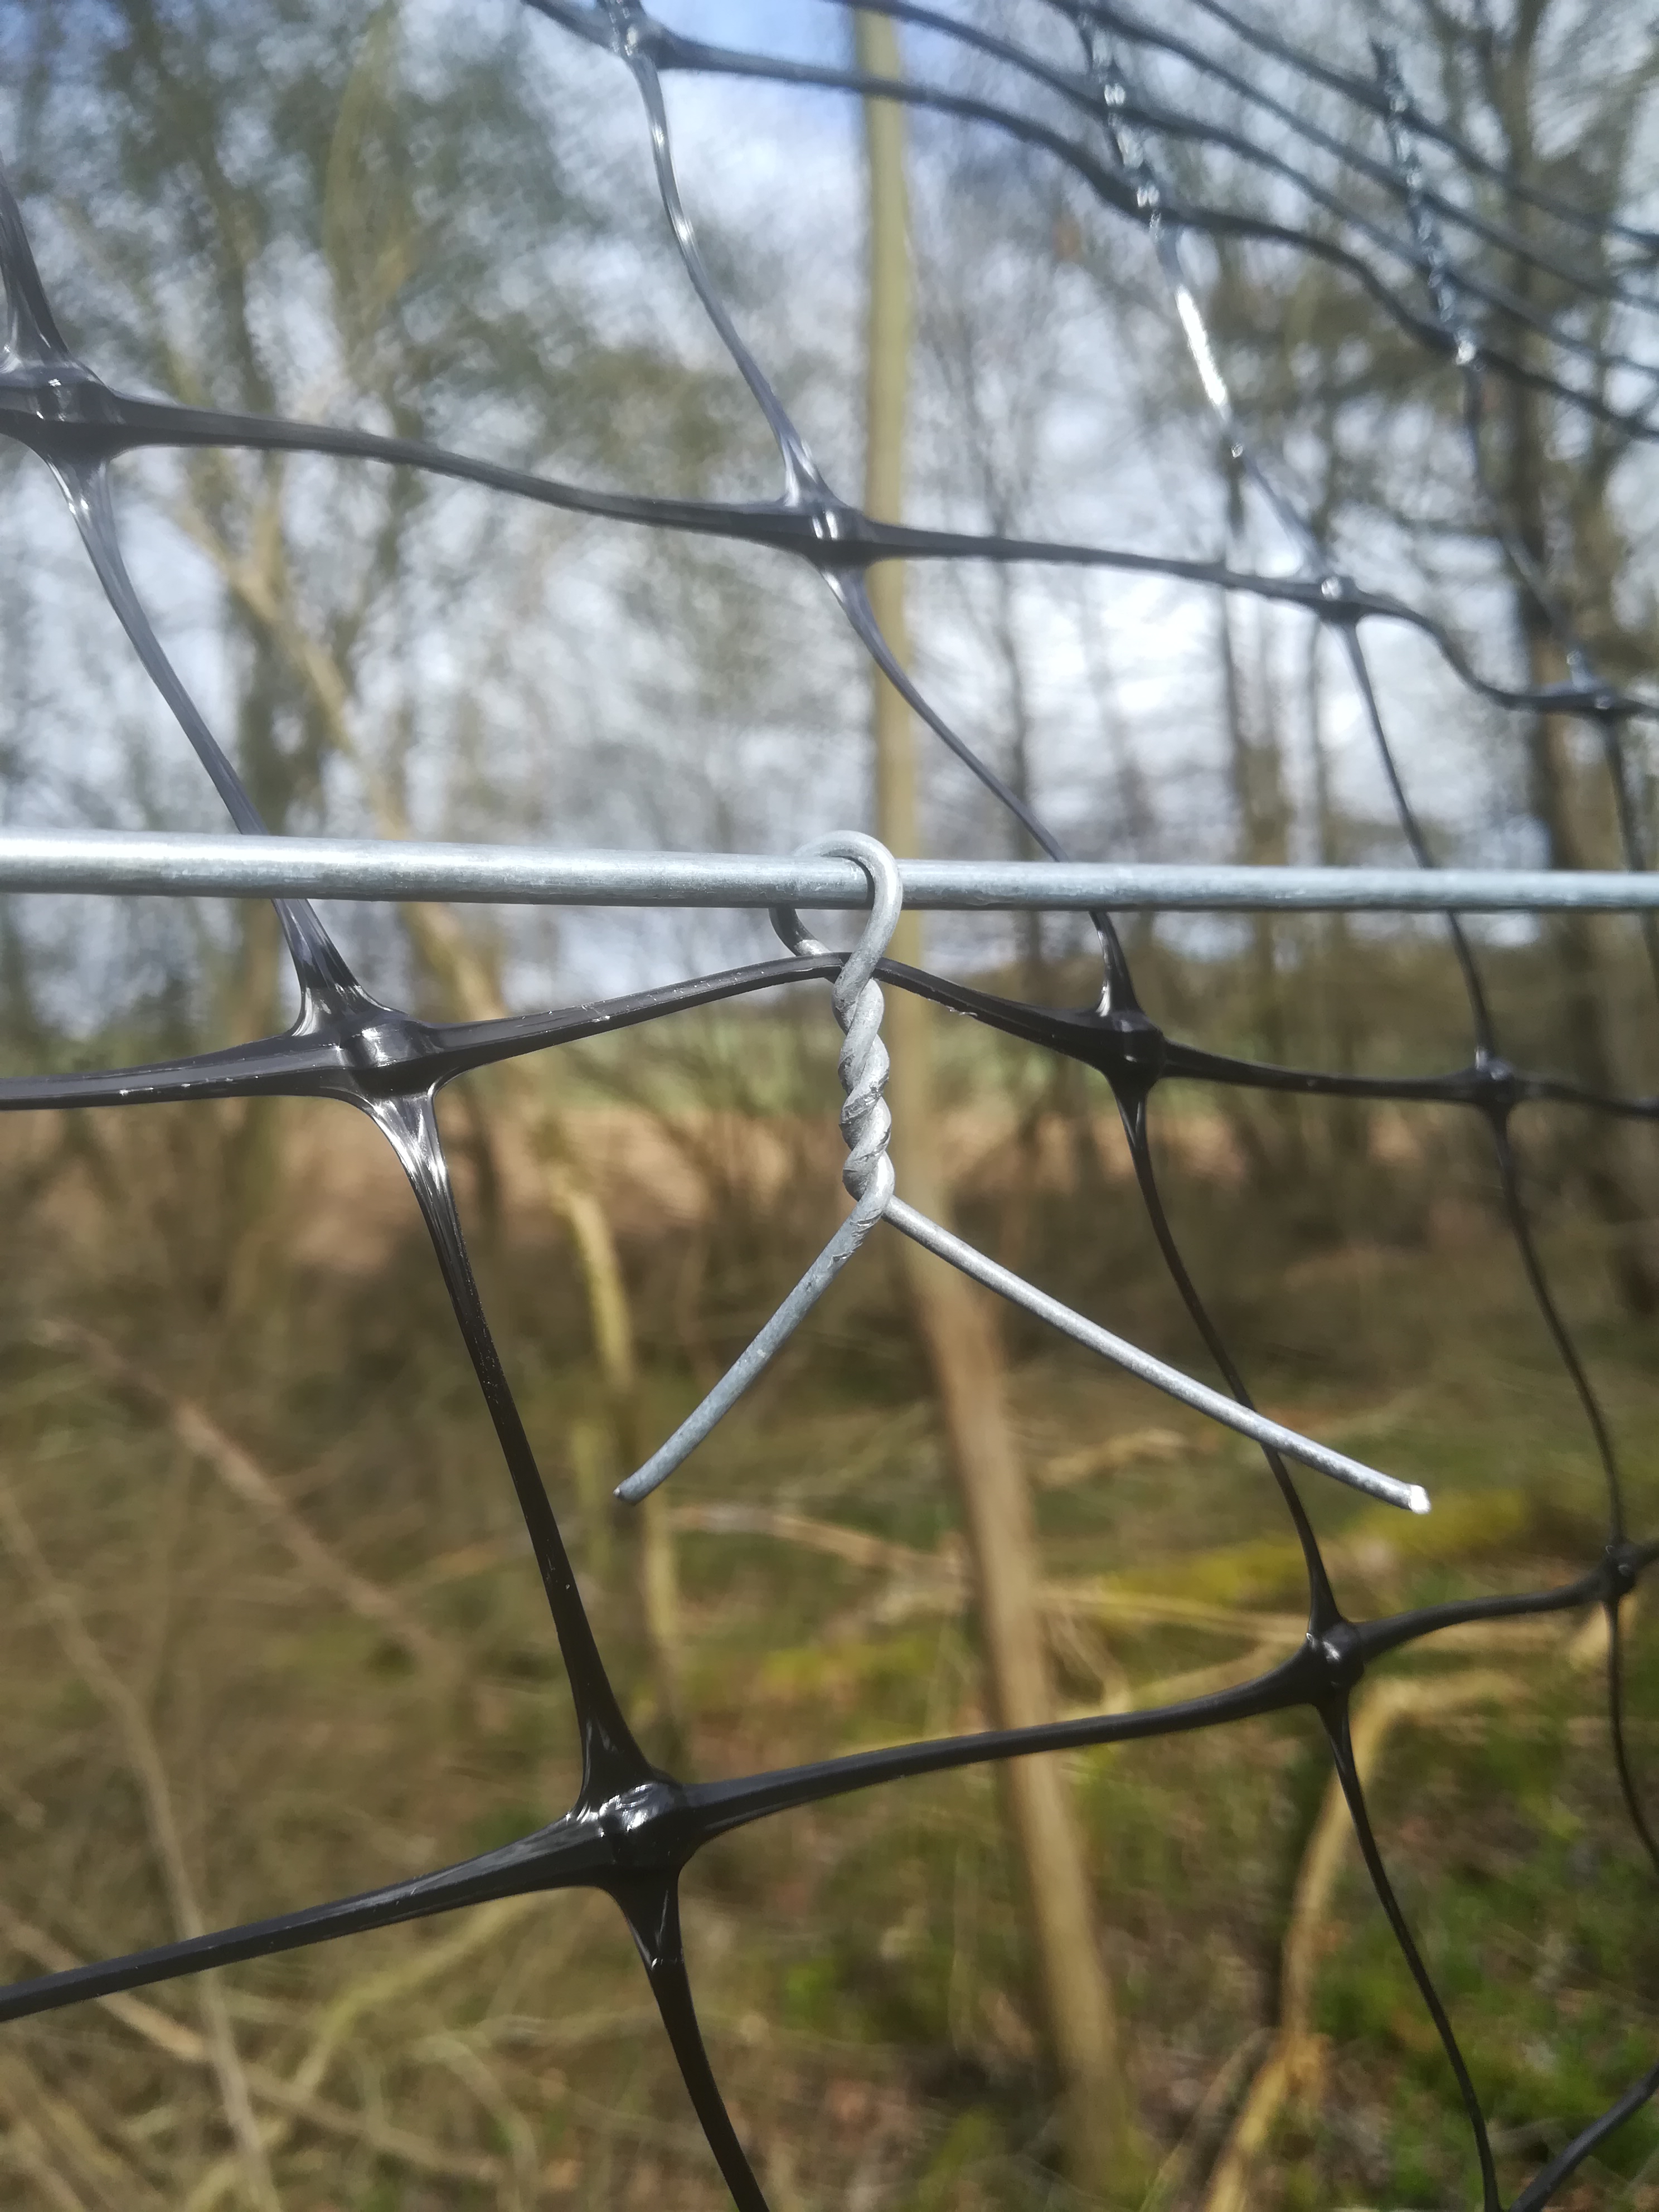
The netting comes in 100m rolls and is a bit numb to handle at first. I tend to string out a length of the netting and position it roughly against the support posts and pin with a couple of wire staples. The next job is to connect the netting to the bottom and top support wires. This can be easily achieved using short lengths of thin wire (say 1.5mm dia) and making a twisted loop at equal 1m spacings.
This approach means that the netting is free to move a little bit and so shouldn’t tear or rip as readily as if it was absolutely rigidly fixed.
The technique is very easy but becomes very repetitive some 300 times later (150m x 2 of support wires).
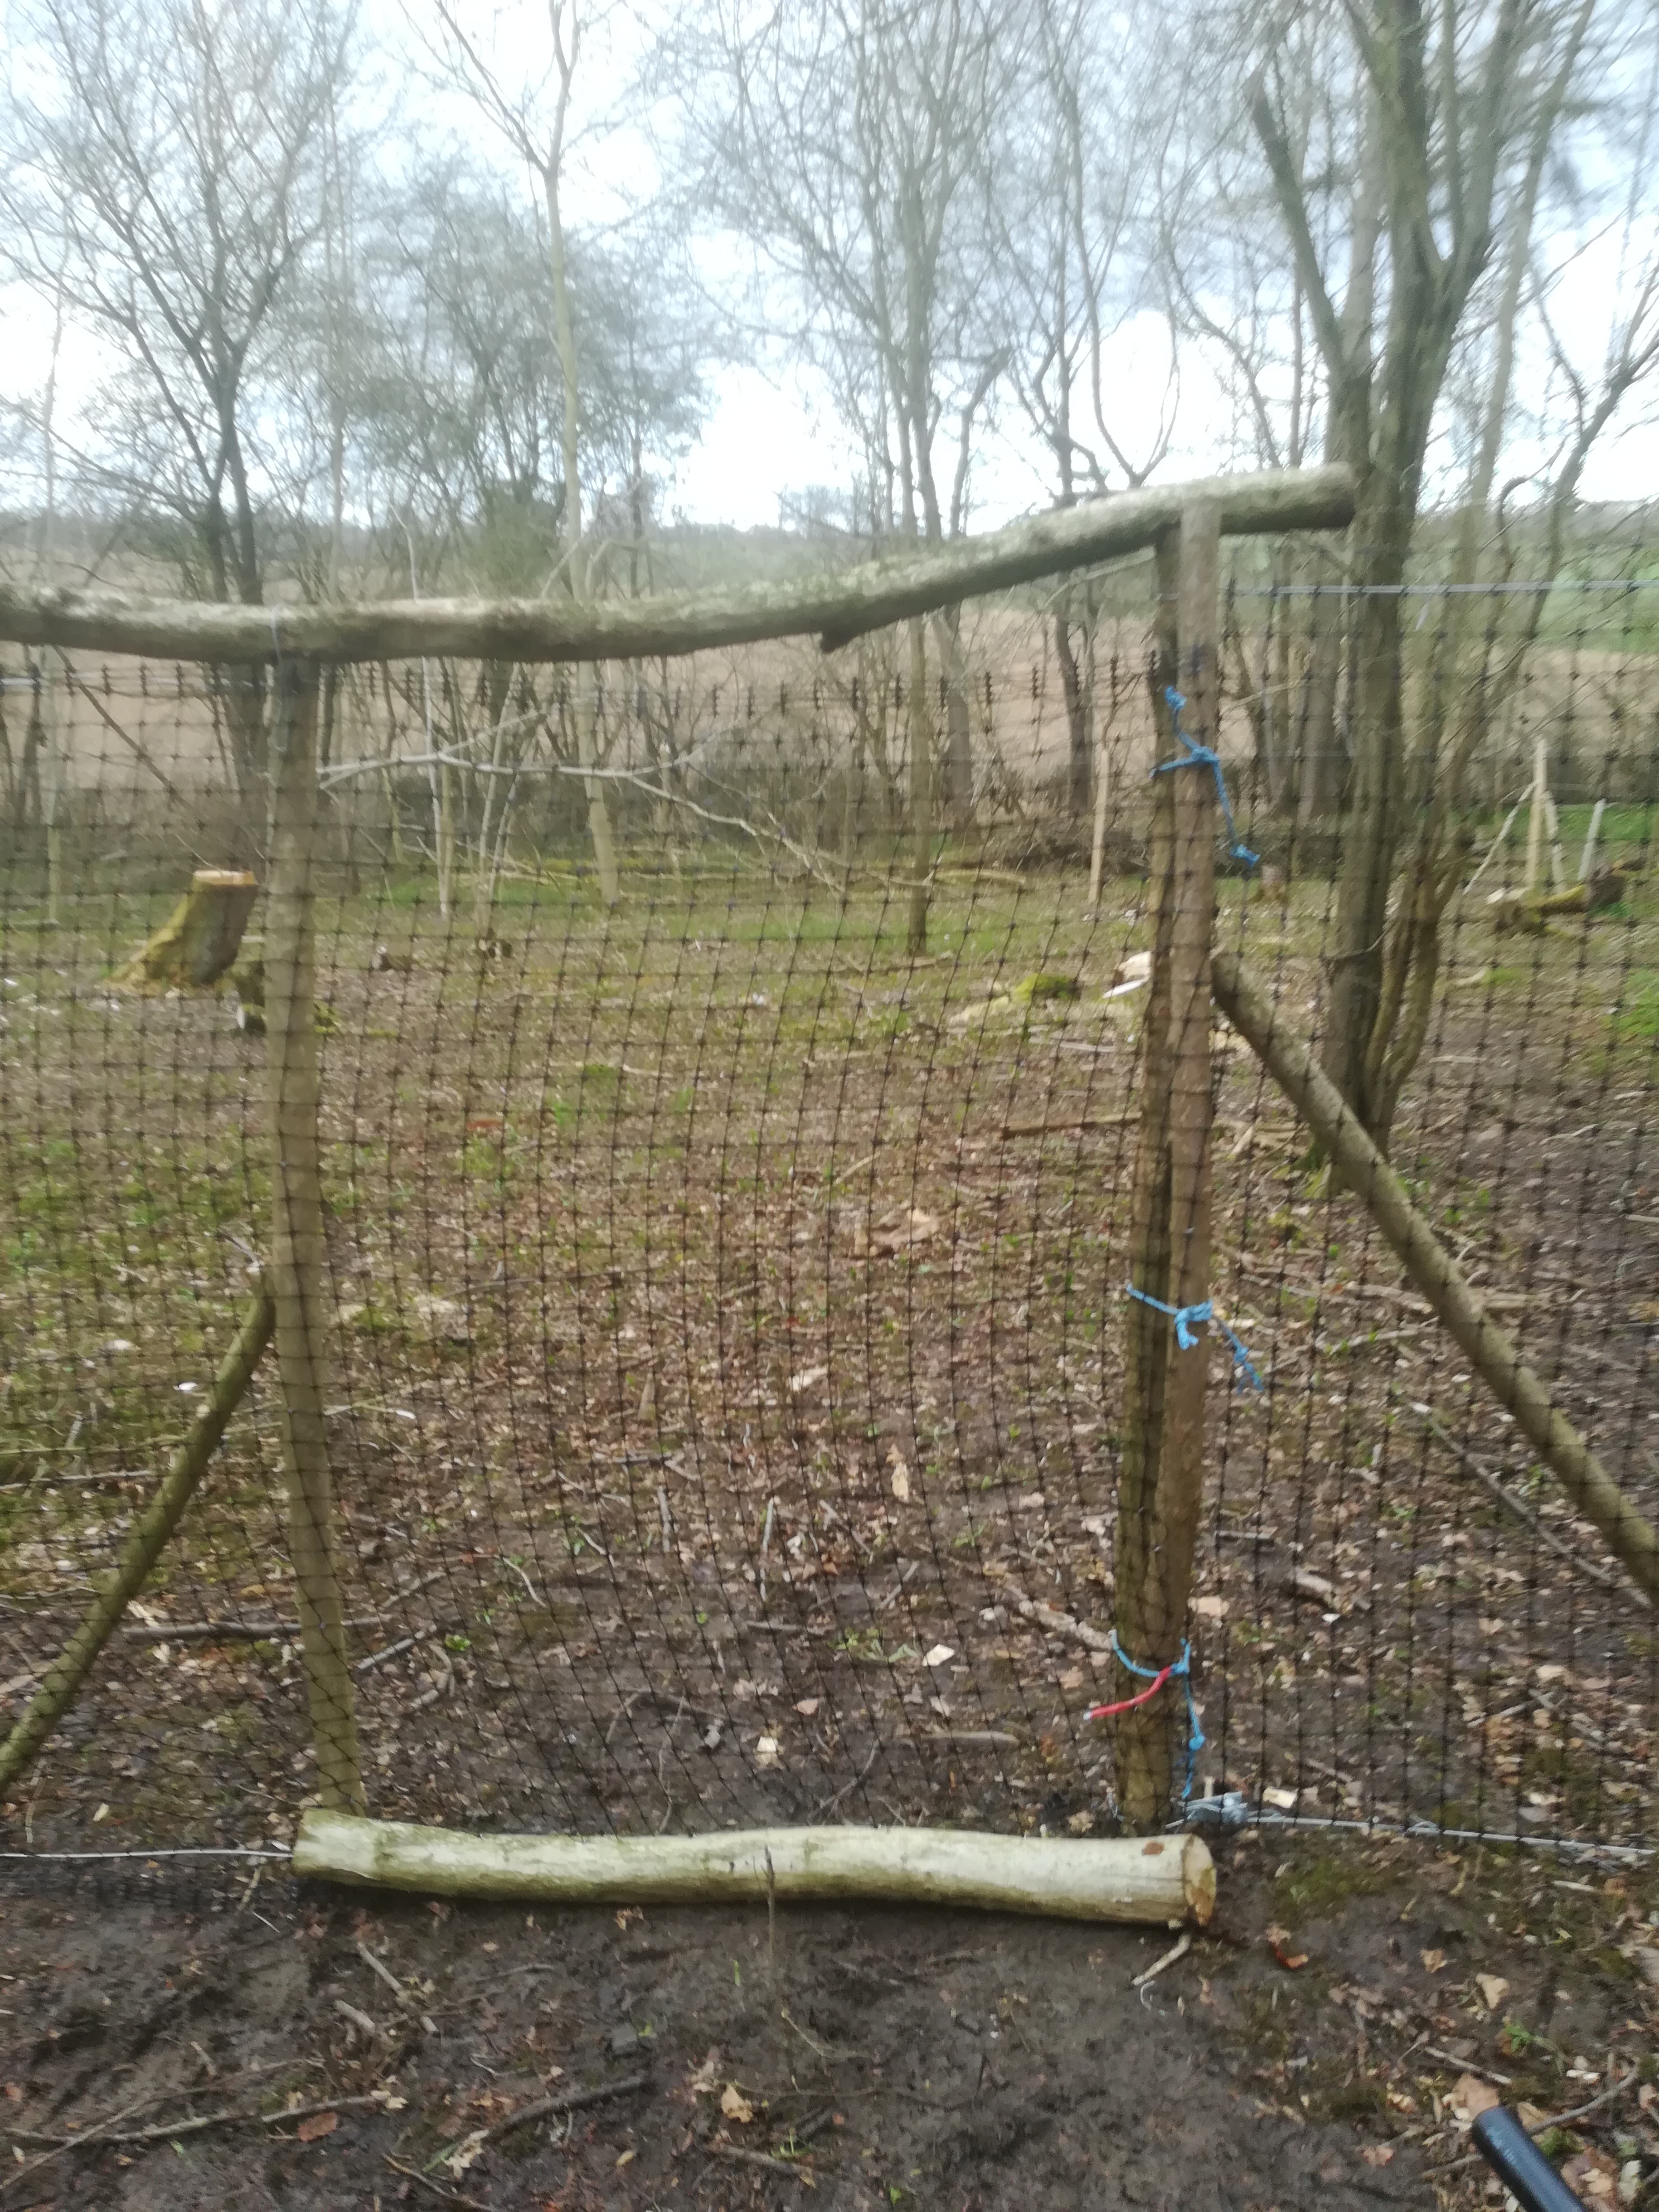
Oh and most importantly don’t forget to leave a doorway so that you can access the coppice if necessary. This one is a bit more rustic than I had intended but was made from the bits of hazel poles that I had to hand.
I will go around the bottom of the whole fence with a 3′ high roll of chicken wire with say a 6″ overlap on the ground to discourage muntjac deer and badgers who try and burrow under any obstacle.
So now ready for the main event which is the planting and layering of the existing stools. Be good to get this completed and leave the hazel to get on with simply getting established and hopefully thriving in its new home.
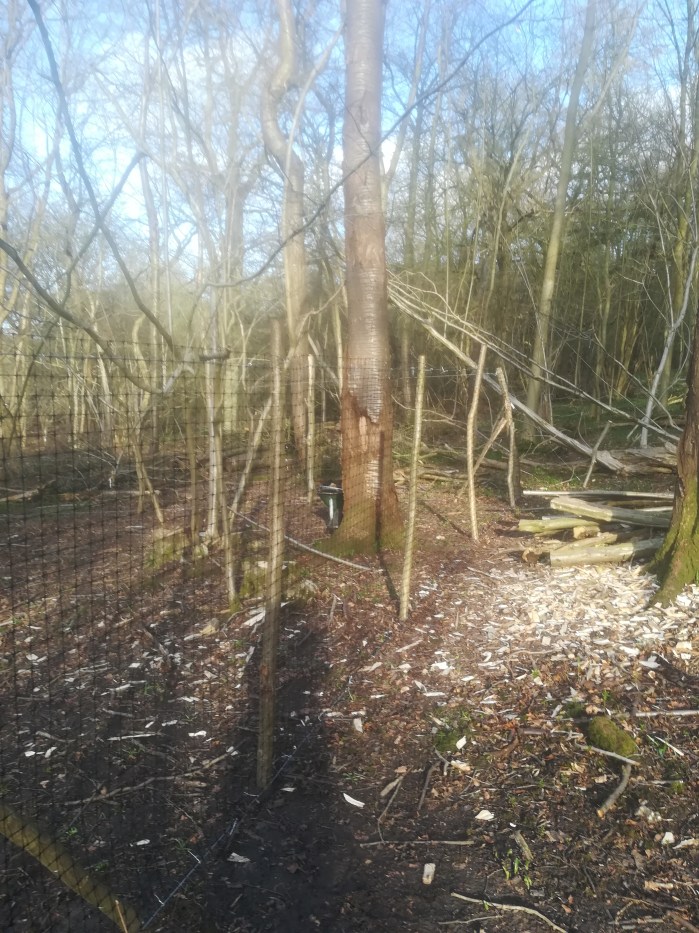
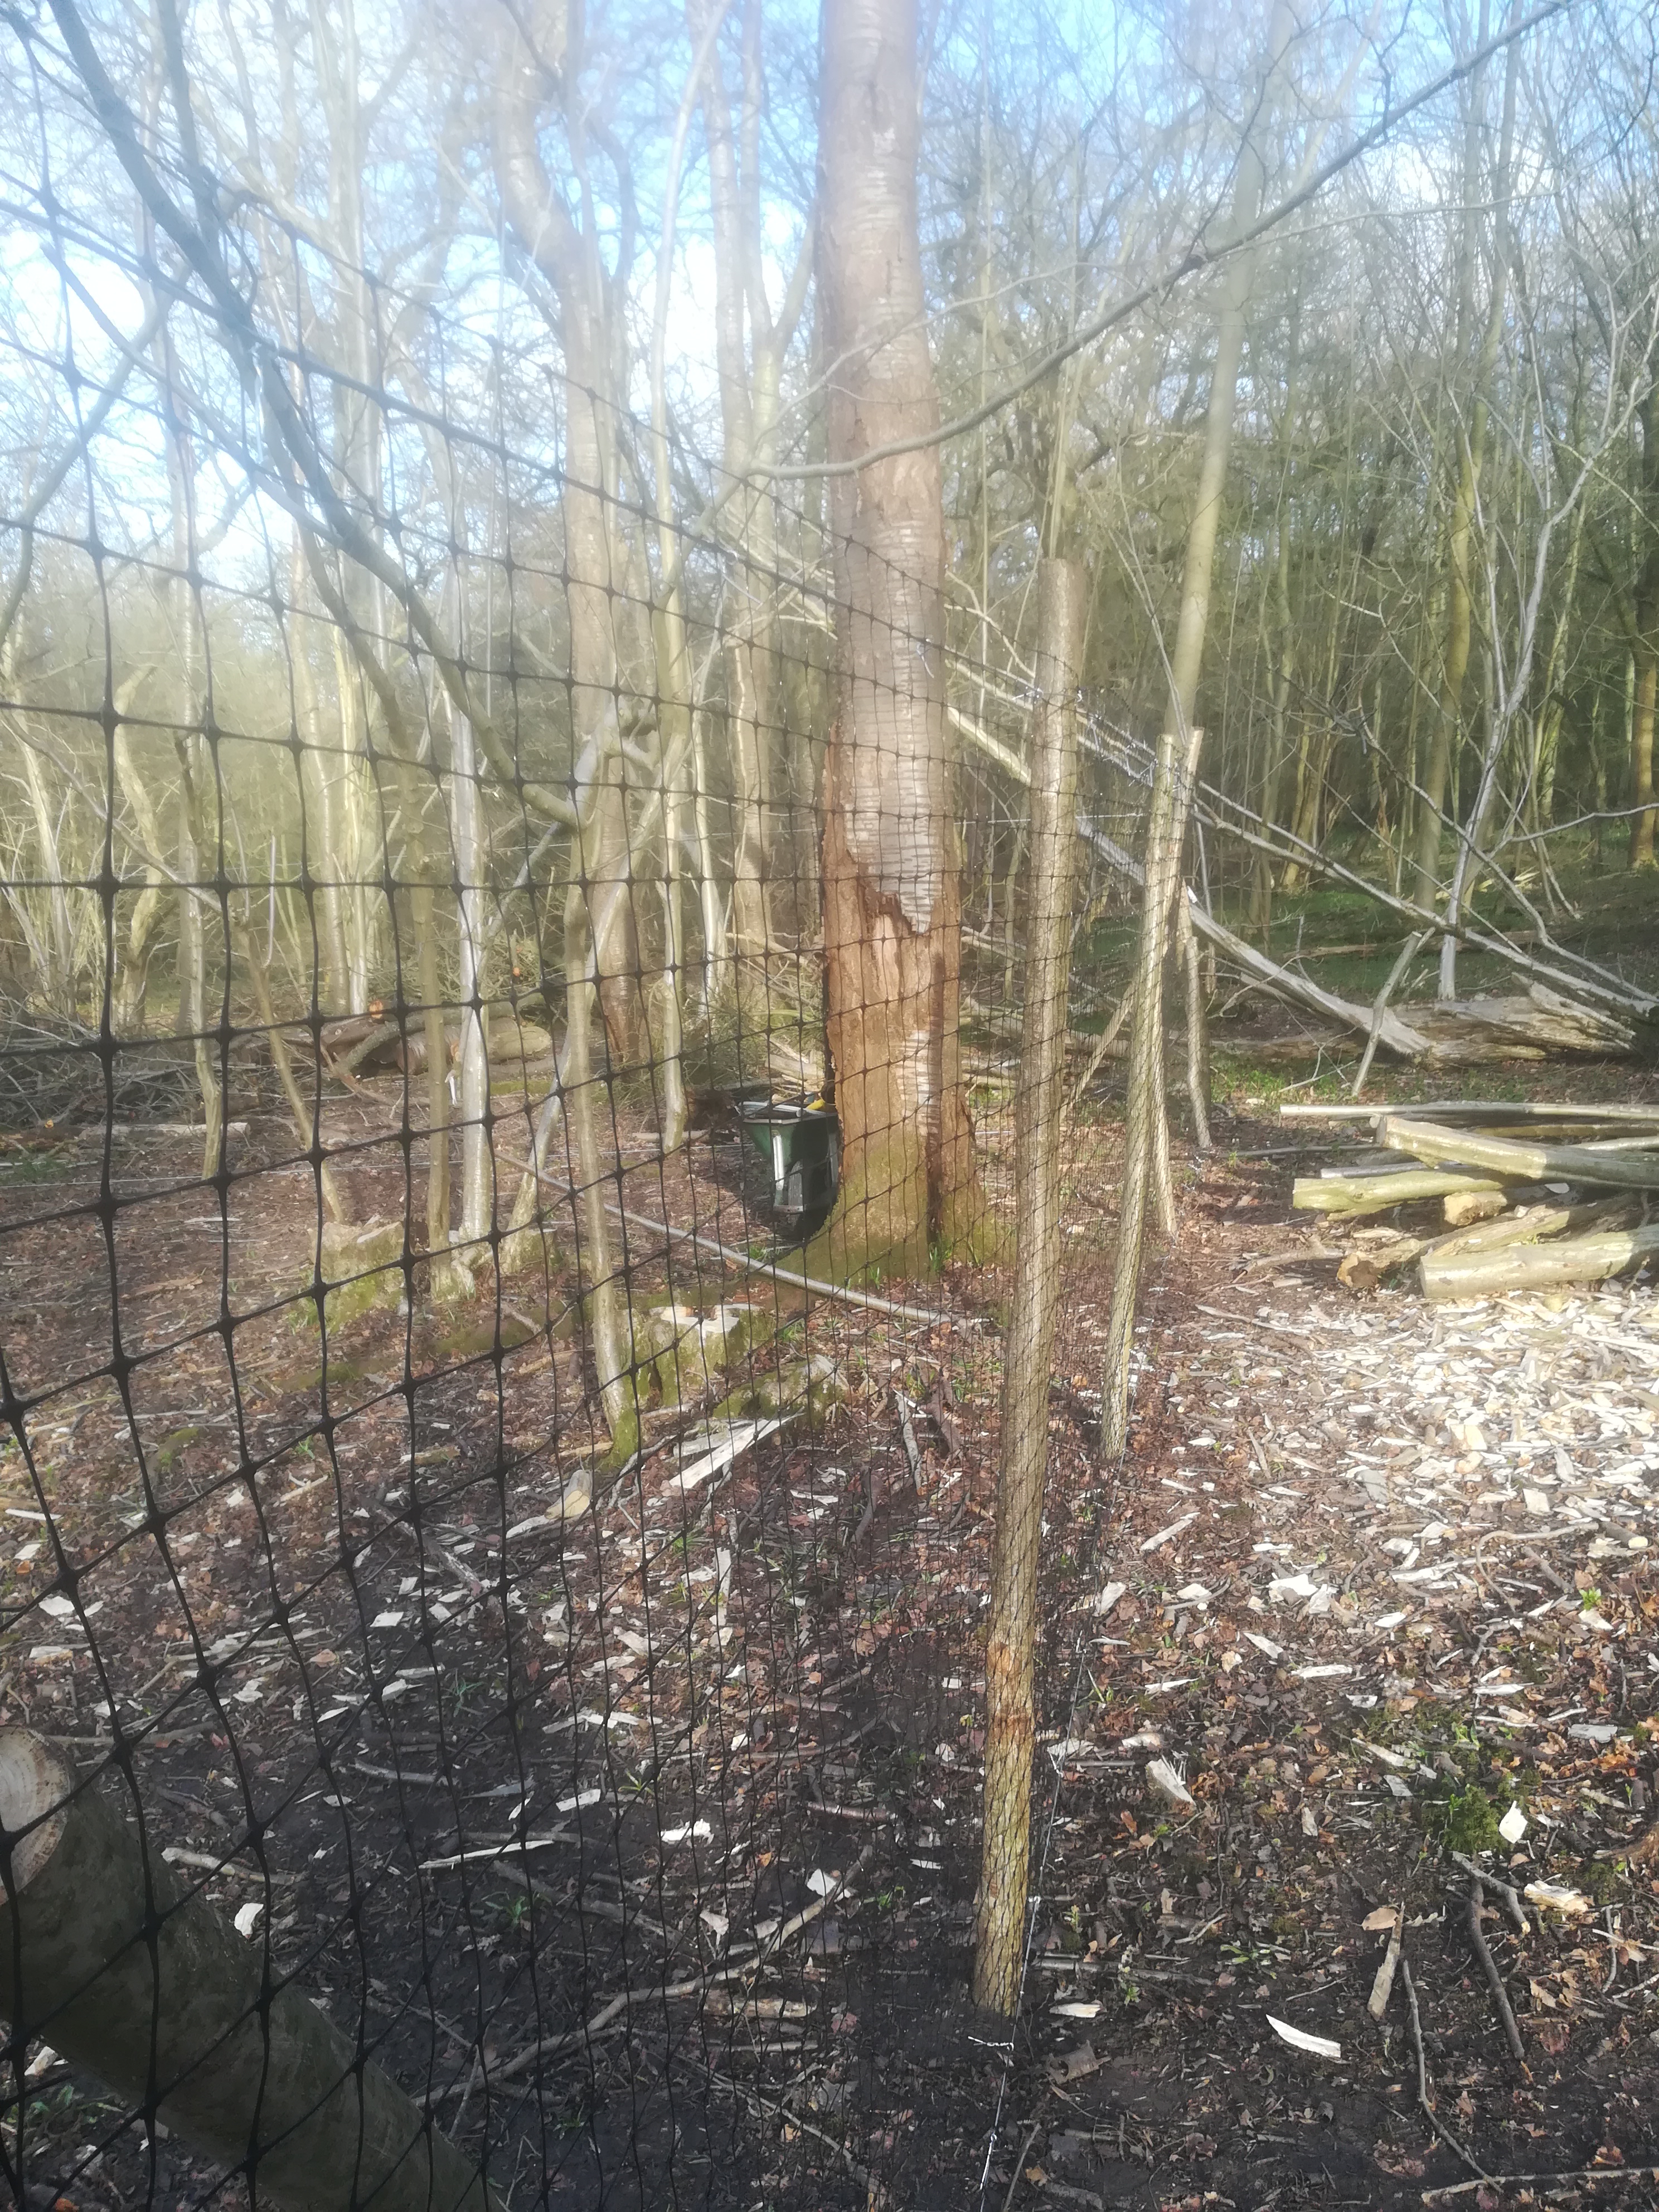
No this isn’t the last blog but as the coppice area is now clear of all the timber that was felled, the next job is to complete the fencing so that the young hazel saplings are protected from the deer. The last post was banged into place yesterday.
Here are two videos showing the “before” and “after” of the felled area.
Here is the “before” showing all the piles of logs waiting to be moved.
After the logs have been cleared.
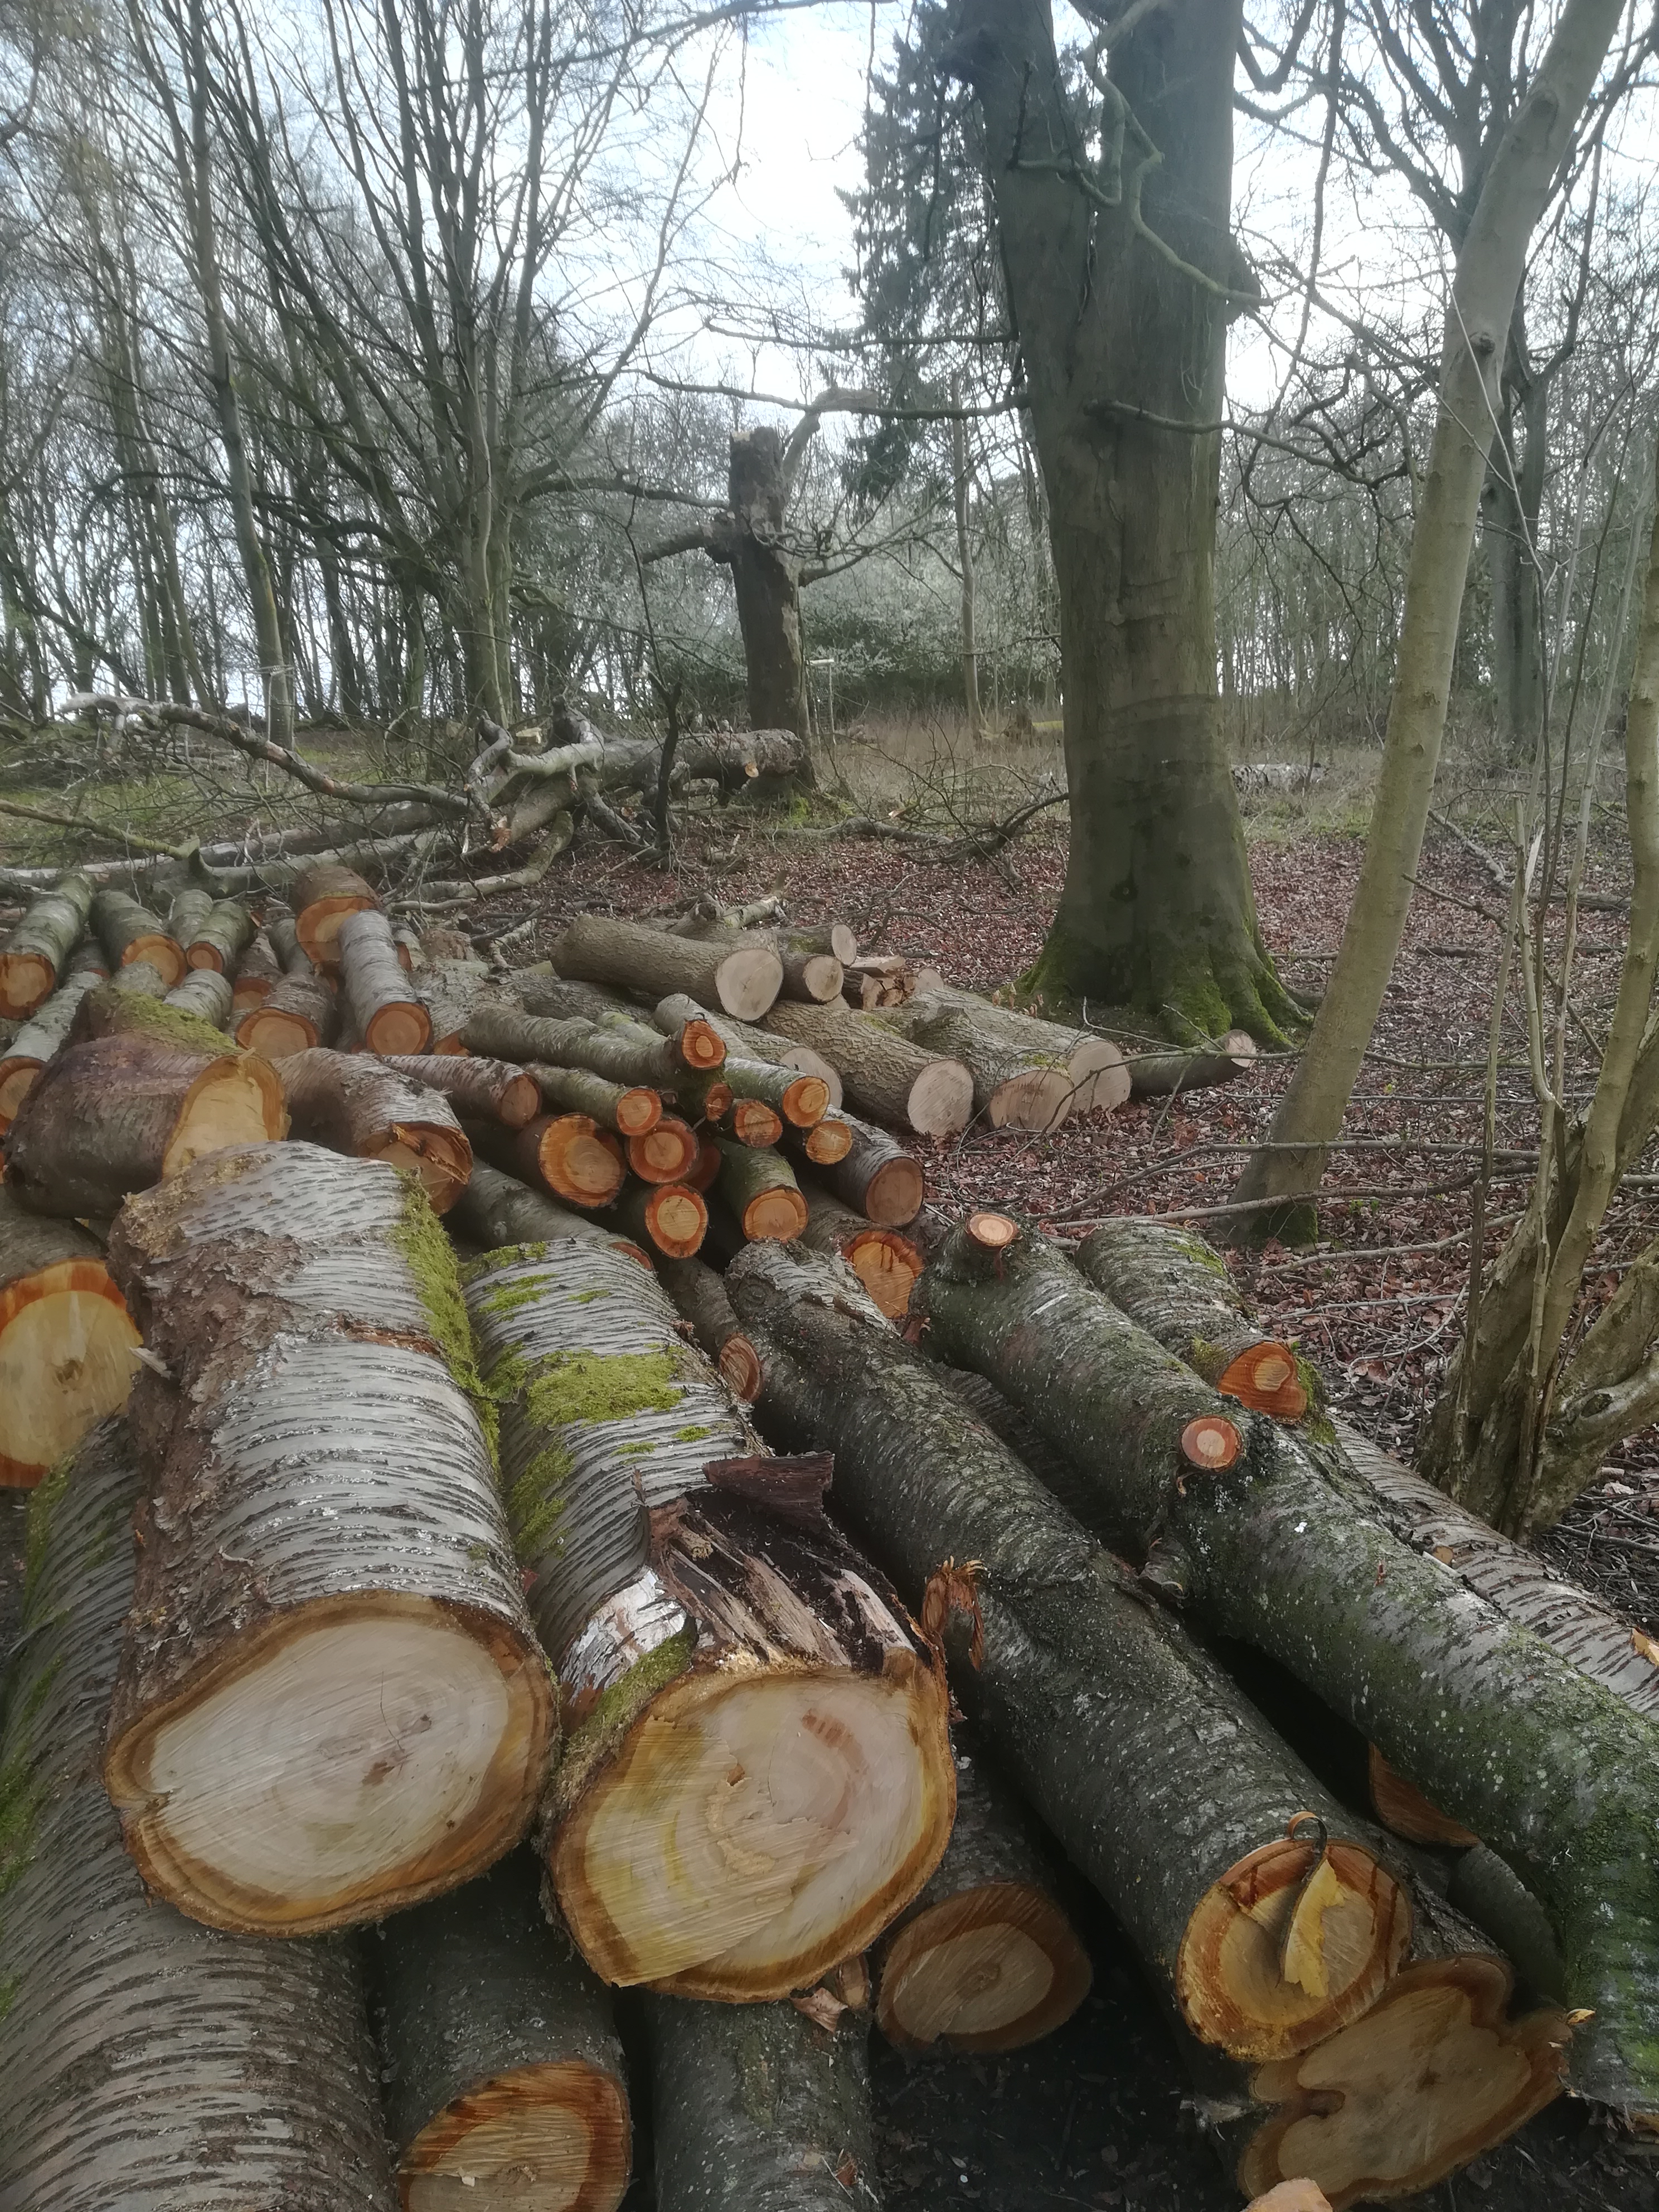
And here is where most of them ended up.
a pile of logs that will be milled into planks
The fencing comes on a pace with the last line of posts put in yesterday.
fence posts in place and bottom strking of wire tightened up
Looking the other way, with hazel ready for layering
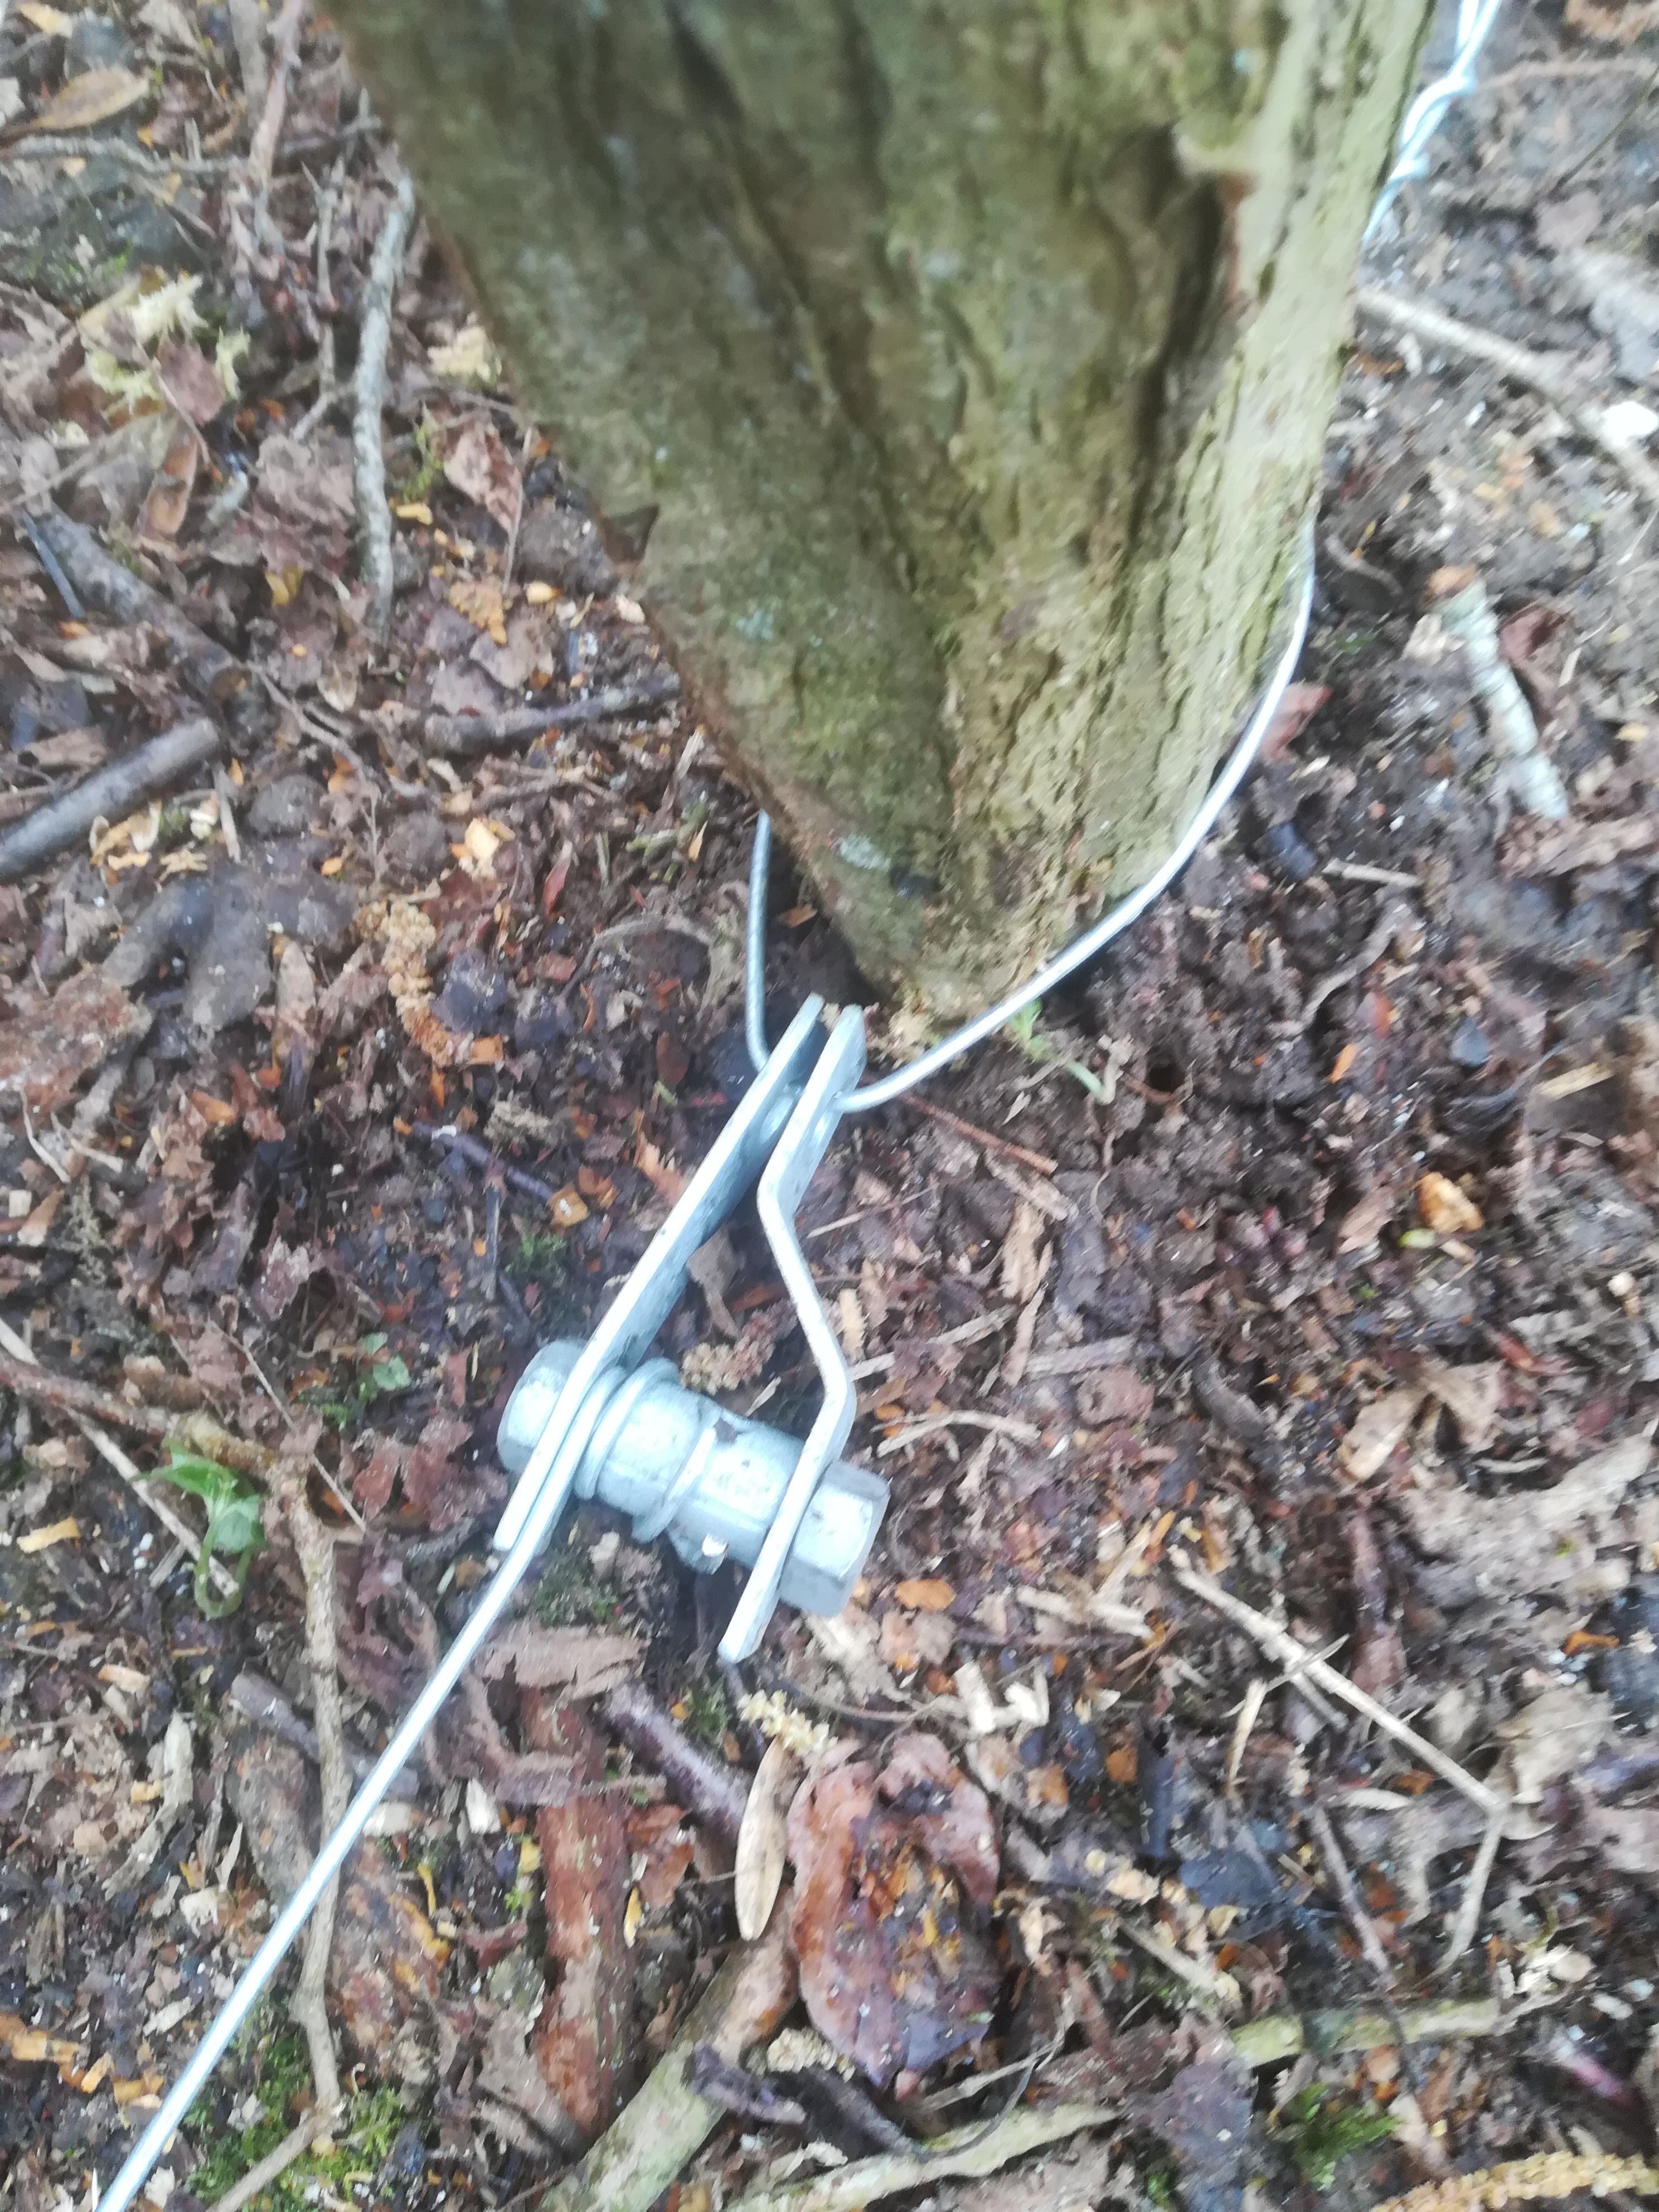
The next job is to string out the fencing wire along the bottom and top of the posts and tighten these lengths up using tensioners, as shown below.
fencing wire tensioner
More of the wire to be put in place and then the deer proof fencing can be fixed to the wires and that should keep the deer out. I will also add a 2′ high piece of chicken wire all along the fence at the bottom to discourage the rabbits and muntjac deer who try to burrow underneath things.
Then we will be ready for layering the existing hazel stools and planting the new ones.
What a difference a few weeks makes. At the beginning of February I was working in the wood with frost on the ground and an air temperature of -2ºC. This week I have been in shirt sleeves basking in 15ºC and bright sunshine. Such a difference being able to sit out at lunchtime without having to put back on every piece of clothing that you have brought just to keep warm.
The woodland is responding equally enthusiastically to the warmer, brighter weather. The dog mercury is growing almost as you watch and the wild garlic has put on a spurt during the week.
From a dead brown carpet of leaves comes new life…..wild garlic
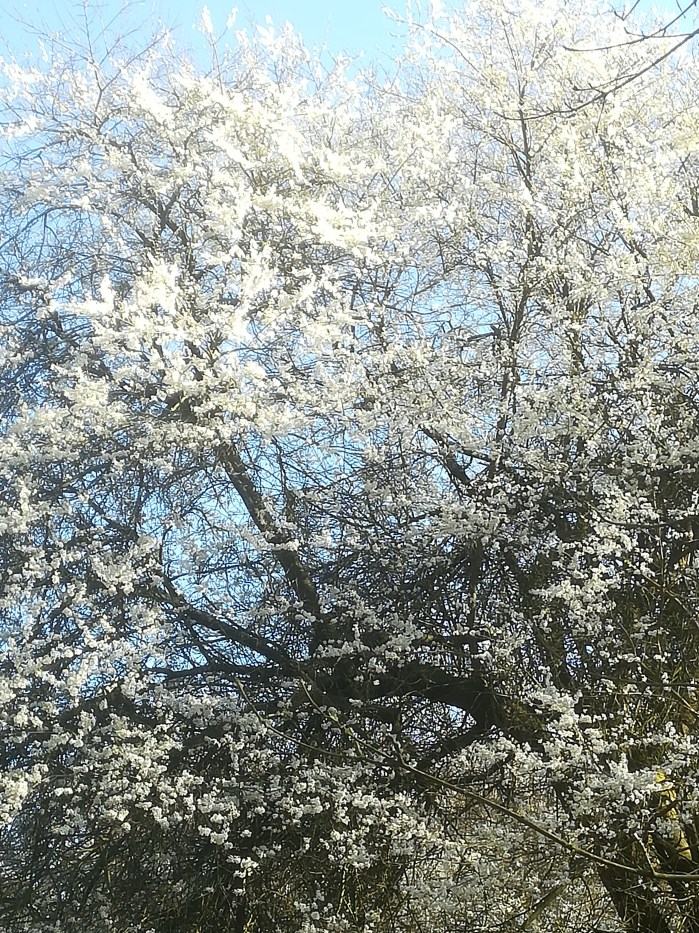
The plum cherry tree ordinarily looks a bit sorry for itself, sprawling almost horizontally in places along the horizon at the top of the wood. However, there are two occasions in the year when it comes into its own. The first is when it bursts into blossom and the other is when the tight green cherries, that have formed as the blossom fades, turn into sun ripened, juicy fruit. These taste great straight from the tree but every other living thing in the wood thinks the same so it’s a race to see if you can get any to try.
Plum cherry tree in blossom against a lovely blue sky..in winter!
The other new entrant to the re-awakening of the woodland is the bluebell. These are a personal favourite, a strong reminder of childhood days playing hide and seek amongst last years dead bracken and the scent of bluebells.
The green carpet of bluebells starts its progress towards the bright blue.
What starts out as a green baize transforms into a blue haze and then eventually into a straw coloured, berry clad, carpet. What an amazing plant. The hornbeam and oak at the top of the wood won’t come into leaf for a few weeks yet so the sunshine is hitting the woodland floor, warming the soil up and lighting up the “go” button of the bluebells to once more work their magic. Once it has done its thing it all dies back into the bulb, completely disappears and awaits its turn next year.
For all my huffing and puffing, cutting and carting wood at the bottom of the plot the real work is going on without any intervention from me or anyone else. Spring has well and truly sprung and its still officially winter.
The task of shifting all the logs that I have felled continues in order to clear the coppice ready for planting. Up against the time somewhat now as March approaches but I think that we will just be ready in time.
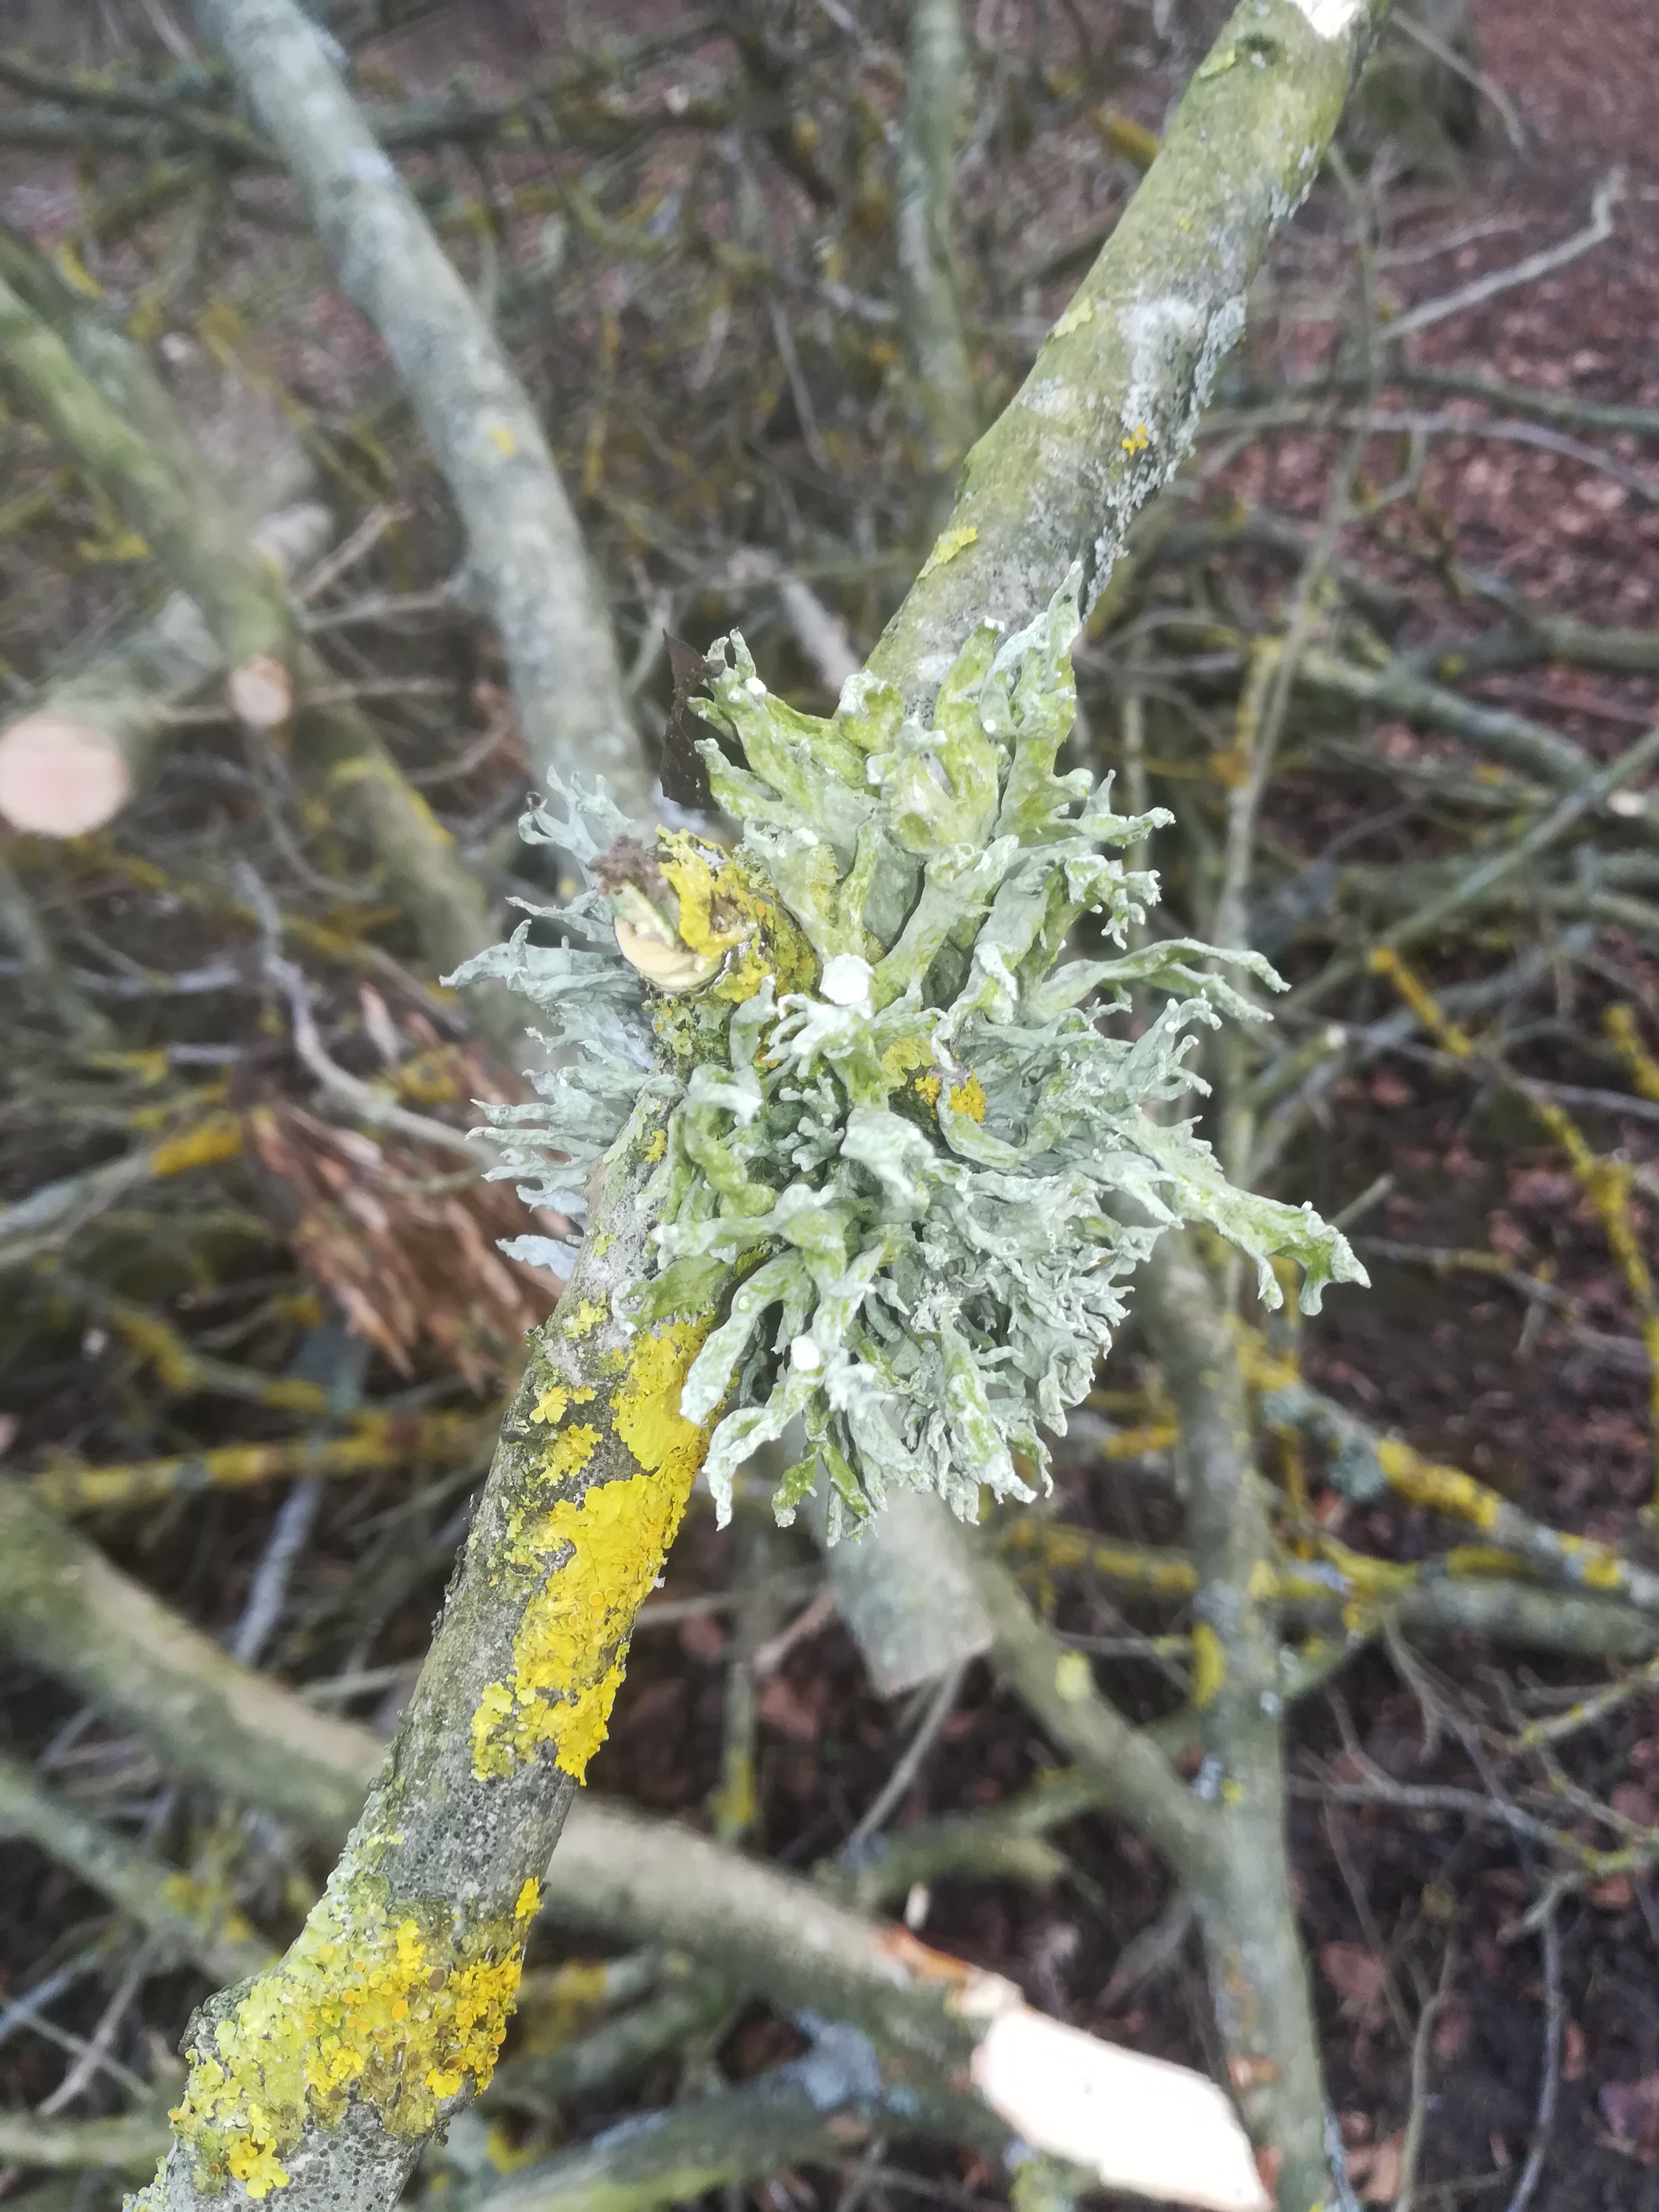
Whilst shifting some ash branches I spotted a lovely piece of lichen wrapped around the stem.
lichen sprouting out of thin air
The British Lichen Society has a database which shows that ash trees are the home to in excess of 536 lichens (27.5% of the British lichen flora), these having been recorded by lichenologists. Of these, 220 are Nationally Rare or Nationally Scarce and 84 have a conservation status of near-threatened or above so ash die back is a real concern for lichens. Given that information I don’t think I will be able to accurately identify this particular lichen.
Wow what a lot to understand about lichens.
The following is an extract from the Woodland Trust website.
Lichens are wonderful, complex organisms that should not be overlooked. They can be found growing on trees, rocks, walls and fences, and offer food and shelter to many invertebrates that in turn feed others creatures. They are also used by birds as nesting material.
Woods rich in lichens support more wildlife than others, and ancient woods are particularly important for them.
Lichens are a symbiosis of two partners working together in harmony; one a fungus and one a green alga or cyanobacterium (a type of bacteria that gets its energy from photosynthesis, as does the alga).
The fungus protects the alga or cyanobacterium from harsh external elements by offering it a sheltered home to live in and providing mineral nutrients. In return the alga or cyanobacterium captures the sun’s energy via photosynthesis and creates carbohydrate food that feeds itself and the fungus.
There are four main types of lichen: crusty (crustose); scaly (squamulose); leafy (foliose); and beardy (fruticose). They are sensitive to pollution and can be used as indicators of air quality. Crusty lichens are hardier to pollution, whereas the more delicate beard-like ones are mostly found in cleaner locations and are rarer.
Lichens harbour their own ecosystem. Tiny tardigrades, also called waterbears or moss piglets, are particularly amazing creatures that inhabit moist lichen. They can endure extreme conditions and are the first known animal to have survived the vacuum of space.
Tardigrades or water bear are about 0.5 mm (0.02 in) long when they are fully grown.
How often do we ignore or simply not notice what is right under our noses? But how amazing it is when we stop and ask a couple of questions. The results sometimes can be out of this world.
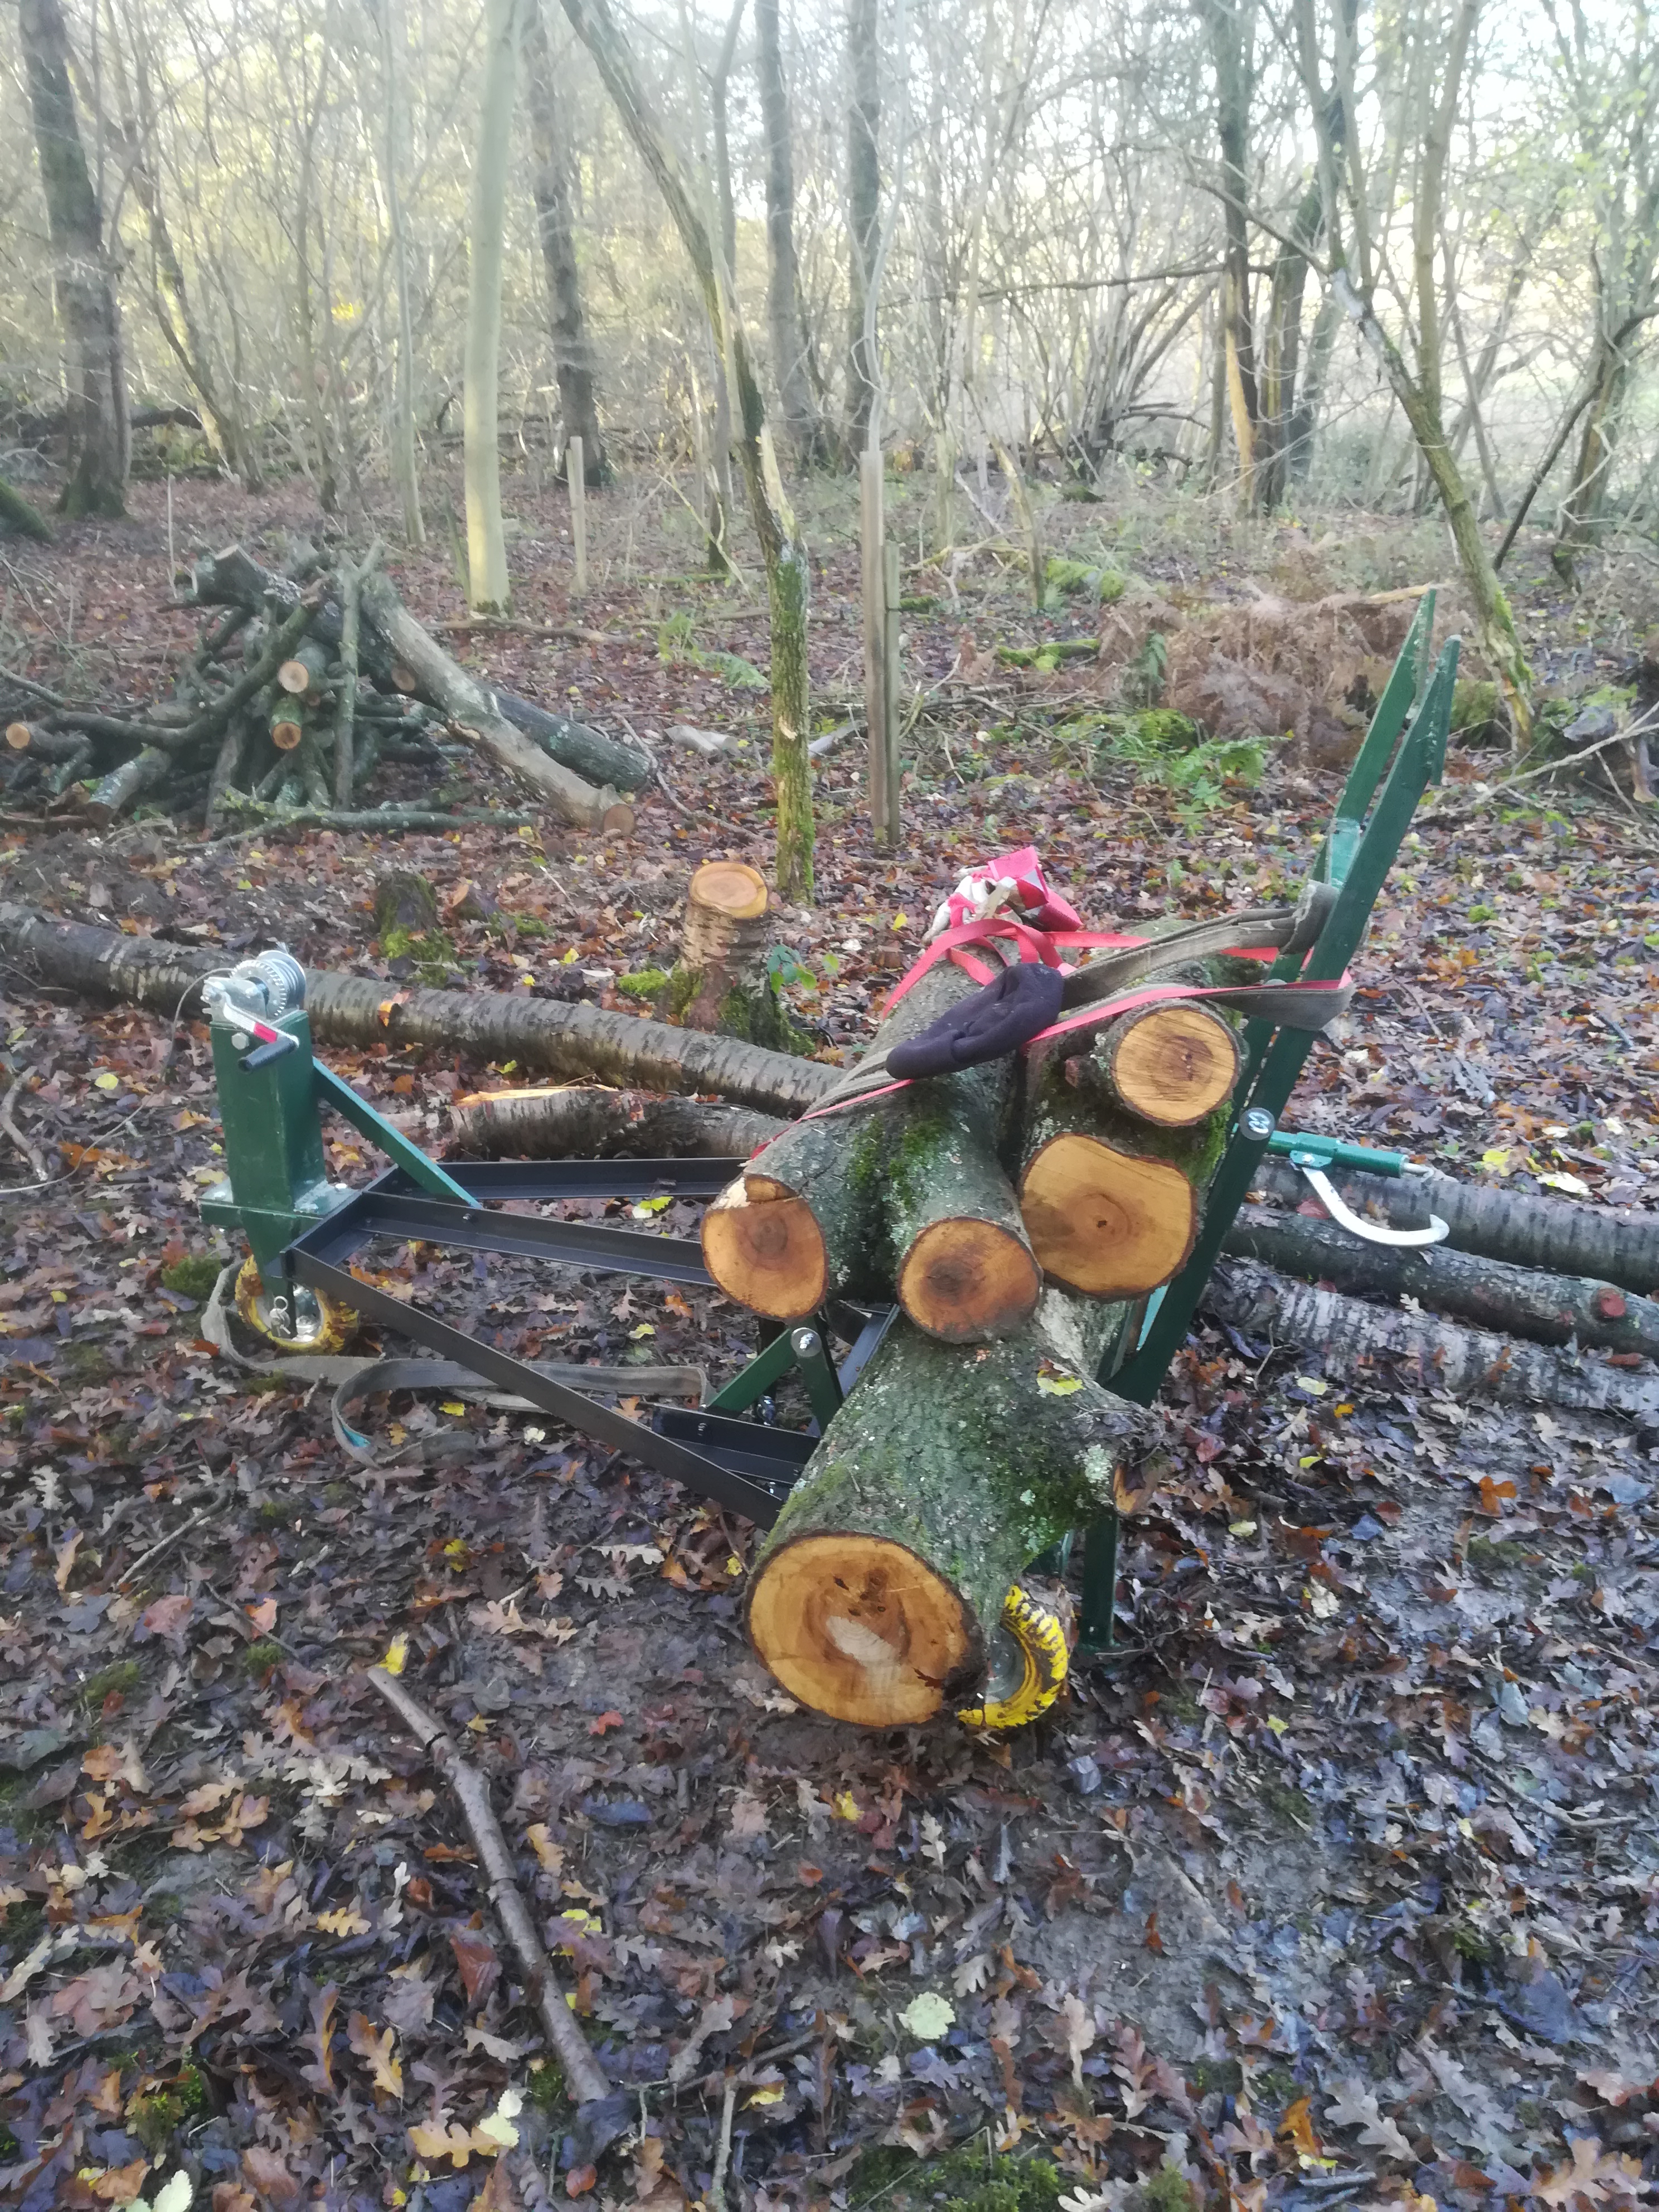
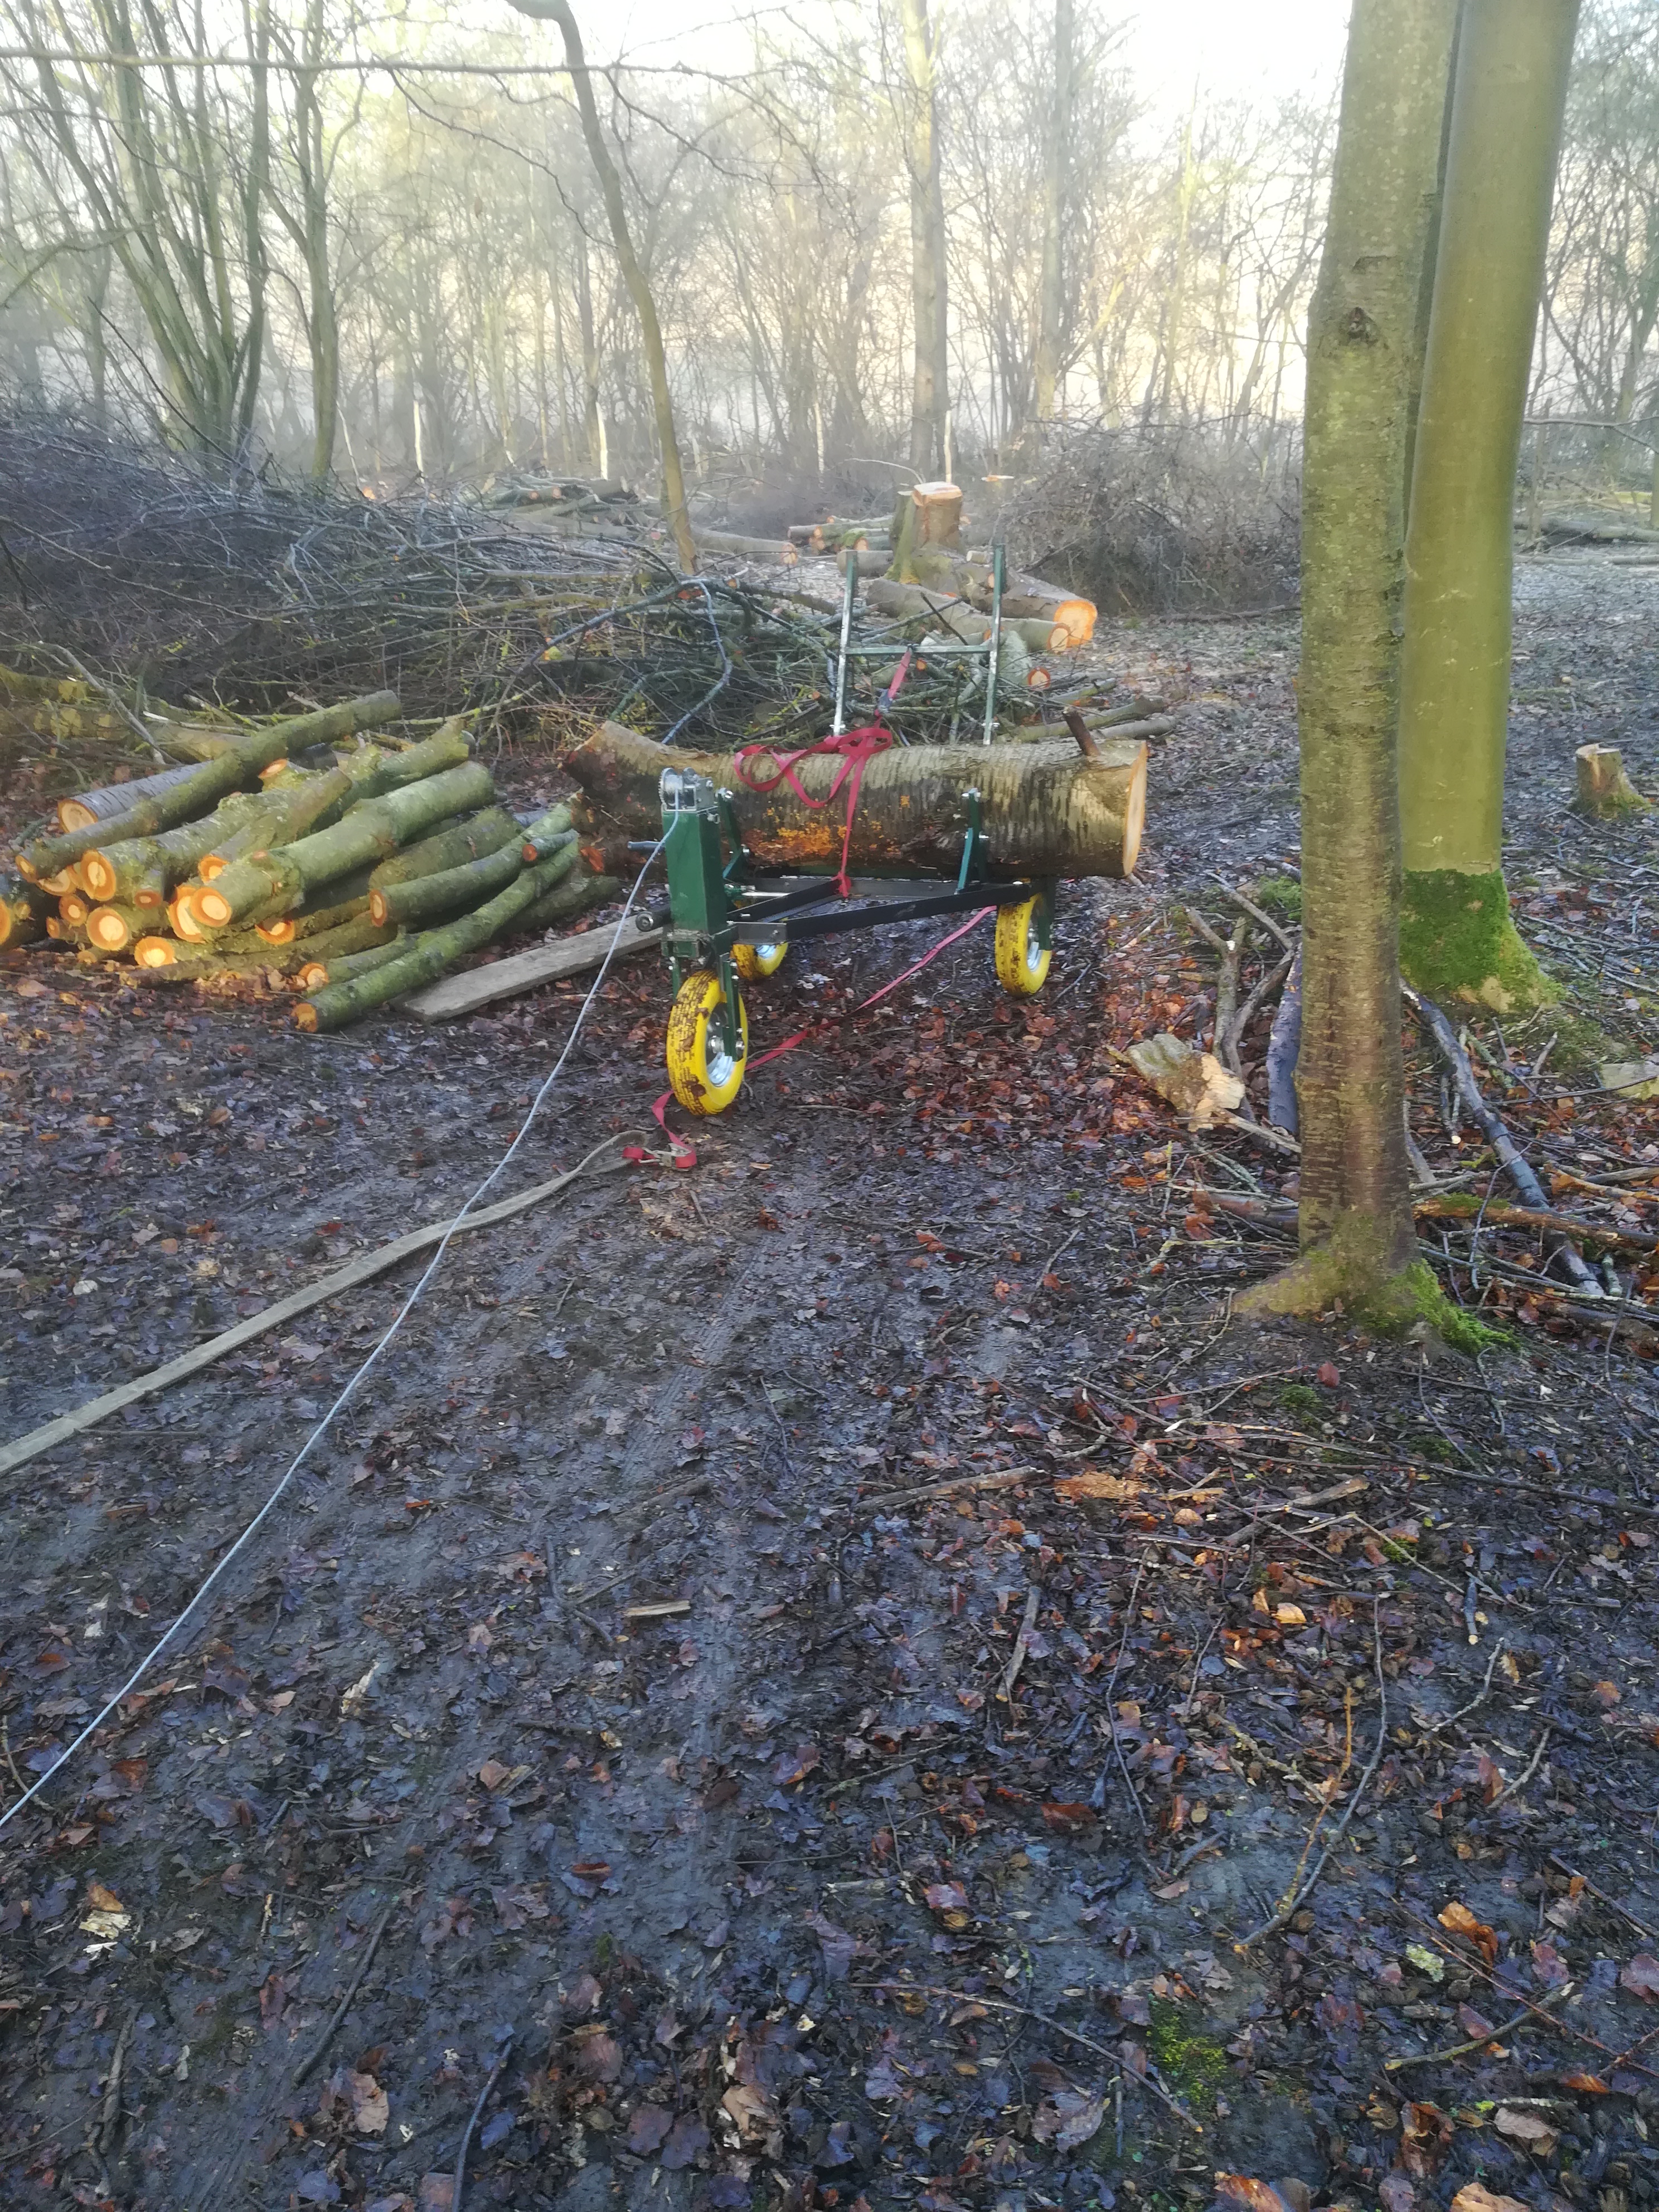
Moving the sections of tree that I have cut down from the coppice area is proving to be a very time consuming and tiring task. I have taken down six or seven mature wild cherry trees and also the remains of a partially collapsed ash tree. On the positive side there is a lot of good quality timber to be milled from these logs; on the down side they are very heavy and difficult to move across fairly rough terrain.
back in business
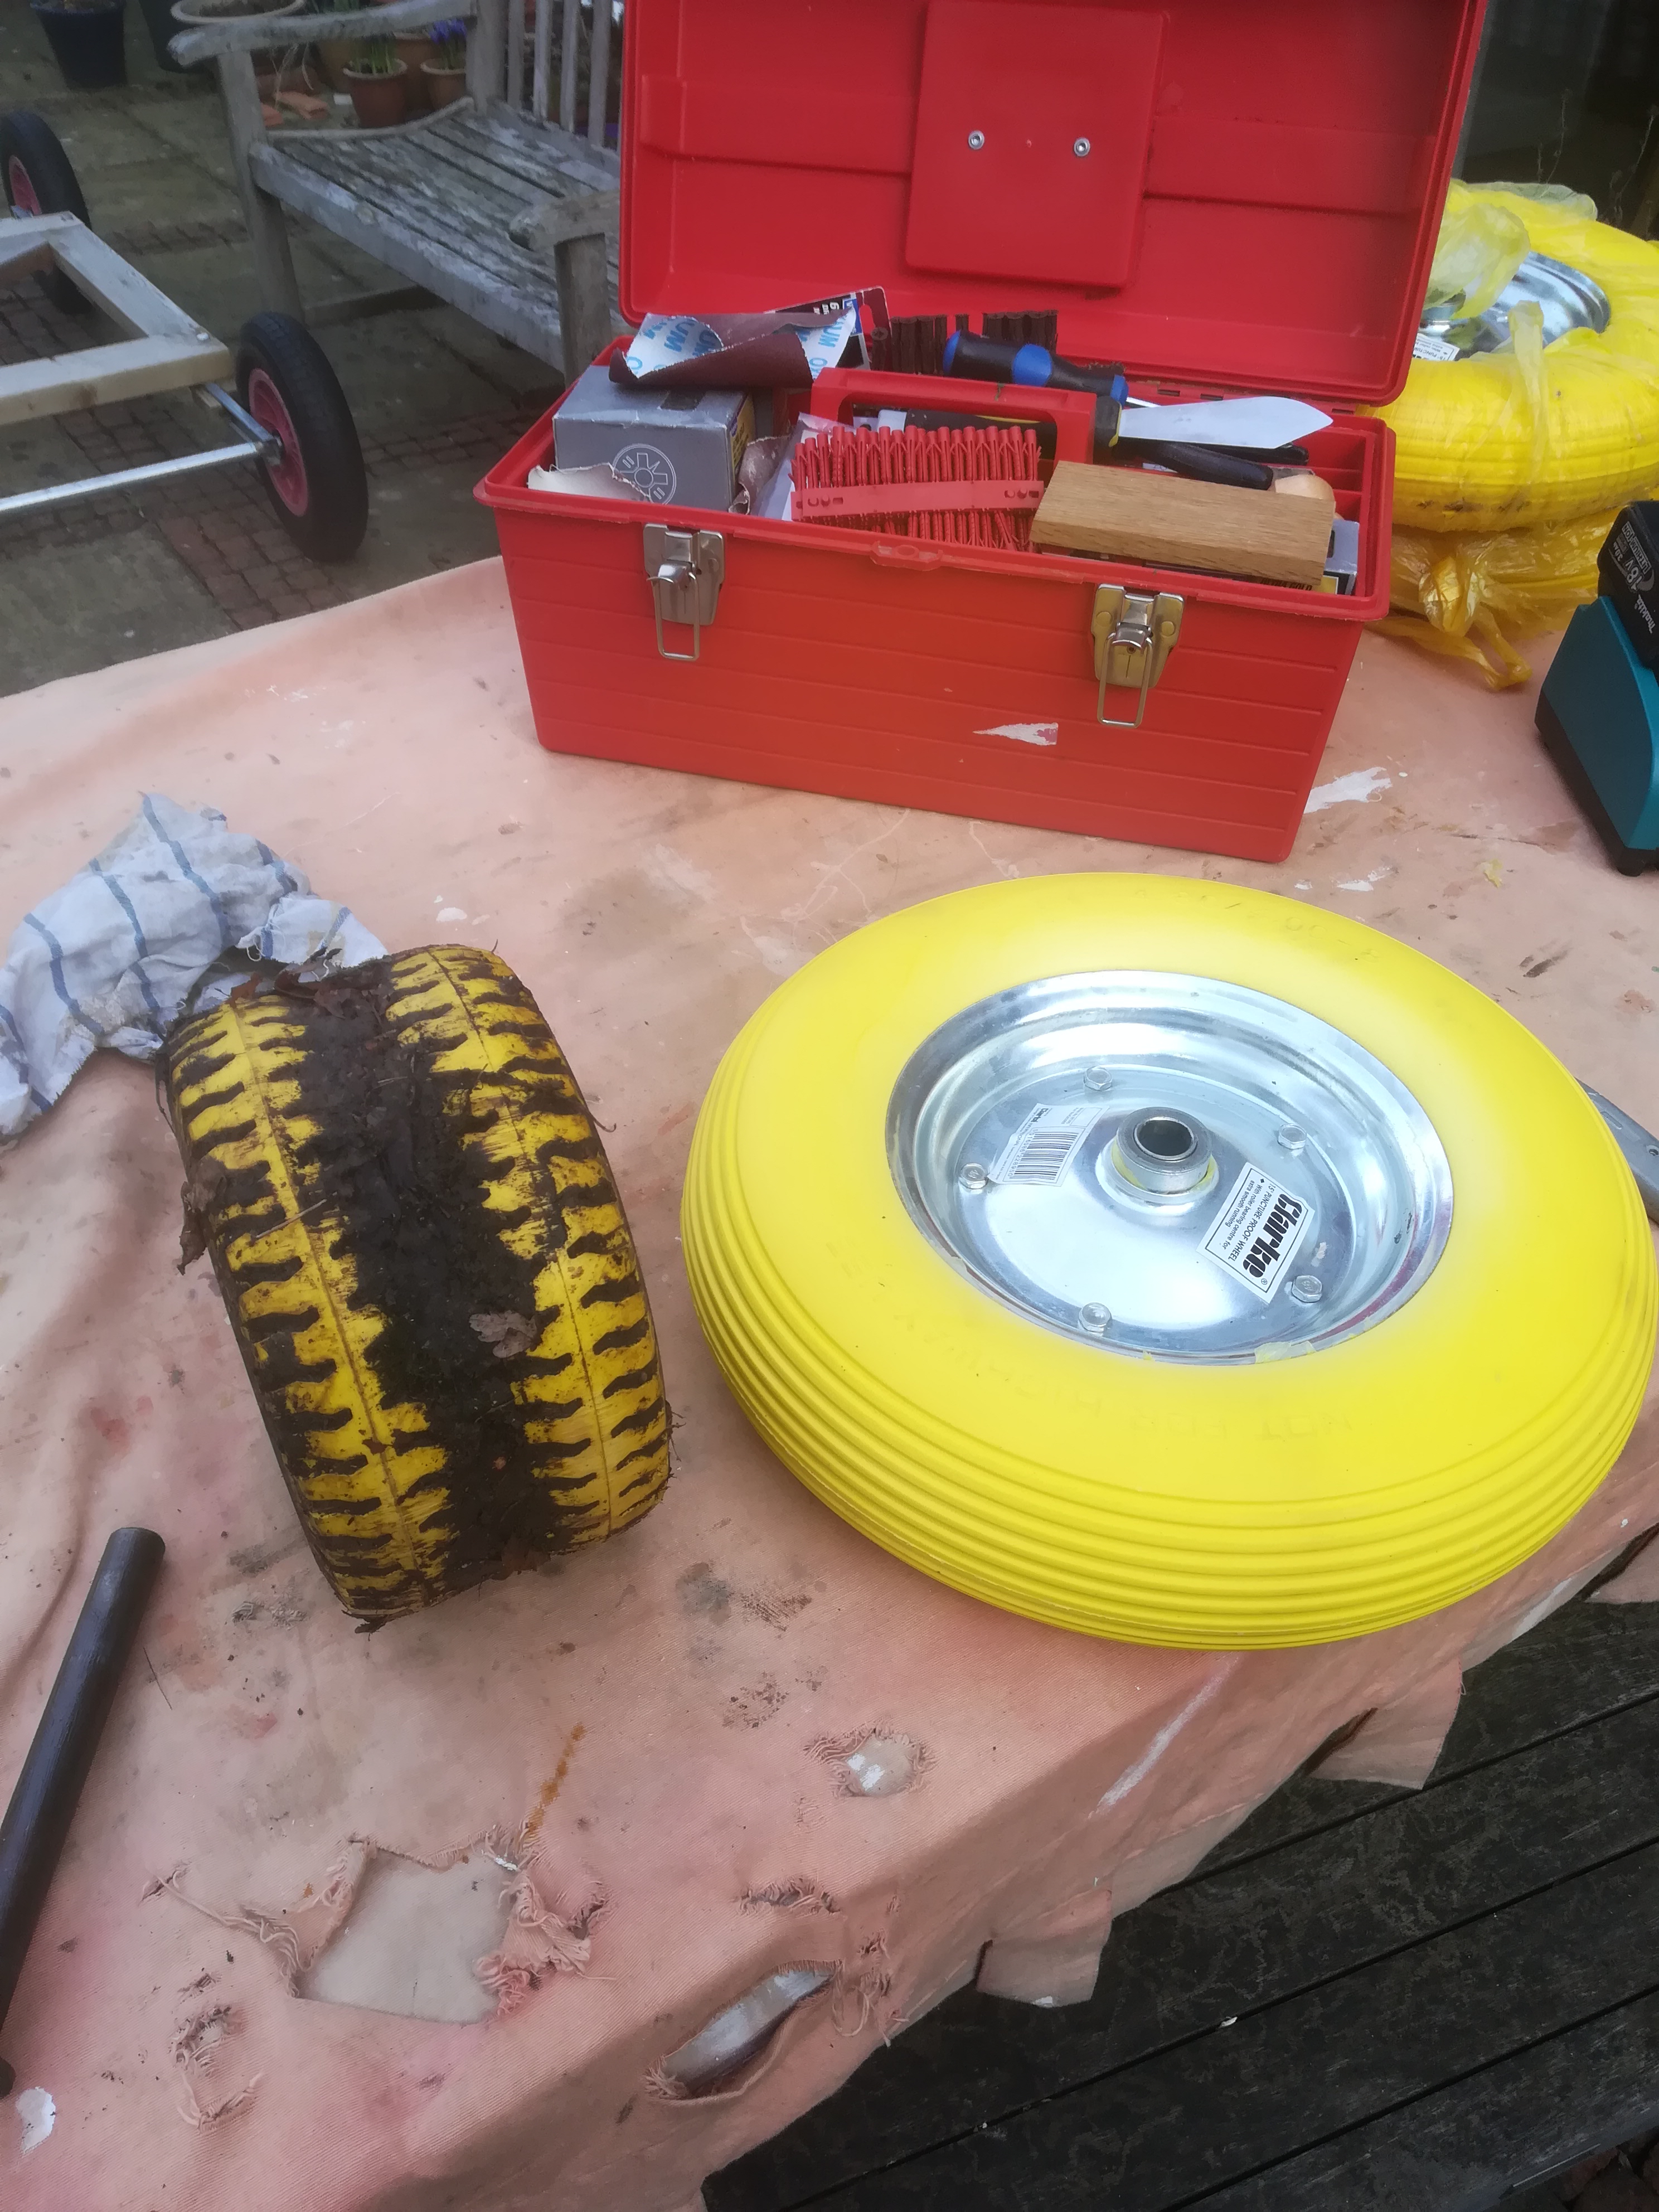
To date I have been using the strengthened log carrier MK 1a and this has been the most effective and reasonably efficient method. Great design but the ground conditions have worked against it recently. The main drawback has been the increasingly sticky mud jamming up the double wheels at the back. The mud is forced between the two sets of tyres and so pushes the wheel itself onto the metal frame making it rub and the whole thing harder to drag along. Bigger wheels, that must be the answer.
Great idea, just need to fit them to the trolley. That’s when the real fun began.
dav
Clearly a much bigger wheel needs to have a much bigger clearance space so that it fits inside the frame and runs freely.
two wheels on my wagon
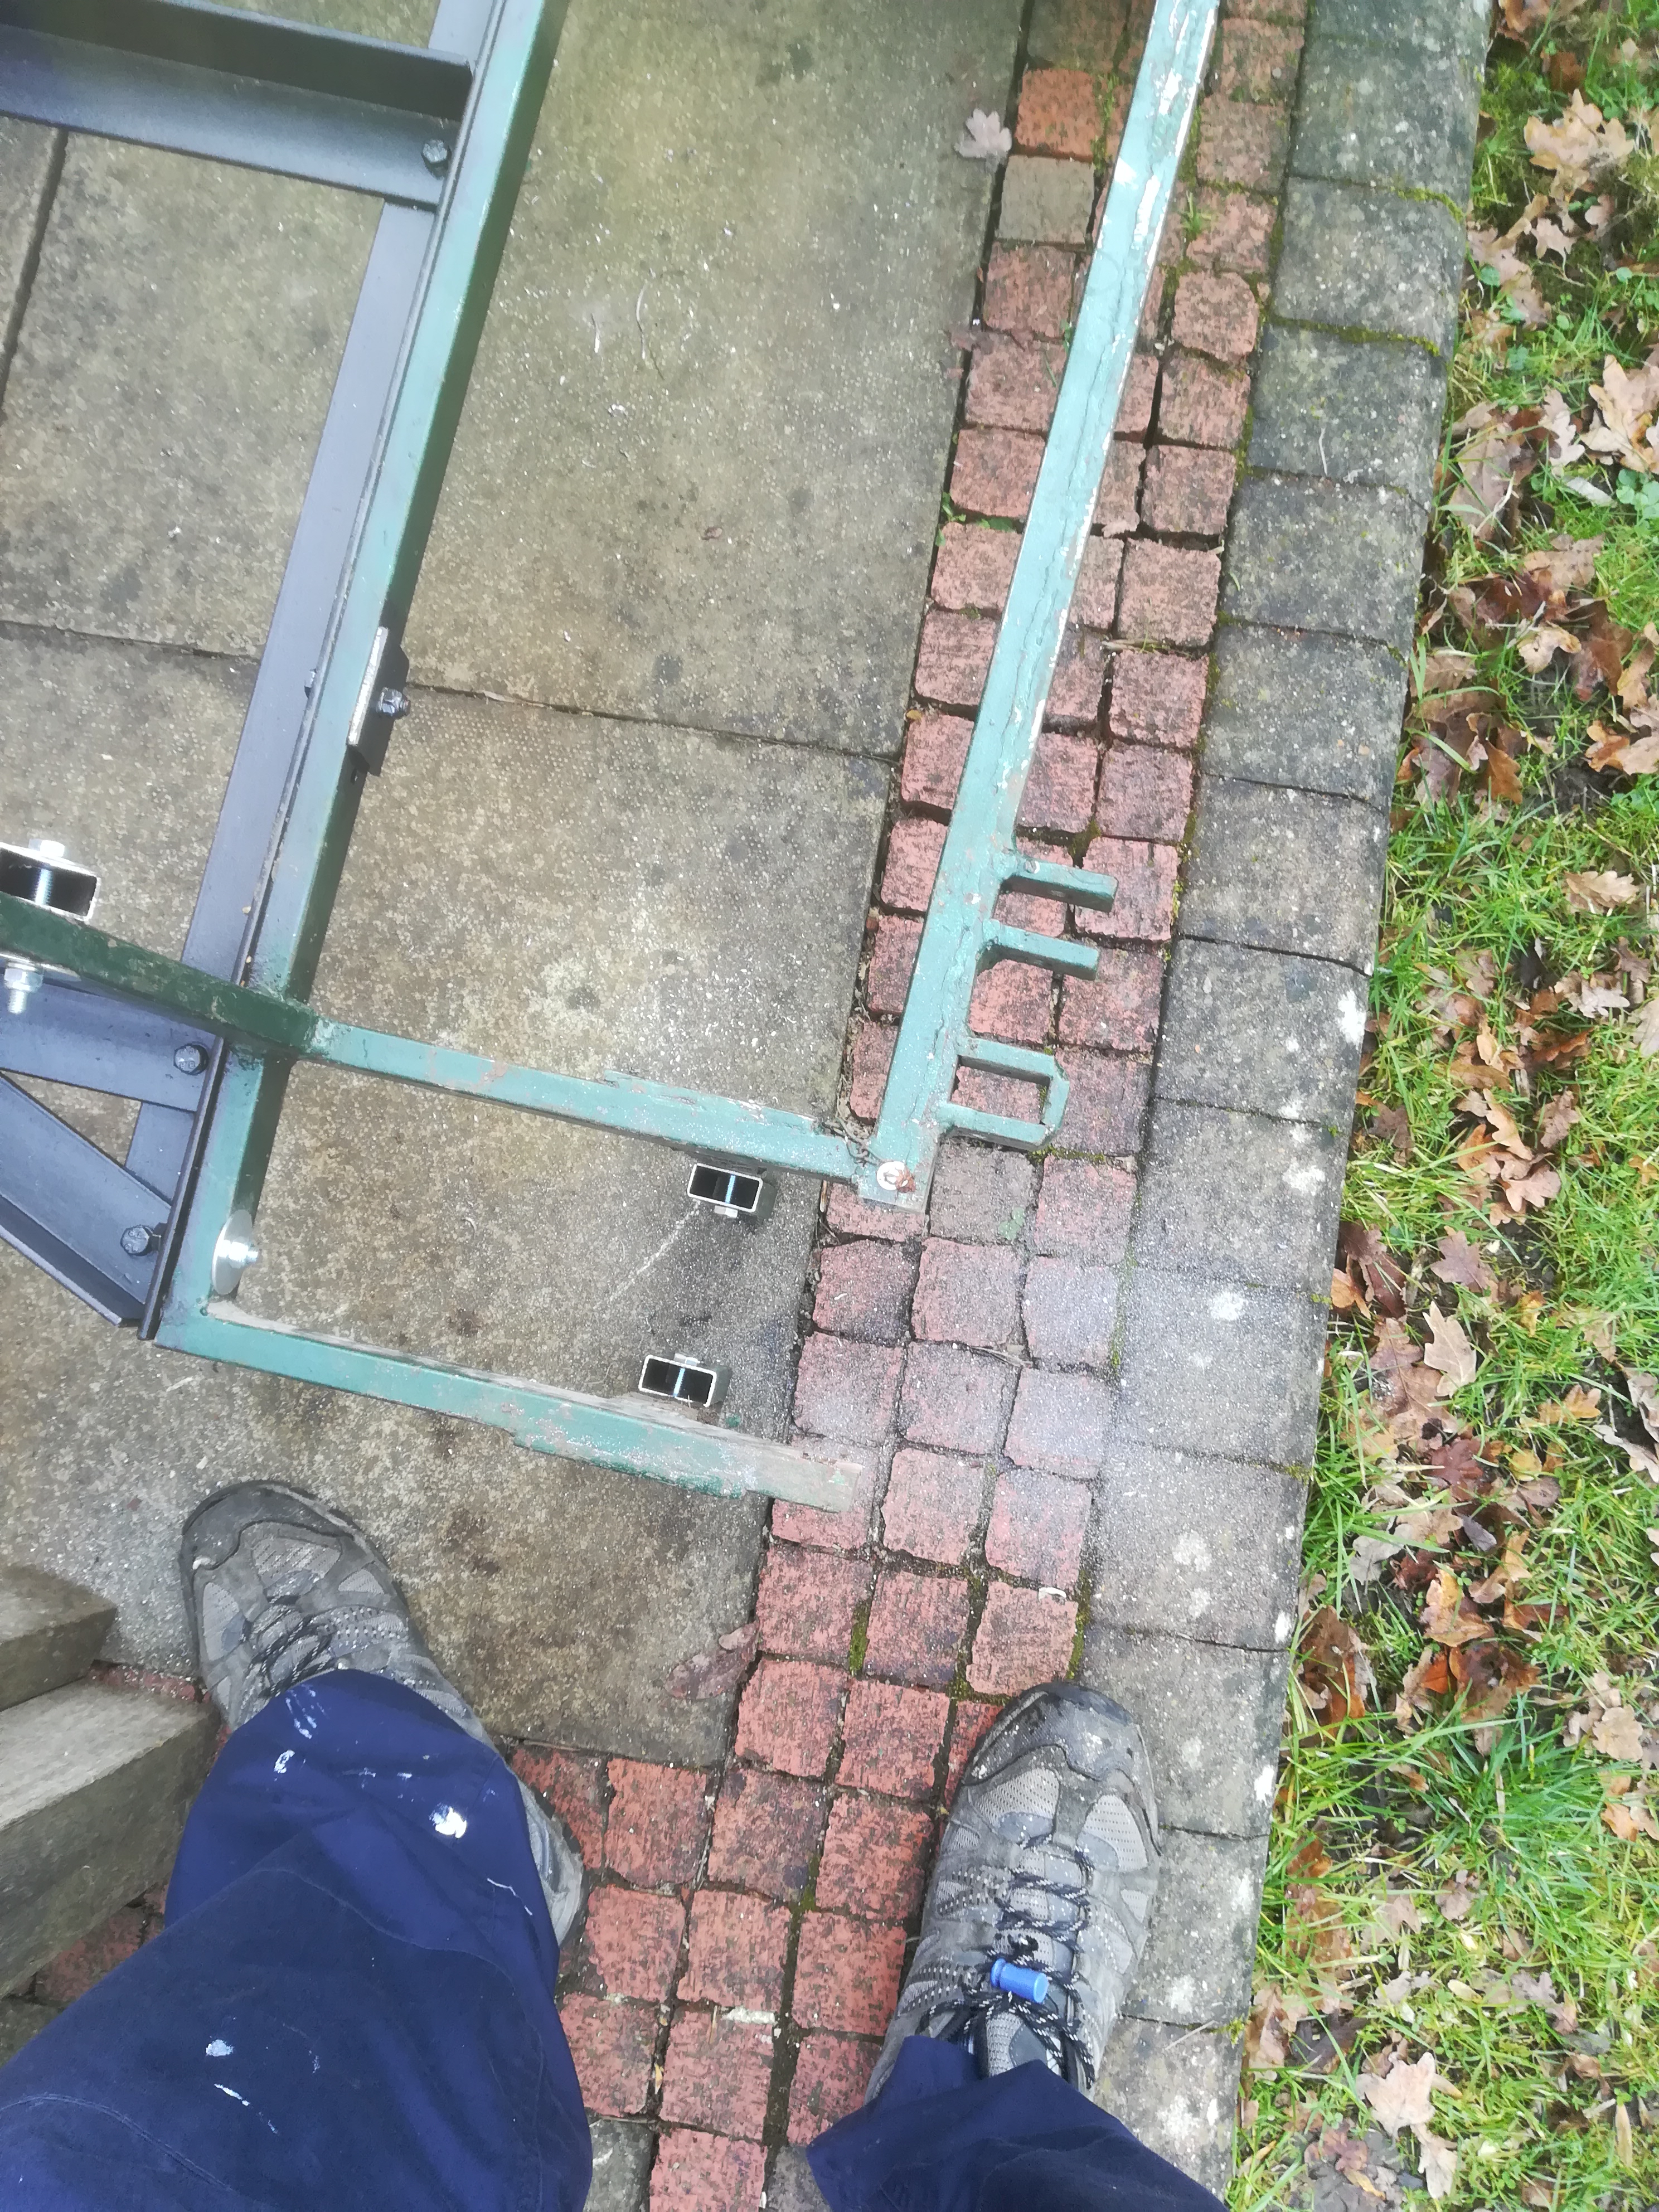
axle narrowed
frame cut to allow clearance of bigger wheel
great it fits
new strengthening piece
No problem, some simple cuts and alterations and more cuts and more alterations and some strengthening pieces and before you know where you are there is a new wheel installed. Just two more to go.
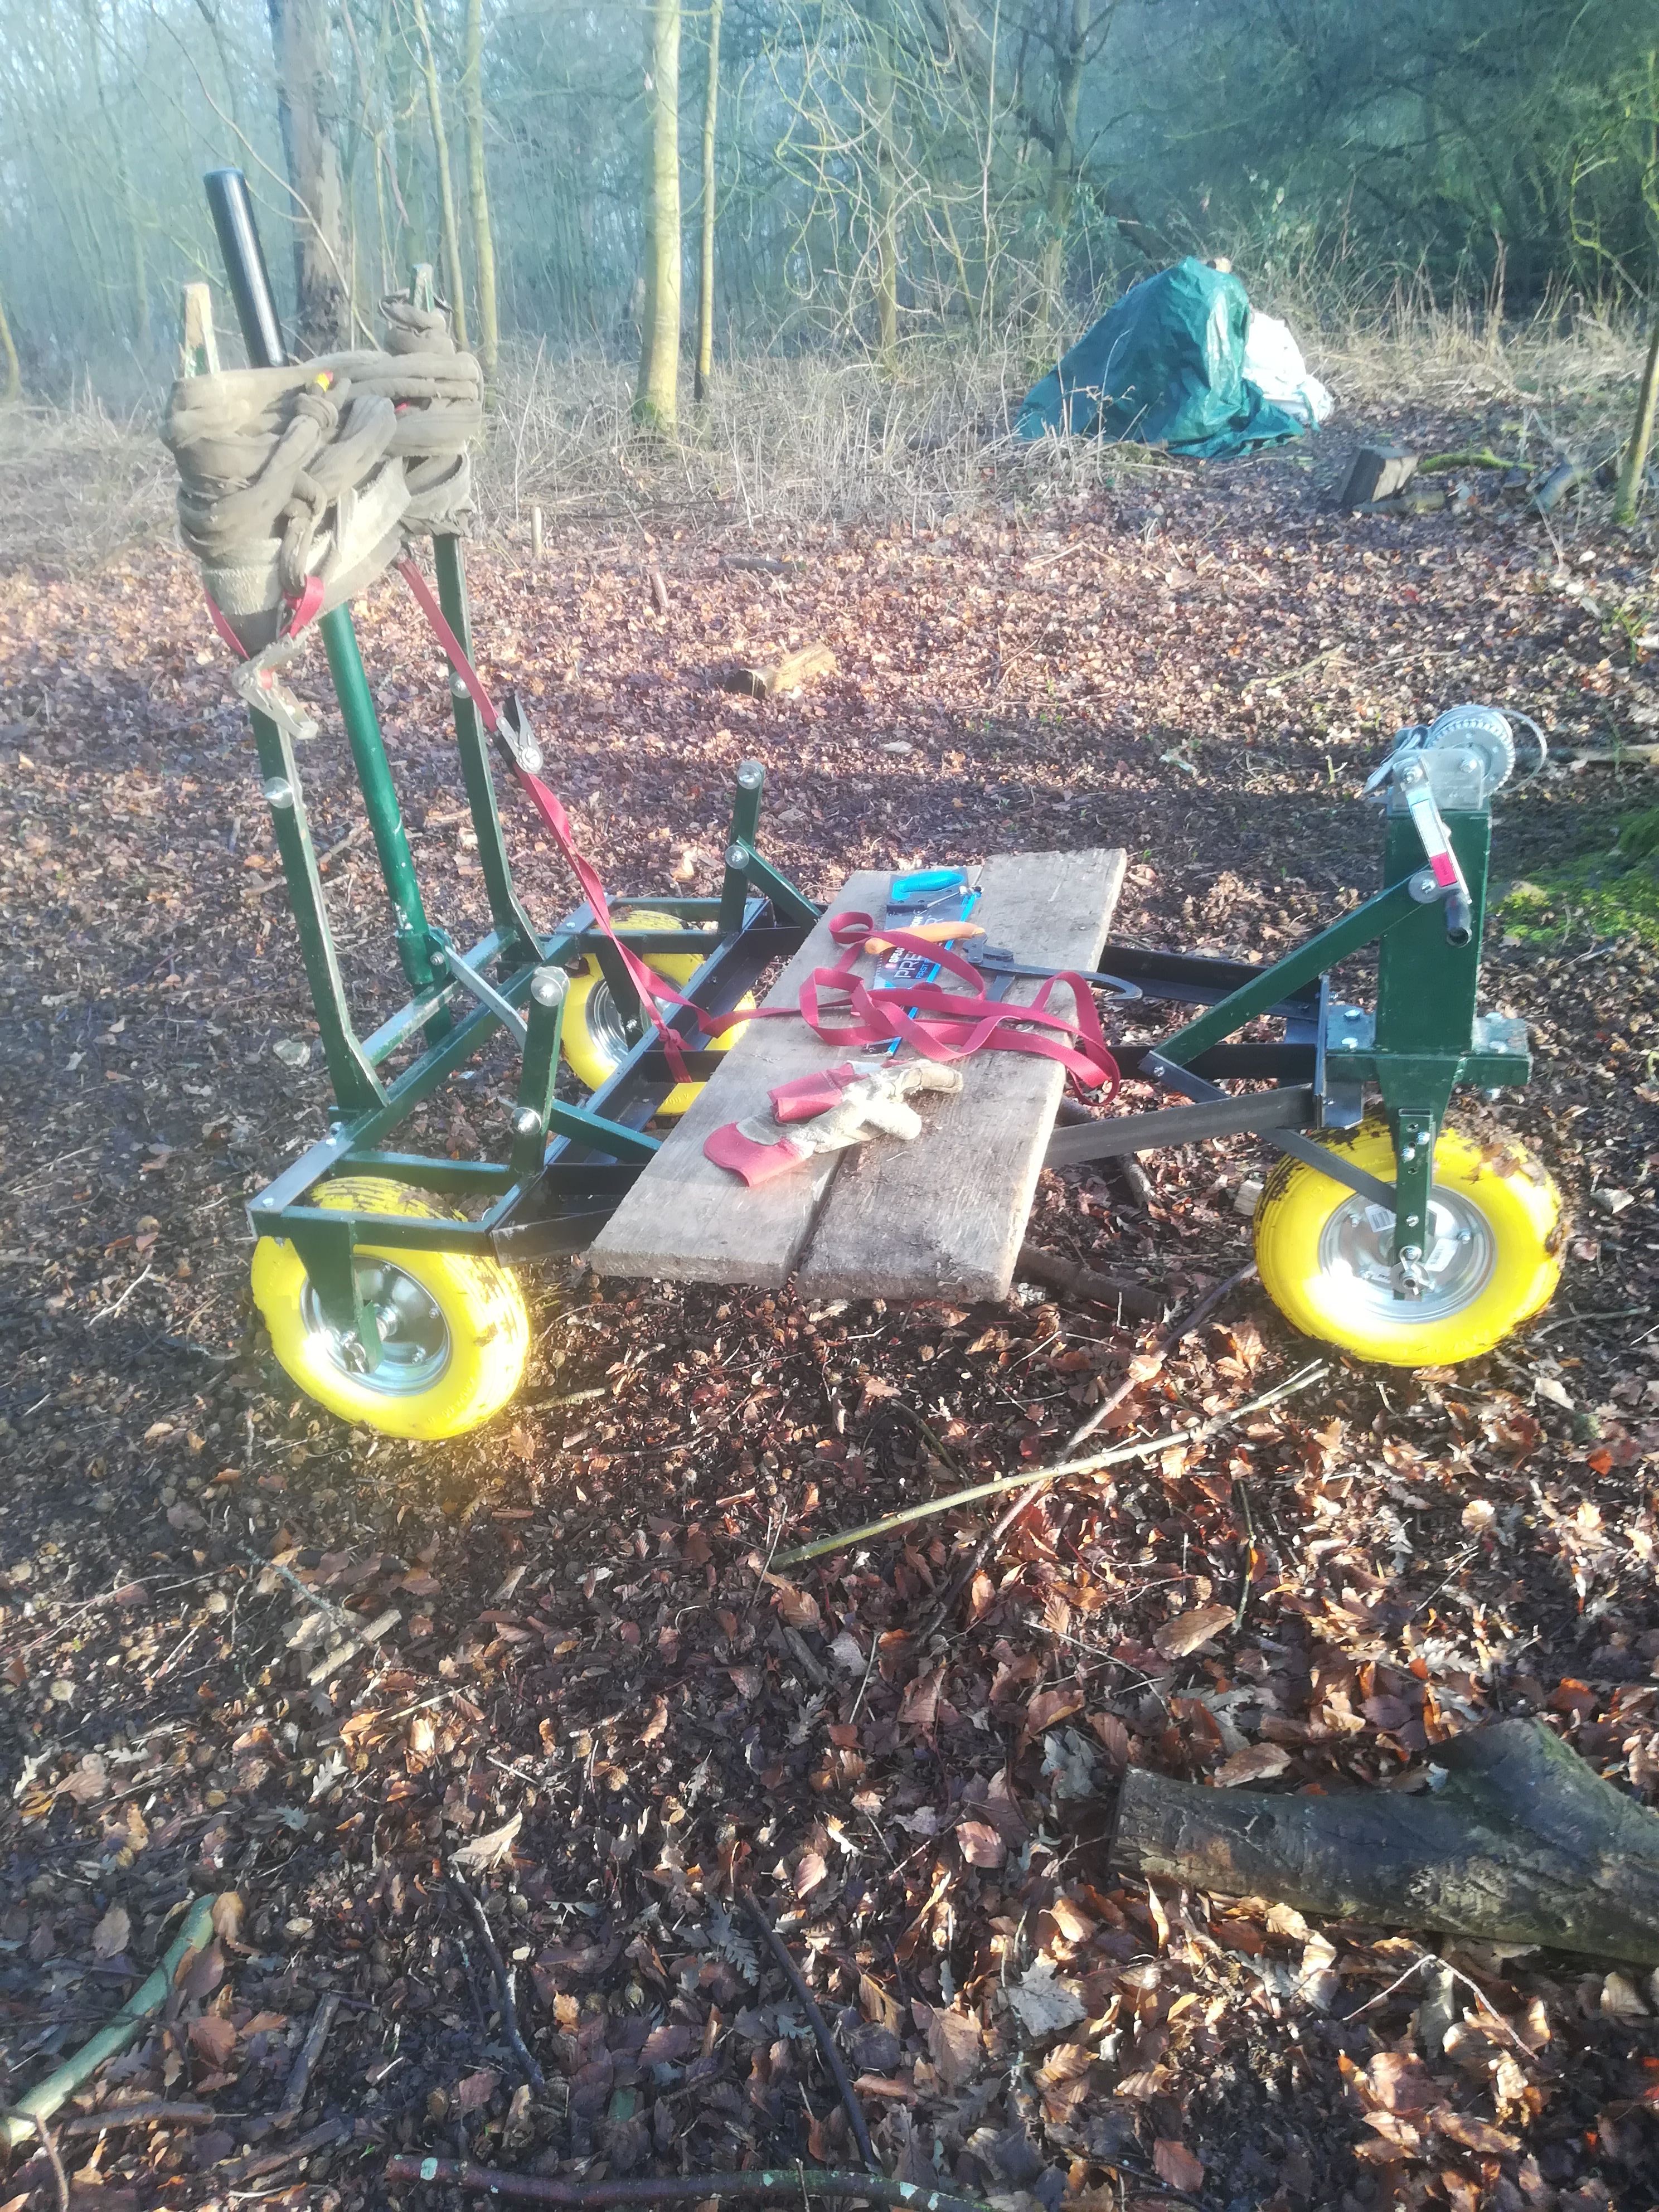
MK2
up the steep sticky bit
So back in action and the seemingly endless job of bringing out the logs continues.


 This approach means that the netting is free to move a little bit and so shouldn’t tear or rip as readily as if it was absolutely rigidly fixed.