The rotten ash and the blustery day

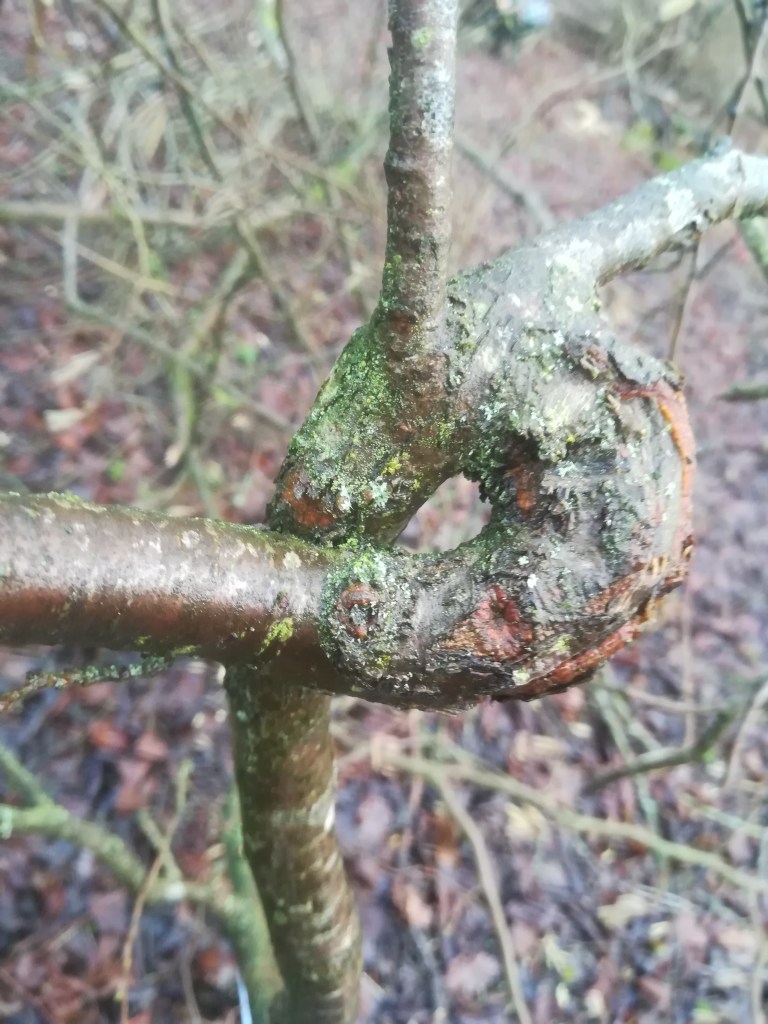
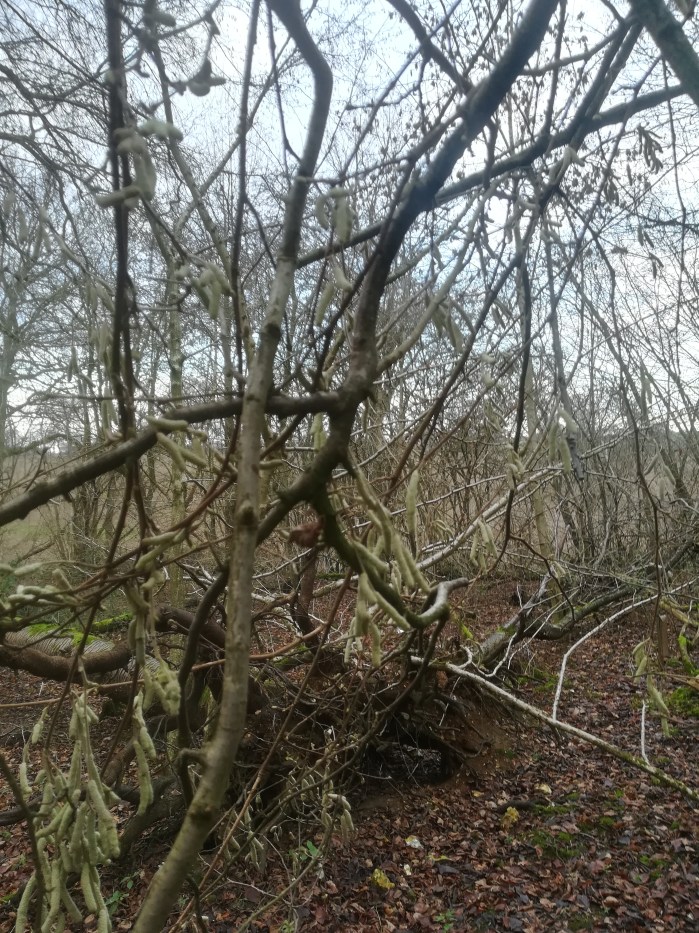
This week has been mainly about felling the last few trees that are not going to be part of the restored coppice area. One of the trees that needed to be taken down is a damaged ash tree. In an earlier blog I described how one of the stems of this ash tree had already fallen over and got tangled up in a cherry tree. This is the second limb of that same tree.

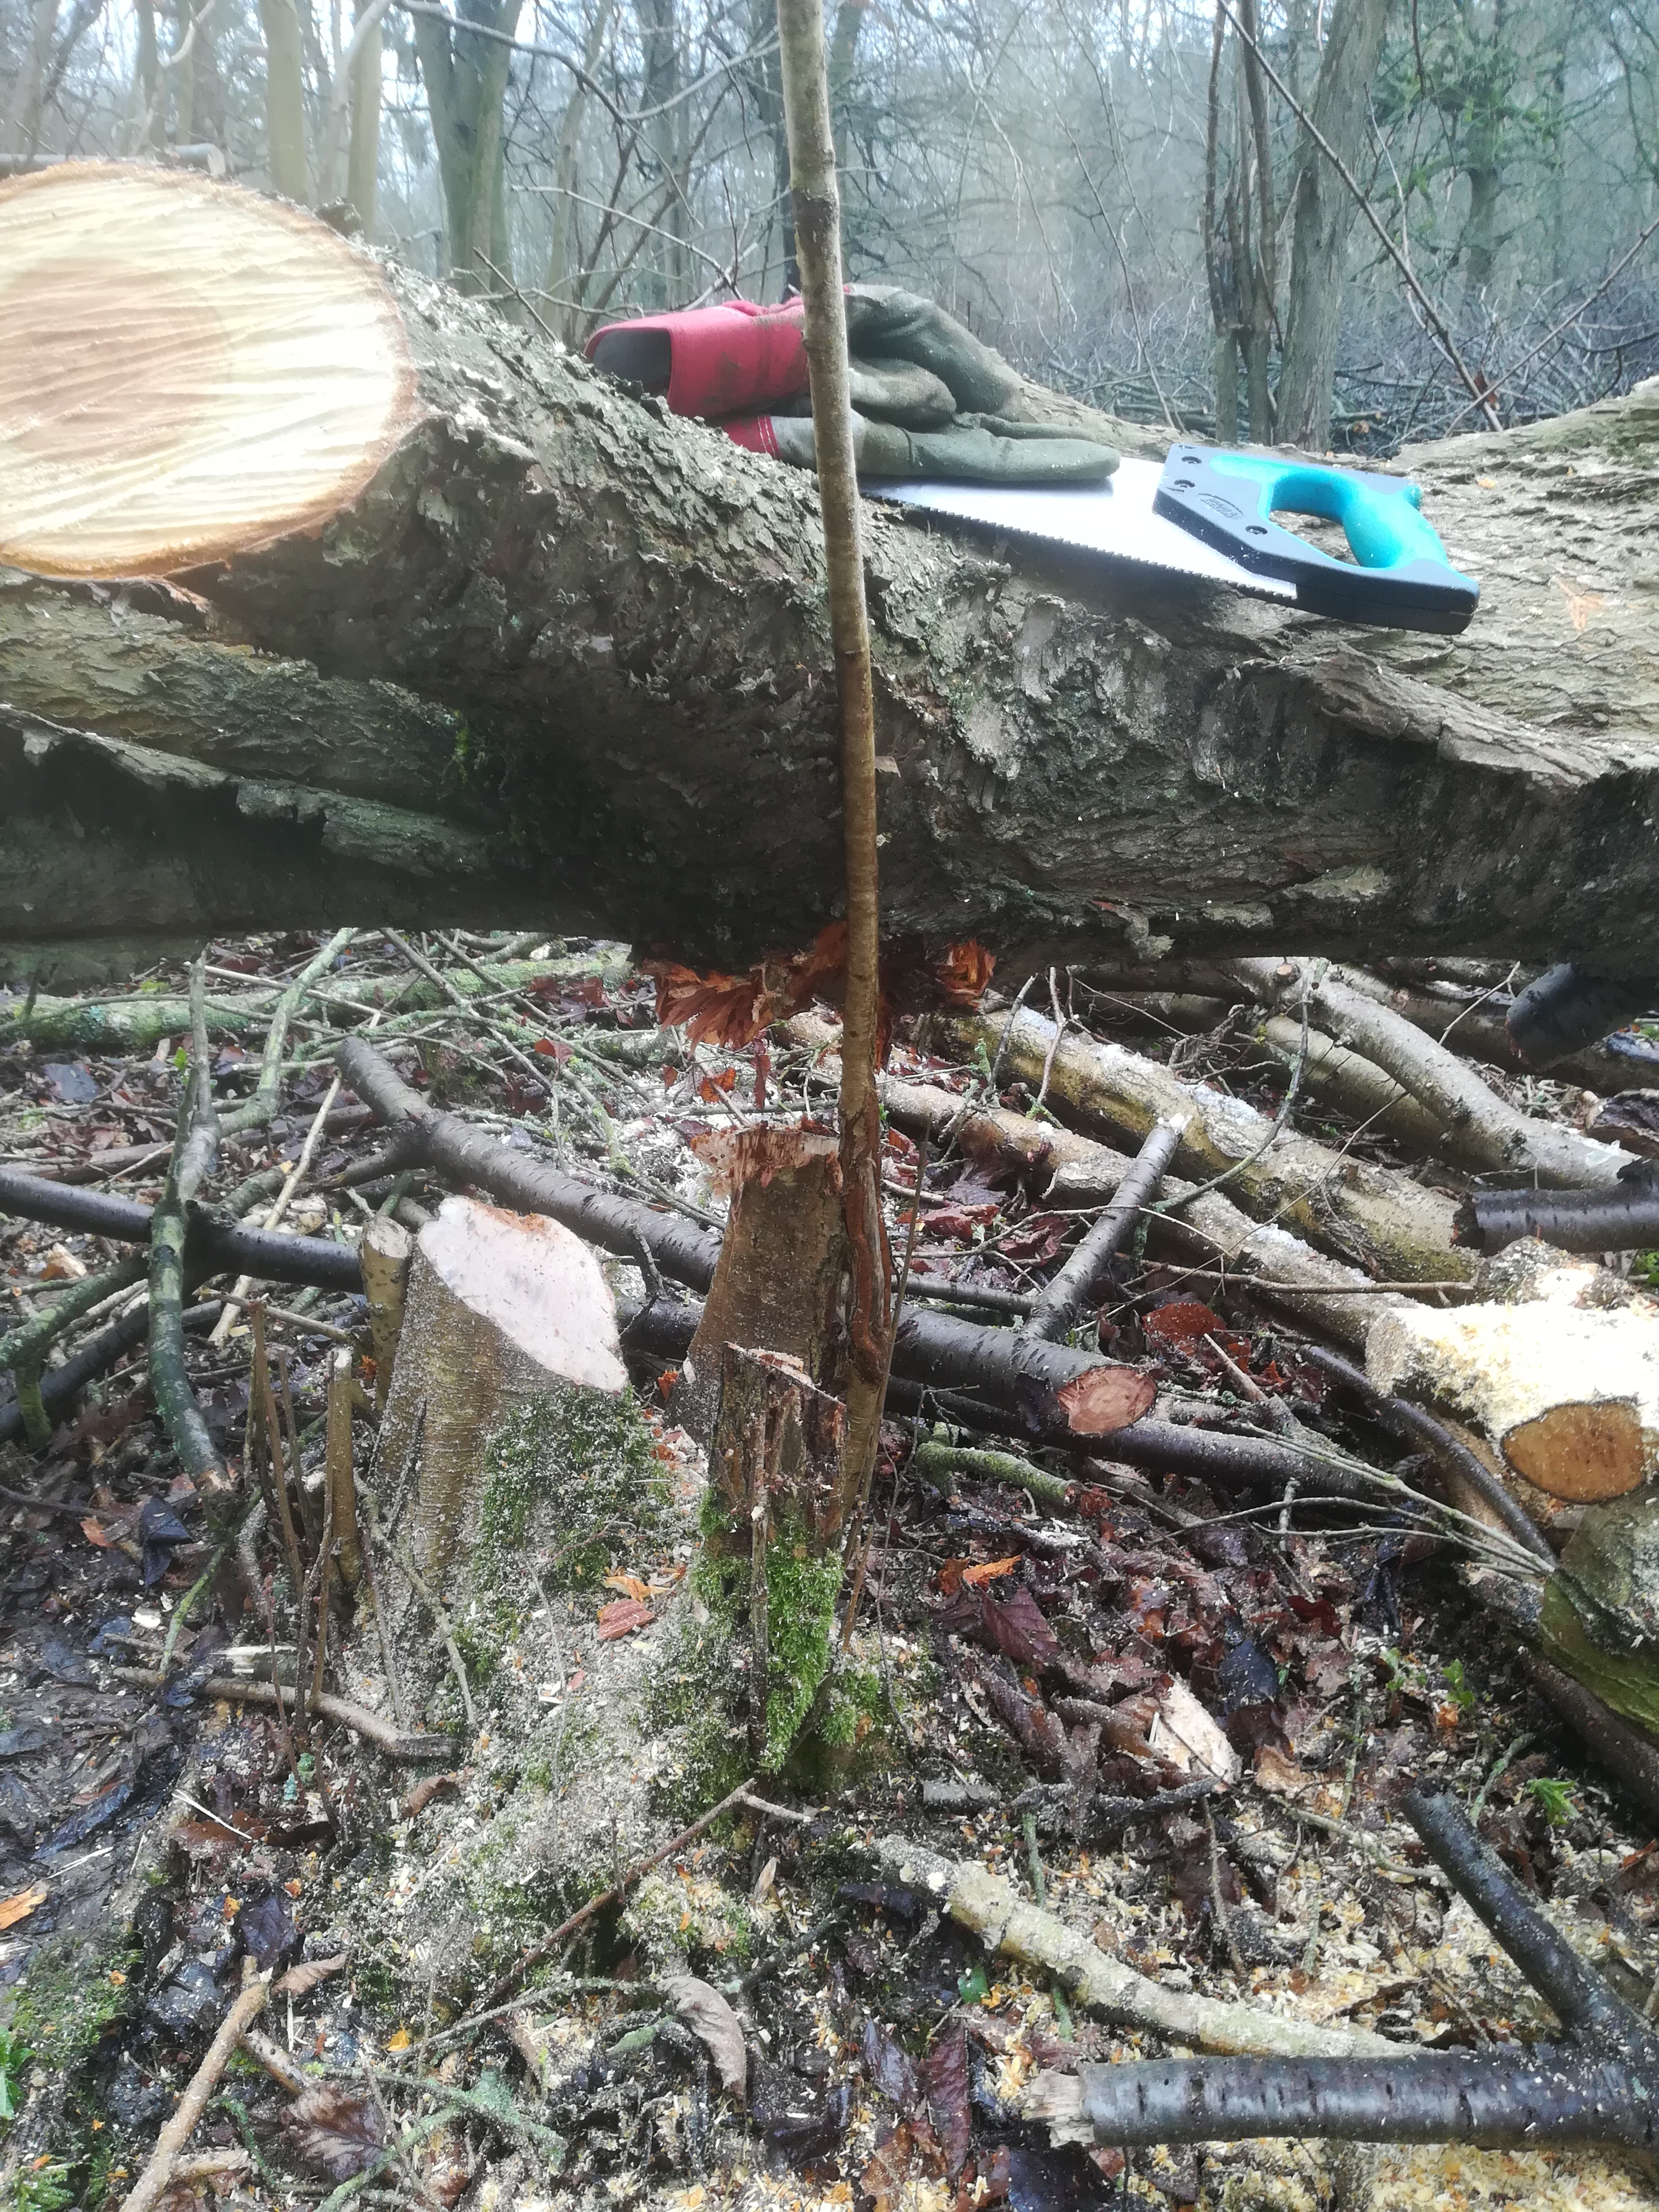
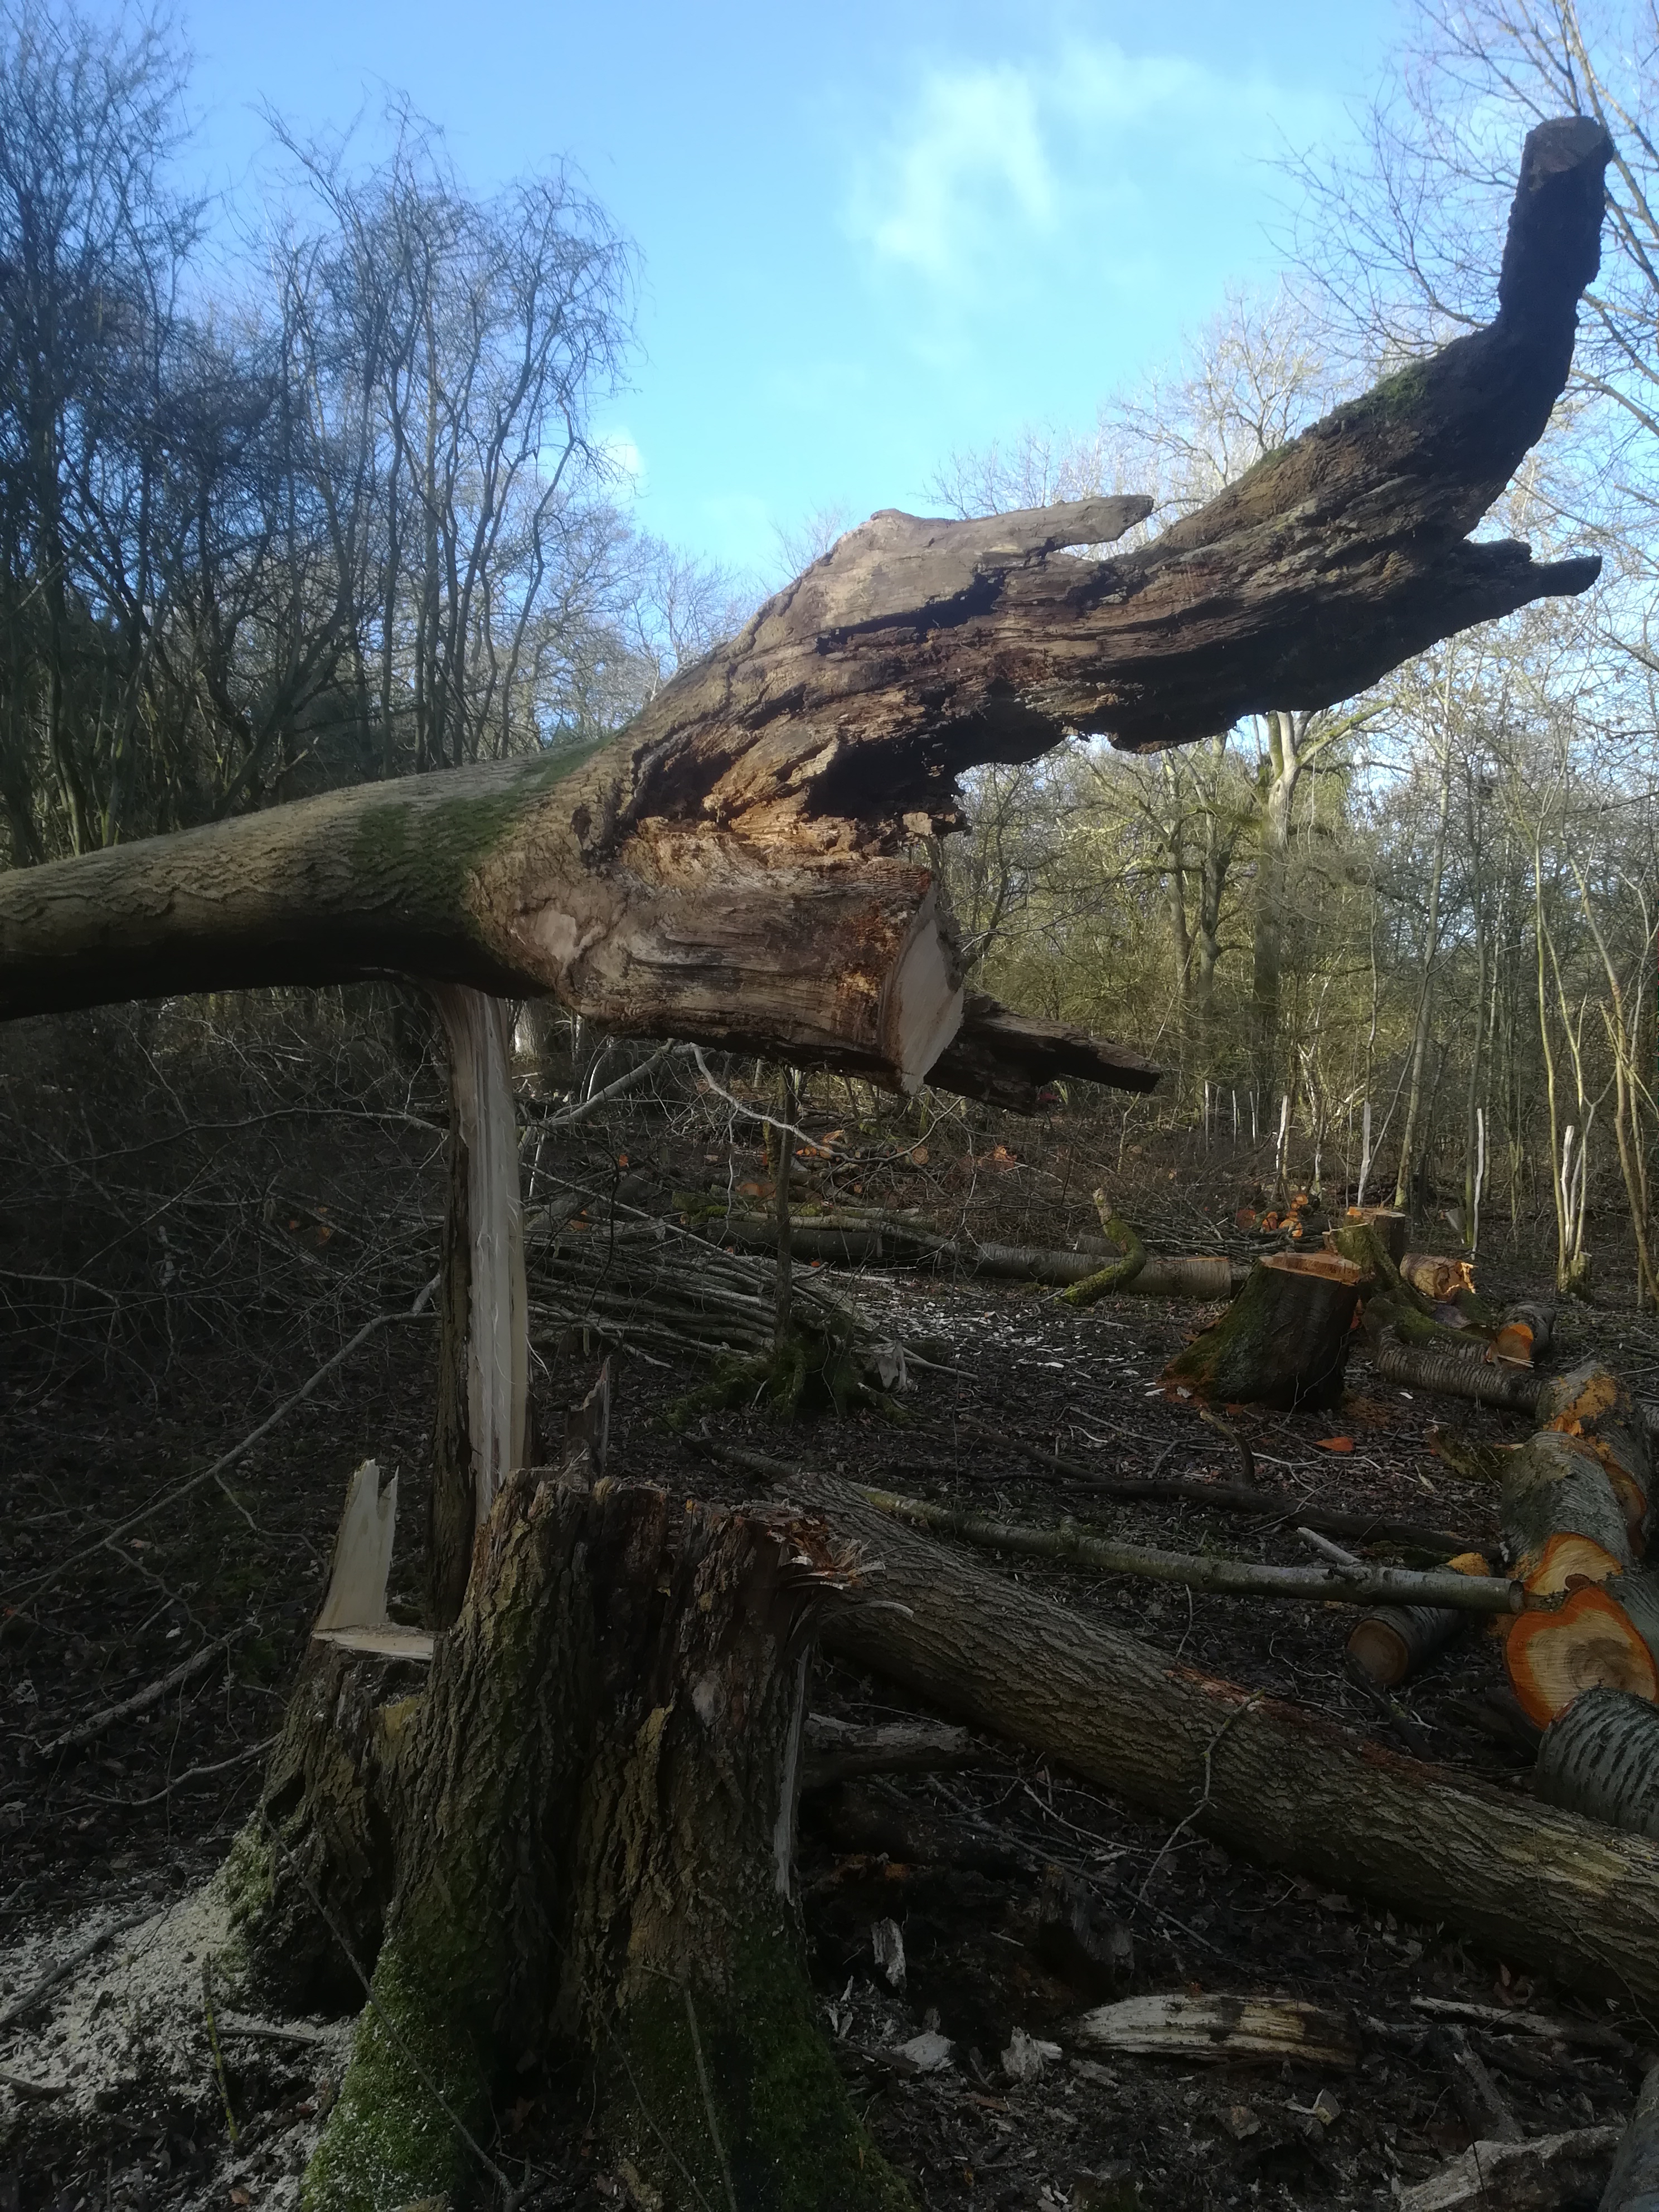
However, the base of the tree was not in good shape with a central portion of the trunk rotted away leaving a gap all the way through. Basically there was no room in the trunk to make an orthodox felling cut. This was a worry. In addition a large crack had started to open up from the top of that rotten section and was running vertically upwards in the main trunk. This became obvious as the strong gusts of wind, caught the top of the tree making it rock quite dramatically. More on the strong gusting wind later.

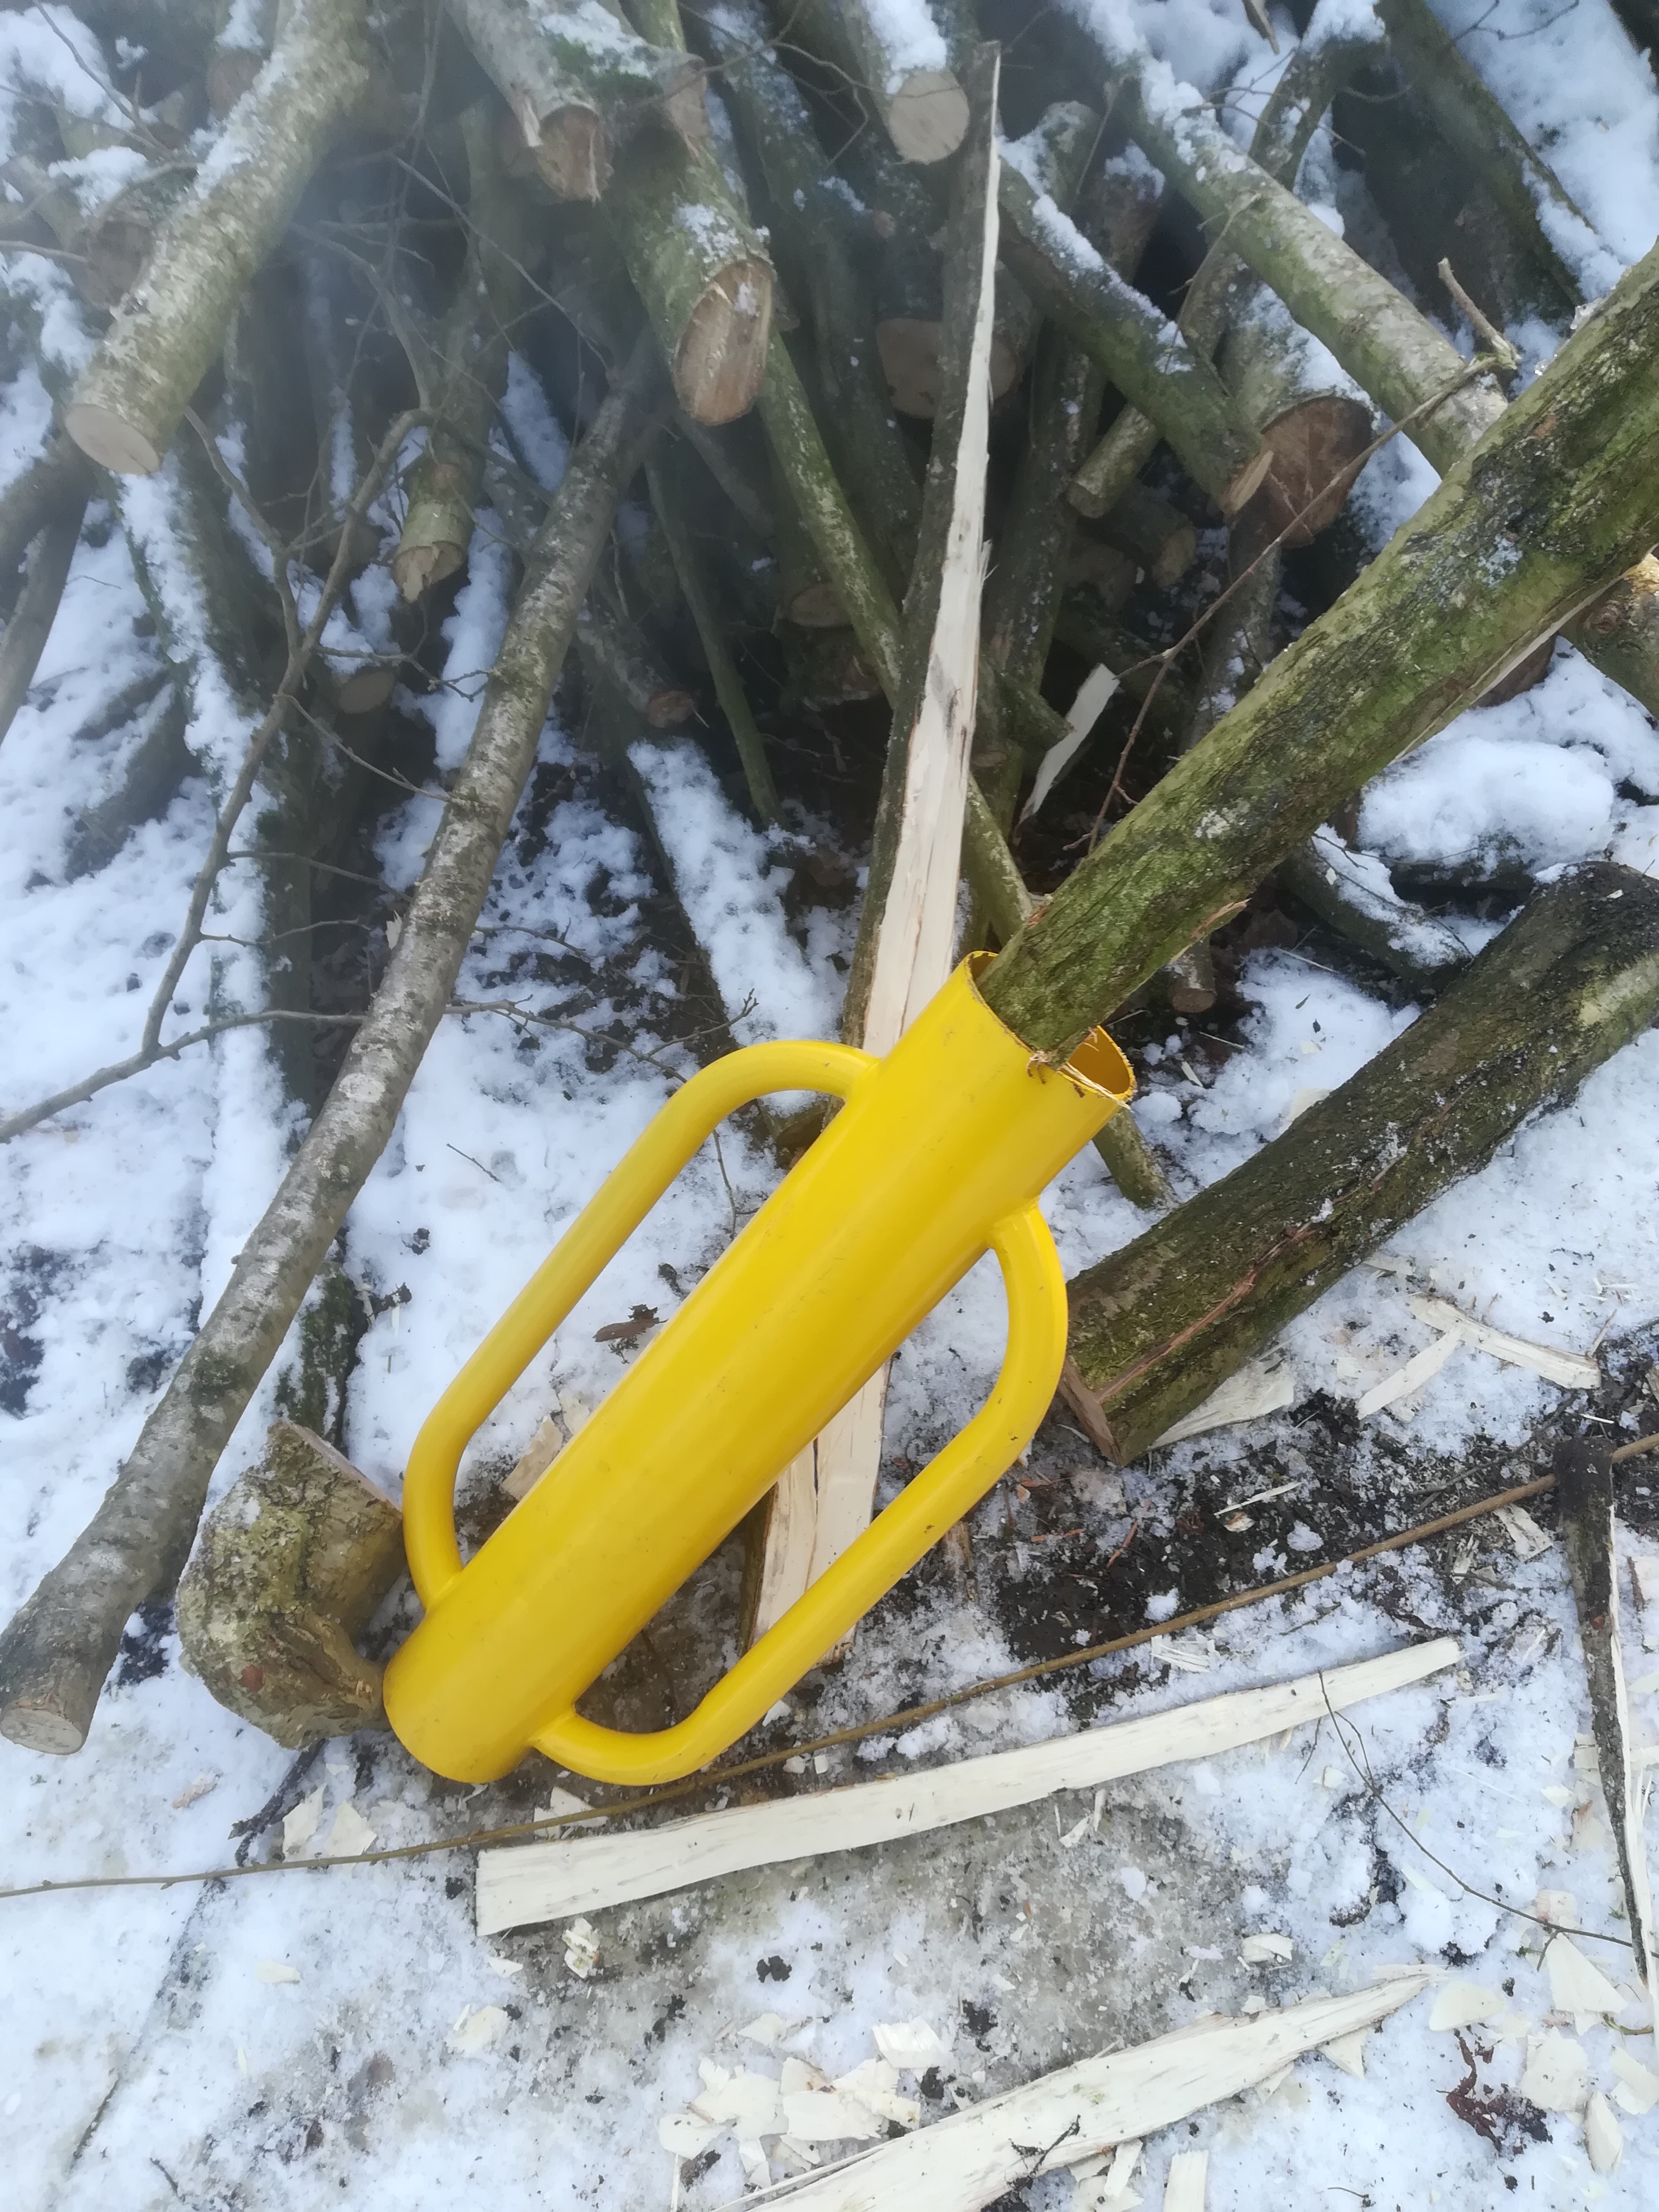
After much wandering and pacing around; looking and thinking, I figured that a simple quick cut through one side of the forked base would remove enough support to allow the tree to hinge on the other side and fall safely. Quite what else it would do on its way down was unknown. Here goes nothing.
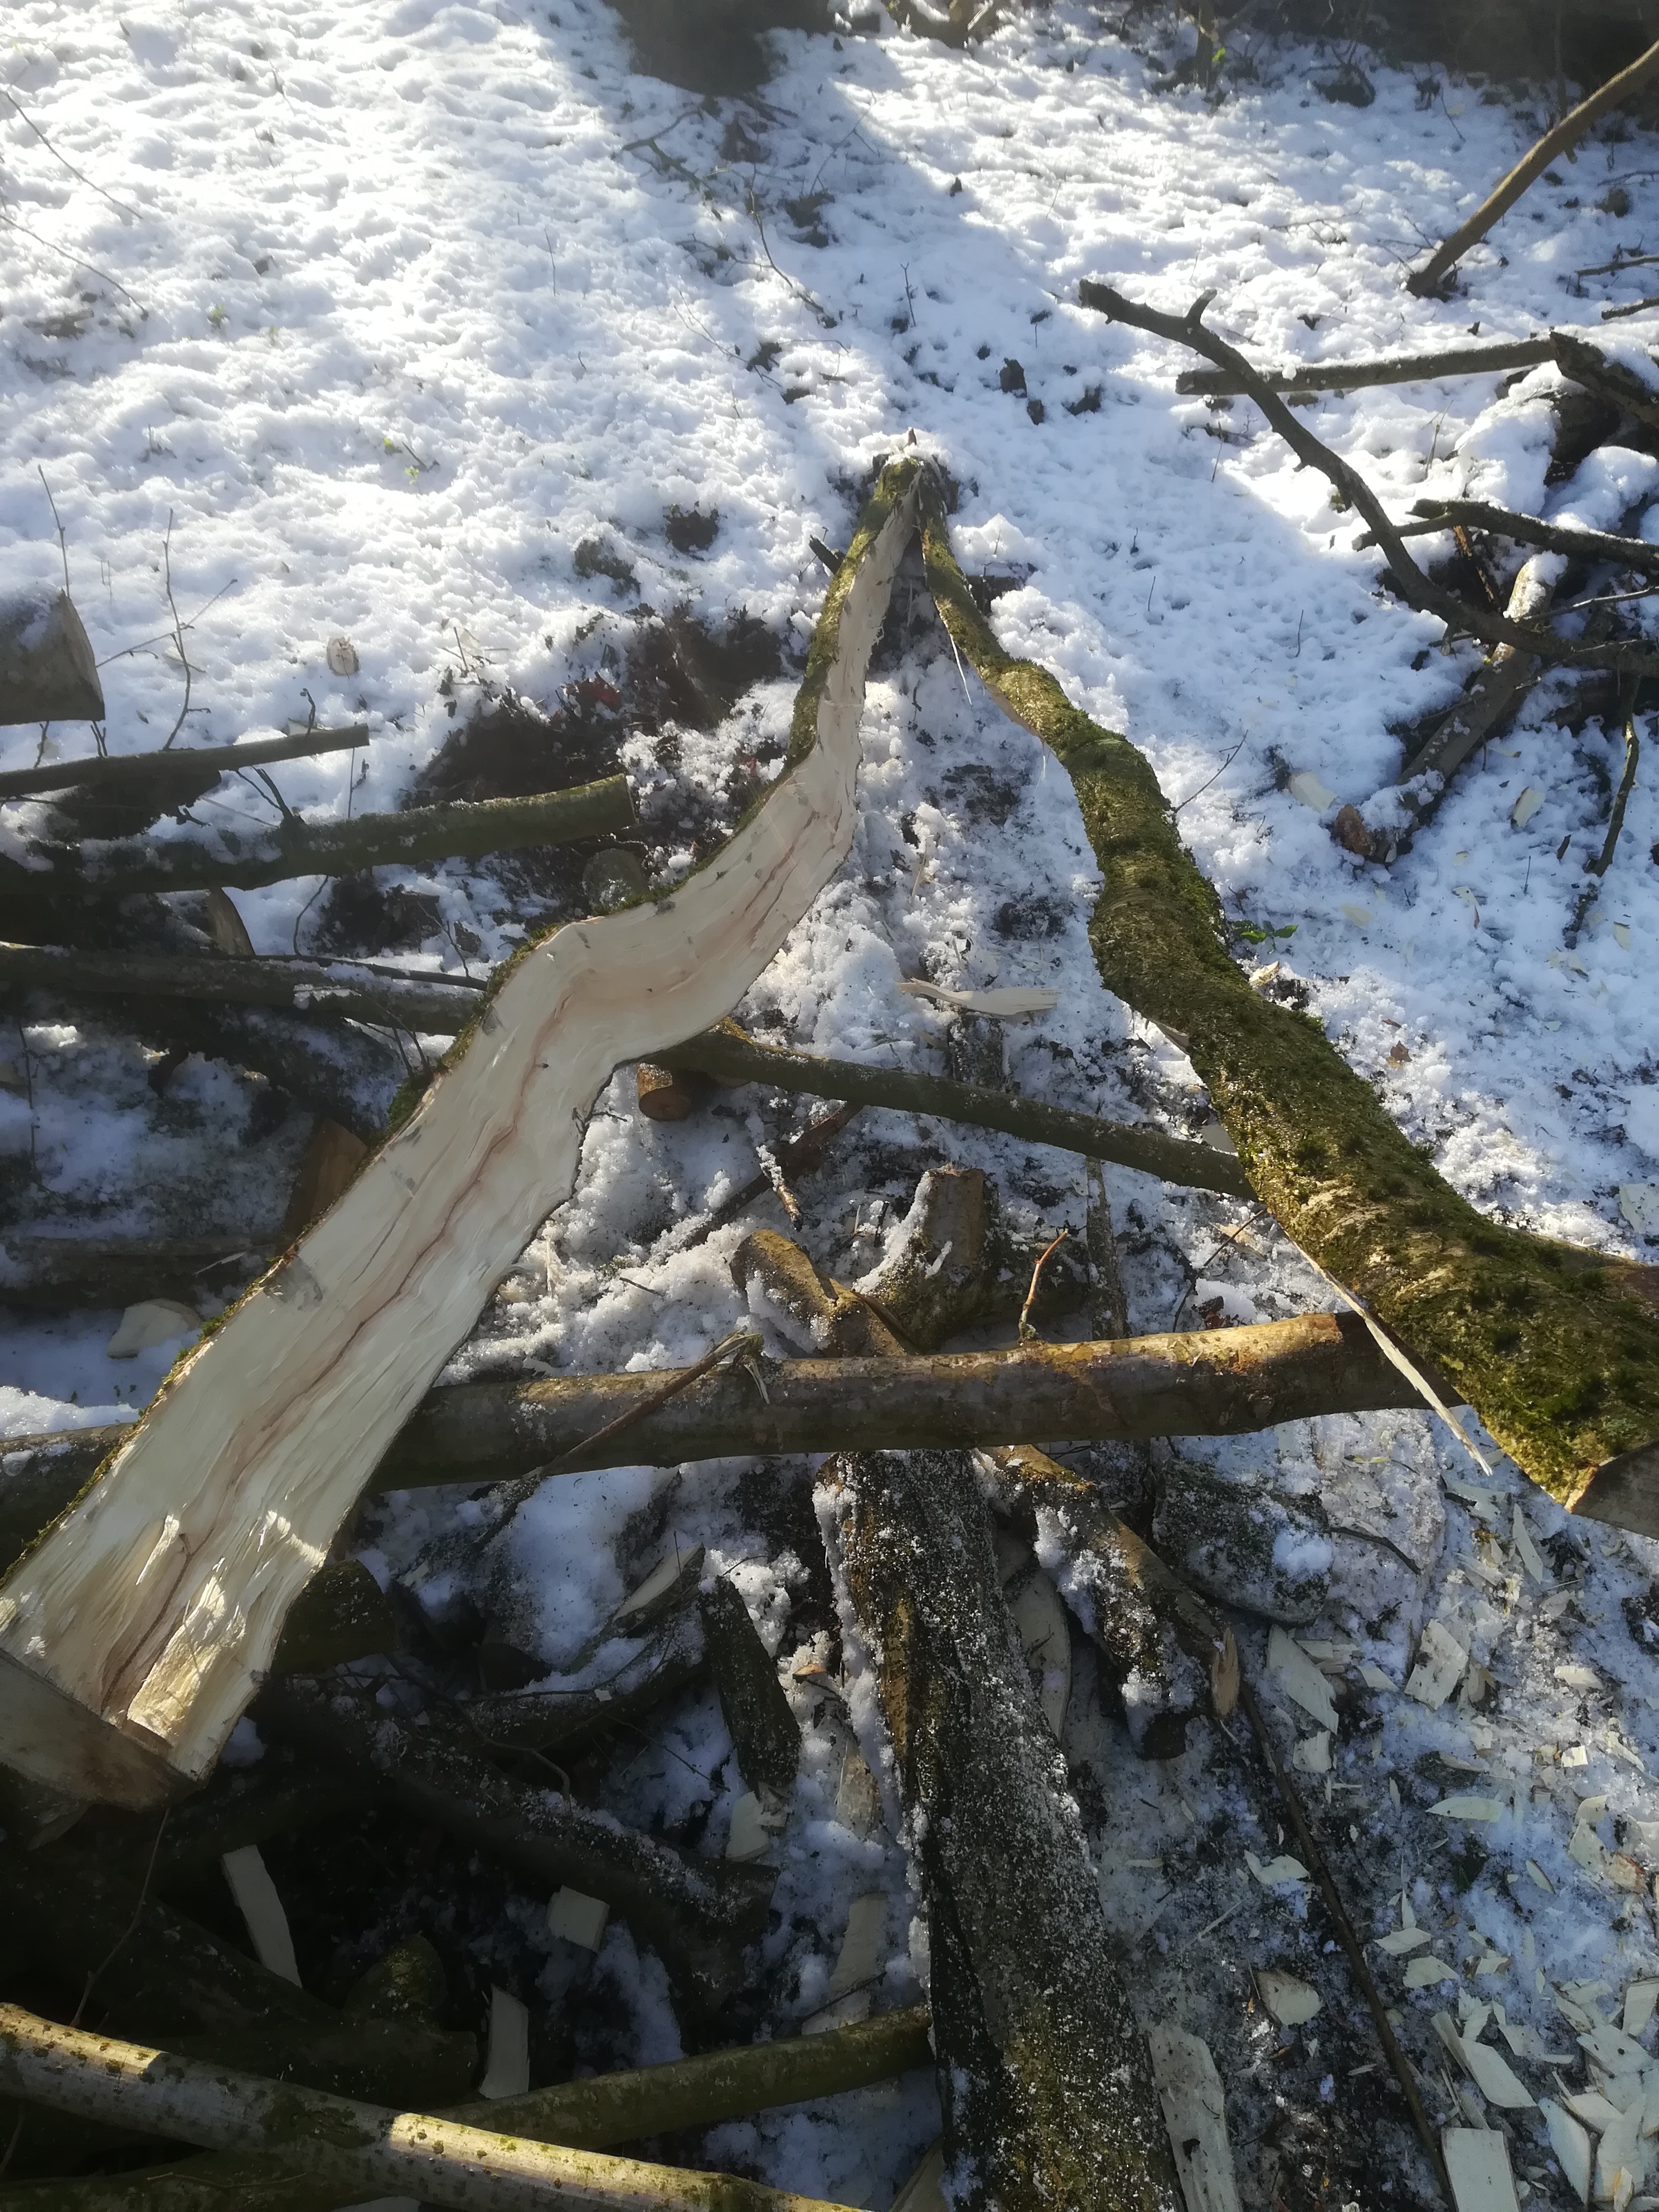
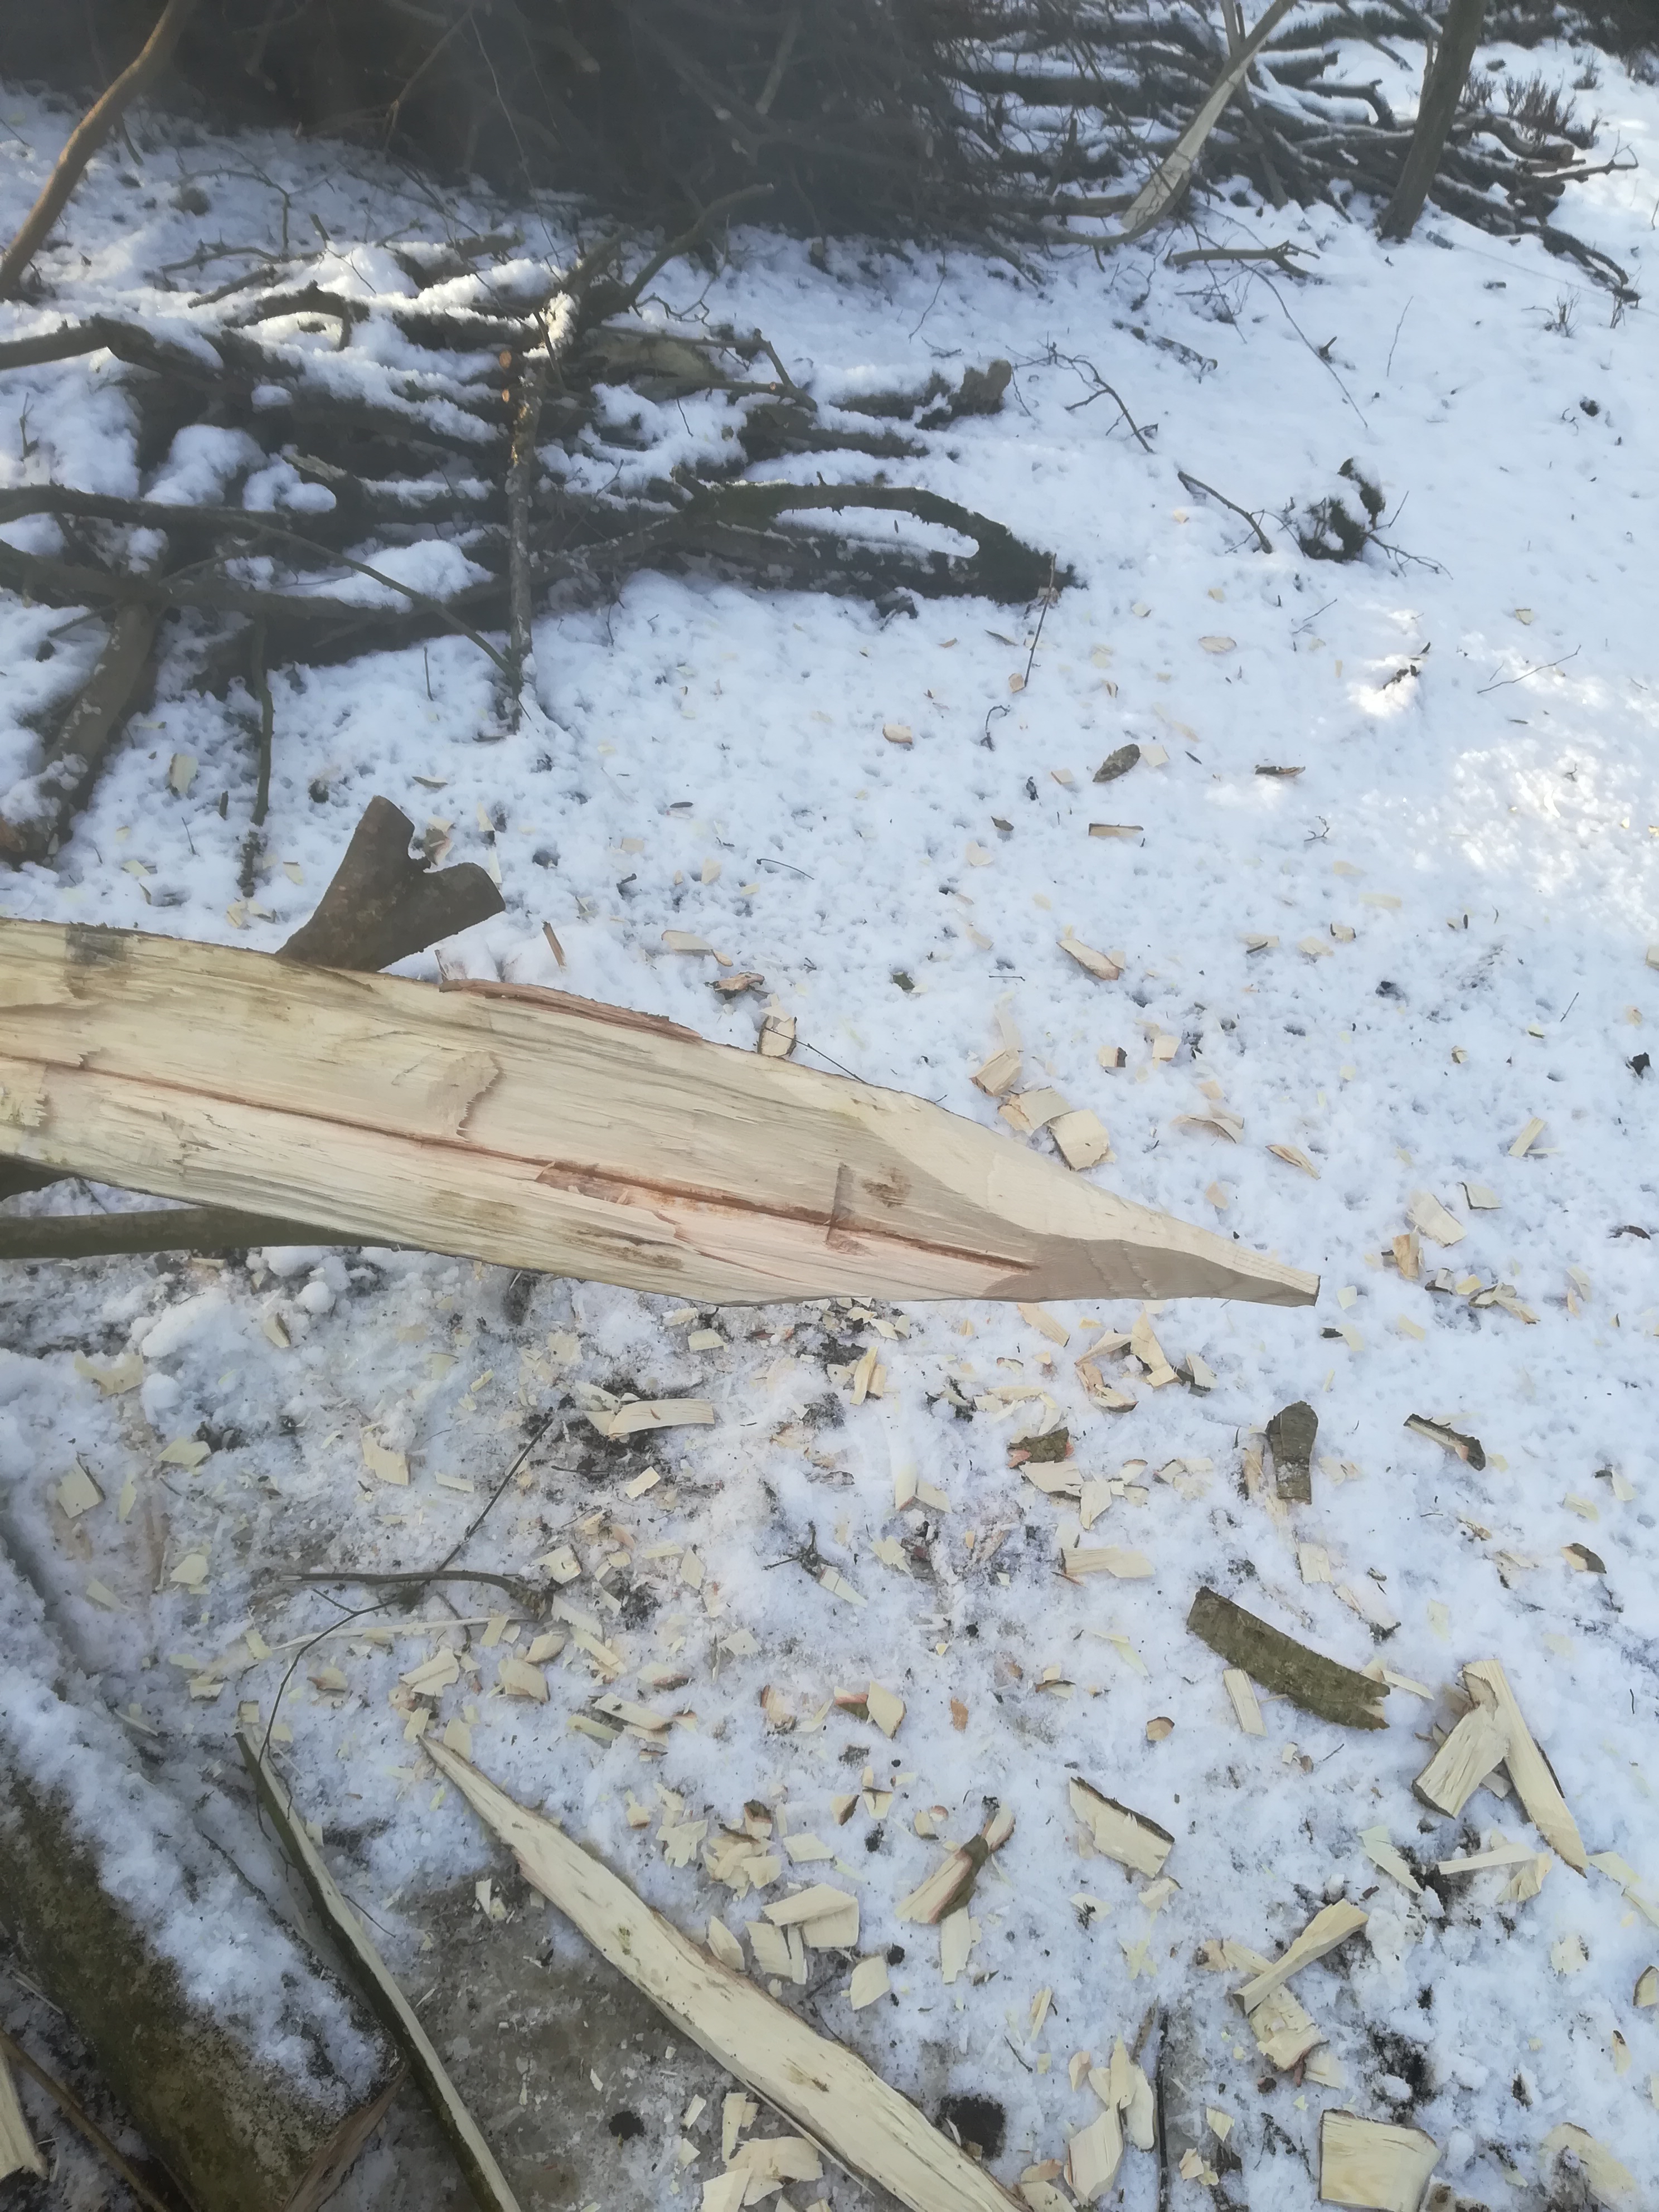
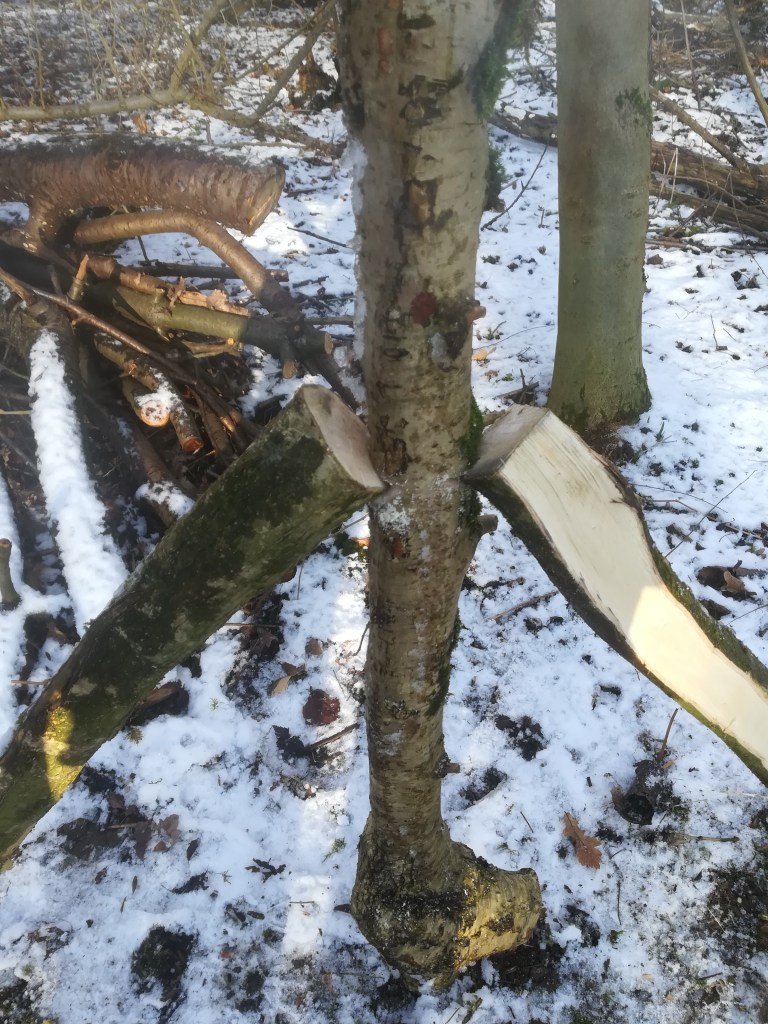
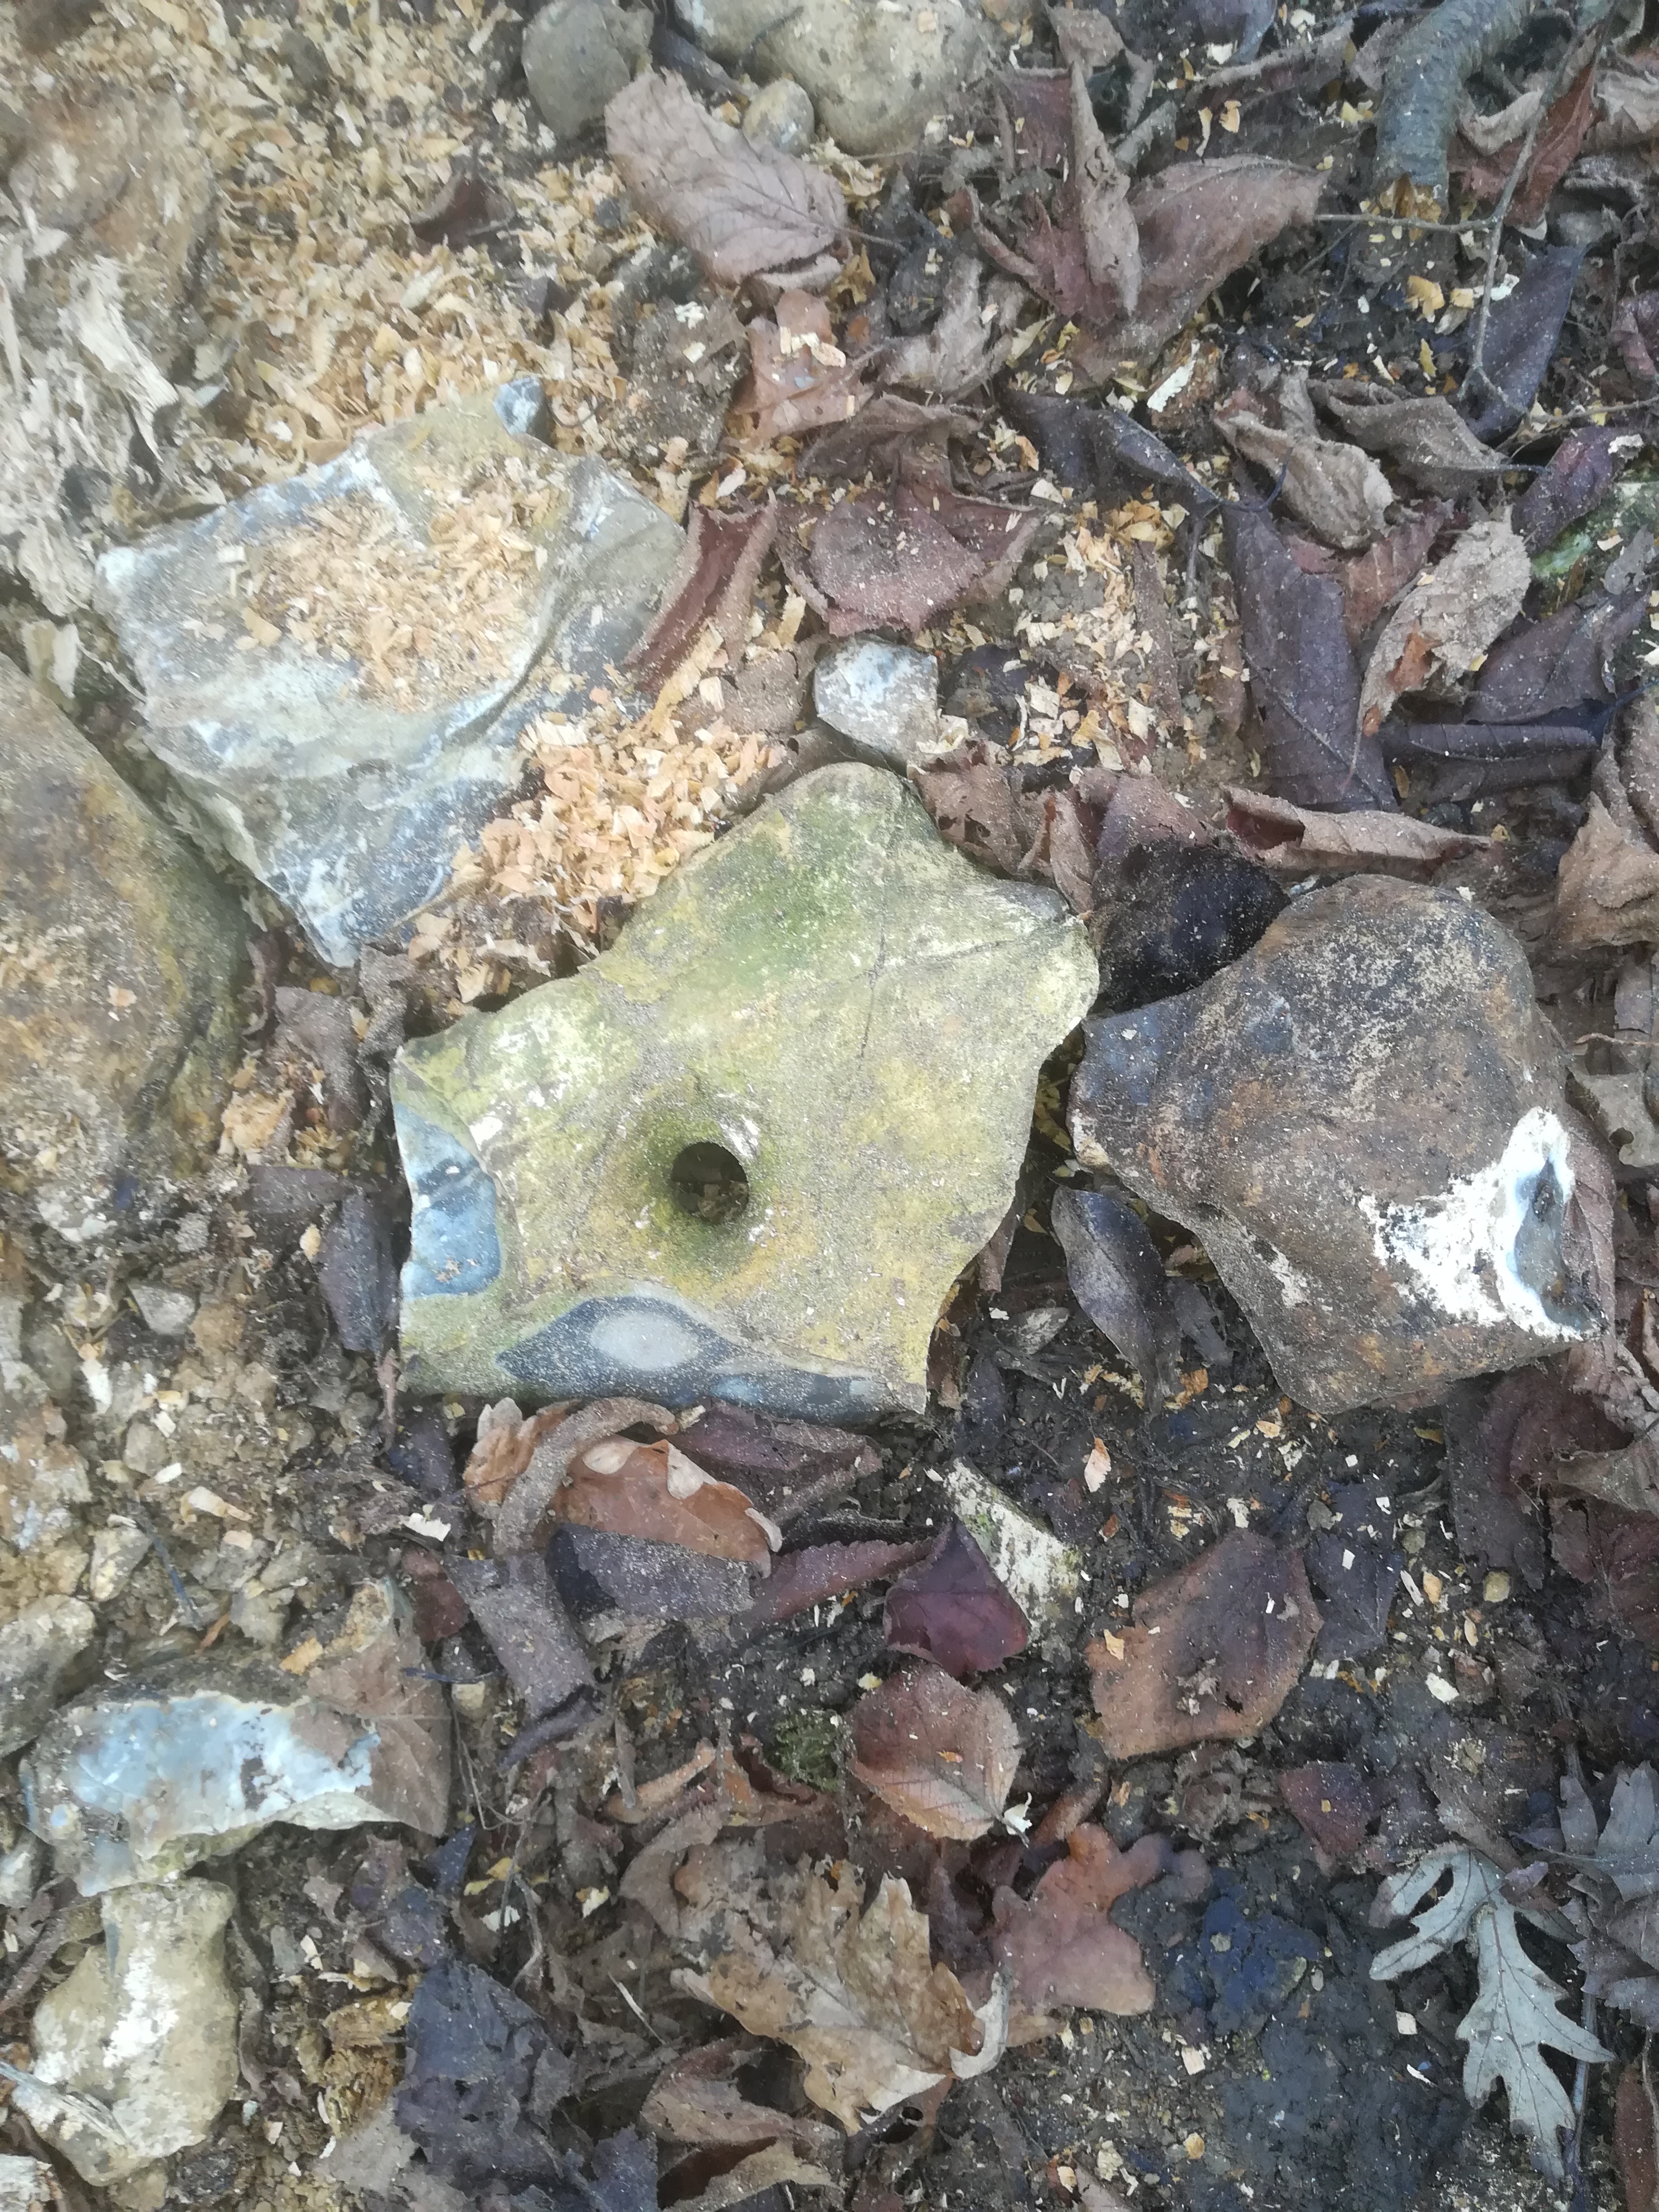
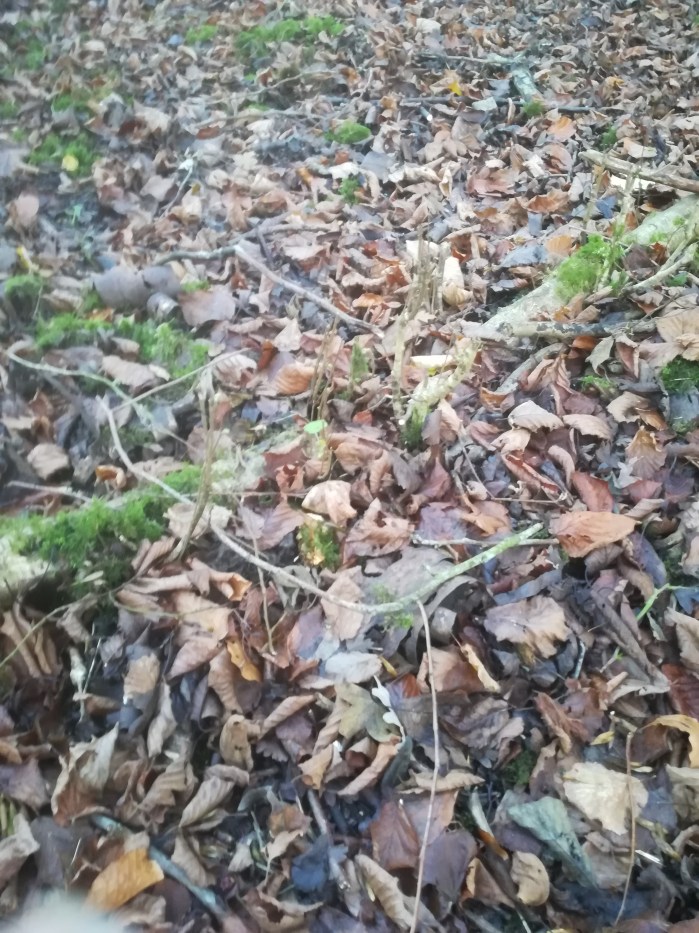
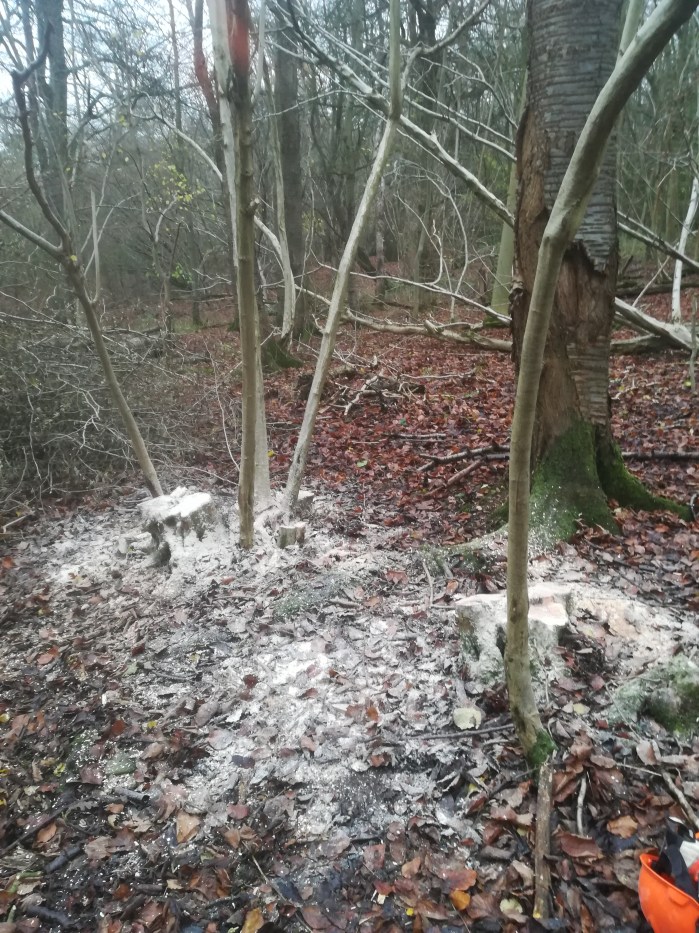
Ah, so that’s what it did. Not very pretty but at least the main trunk is down. One of my concerns at the outset was as I hadn’t enough room/decent wood to make a conventional “v” notch at the front of the felling cut that the tree would create a “barbers chair” – which is exactly what it did! The extent of the rot can be seen clearly. Still it fell where I had planned.
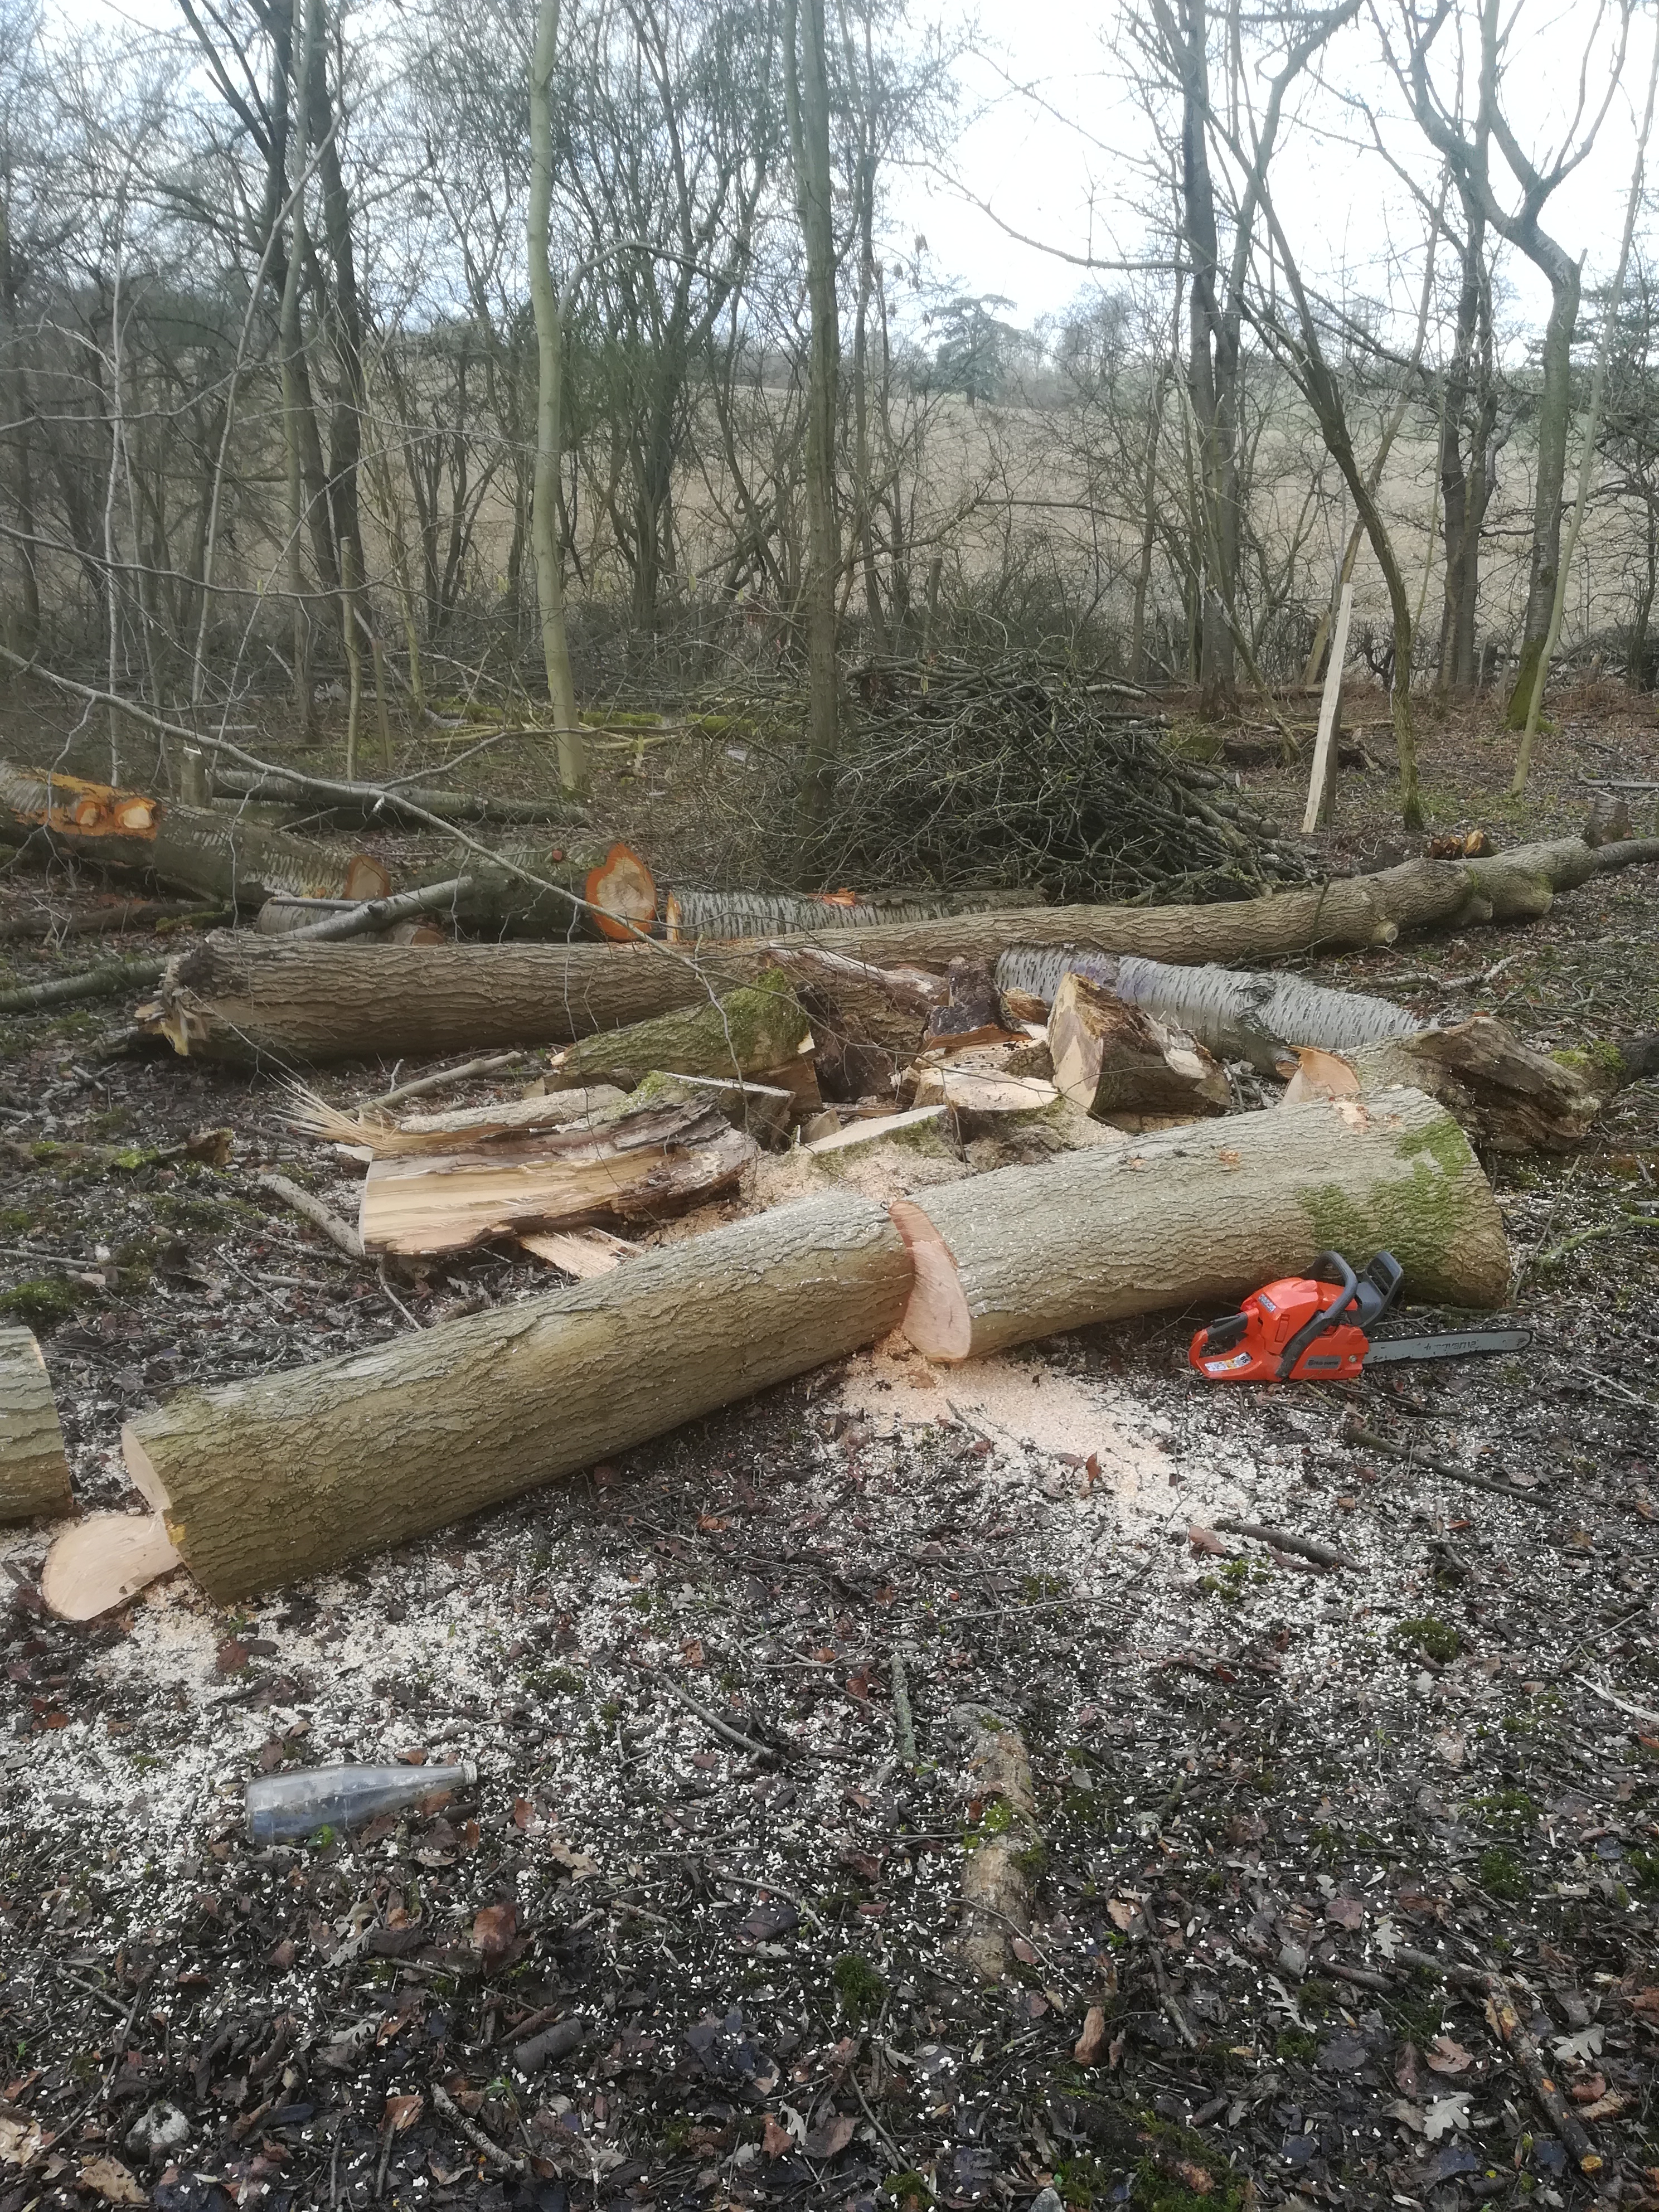
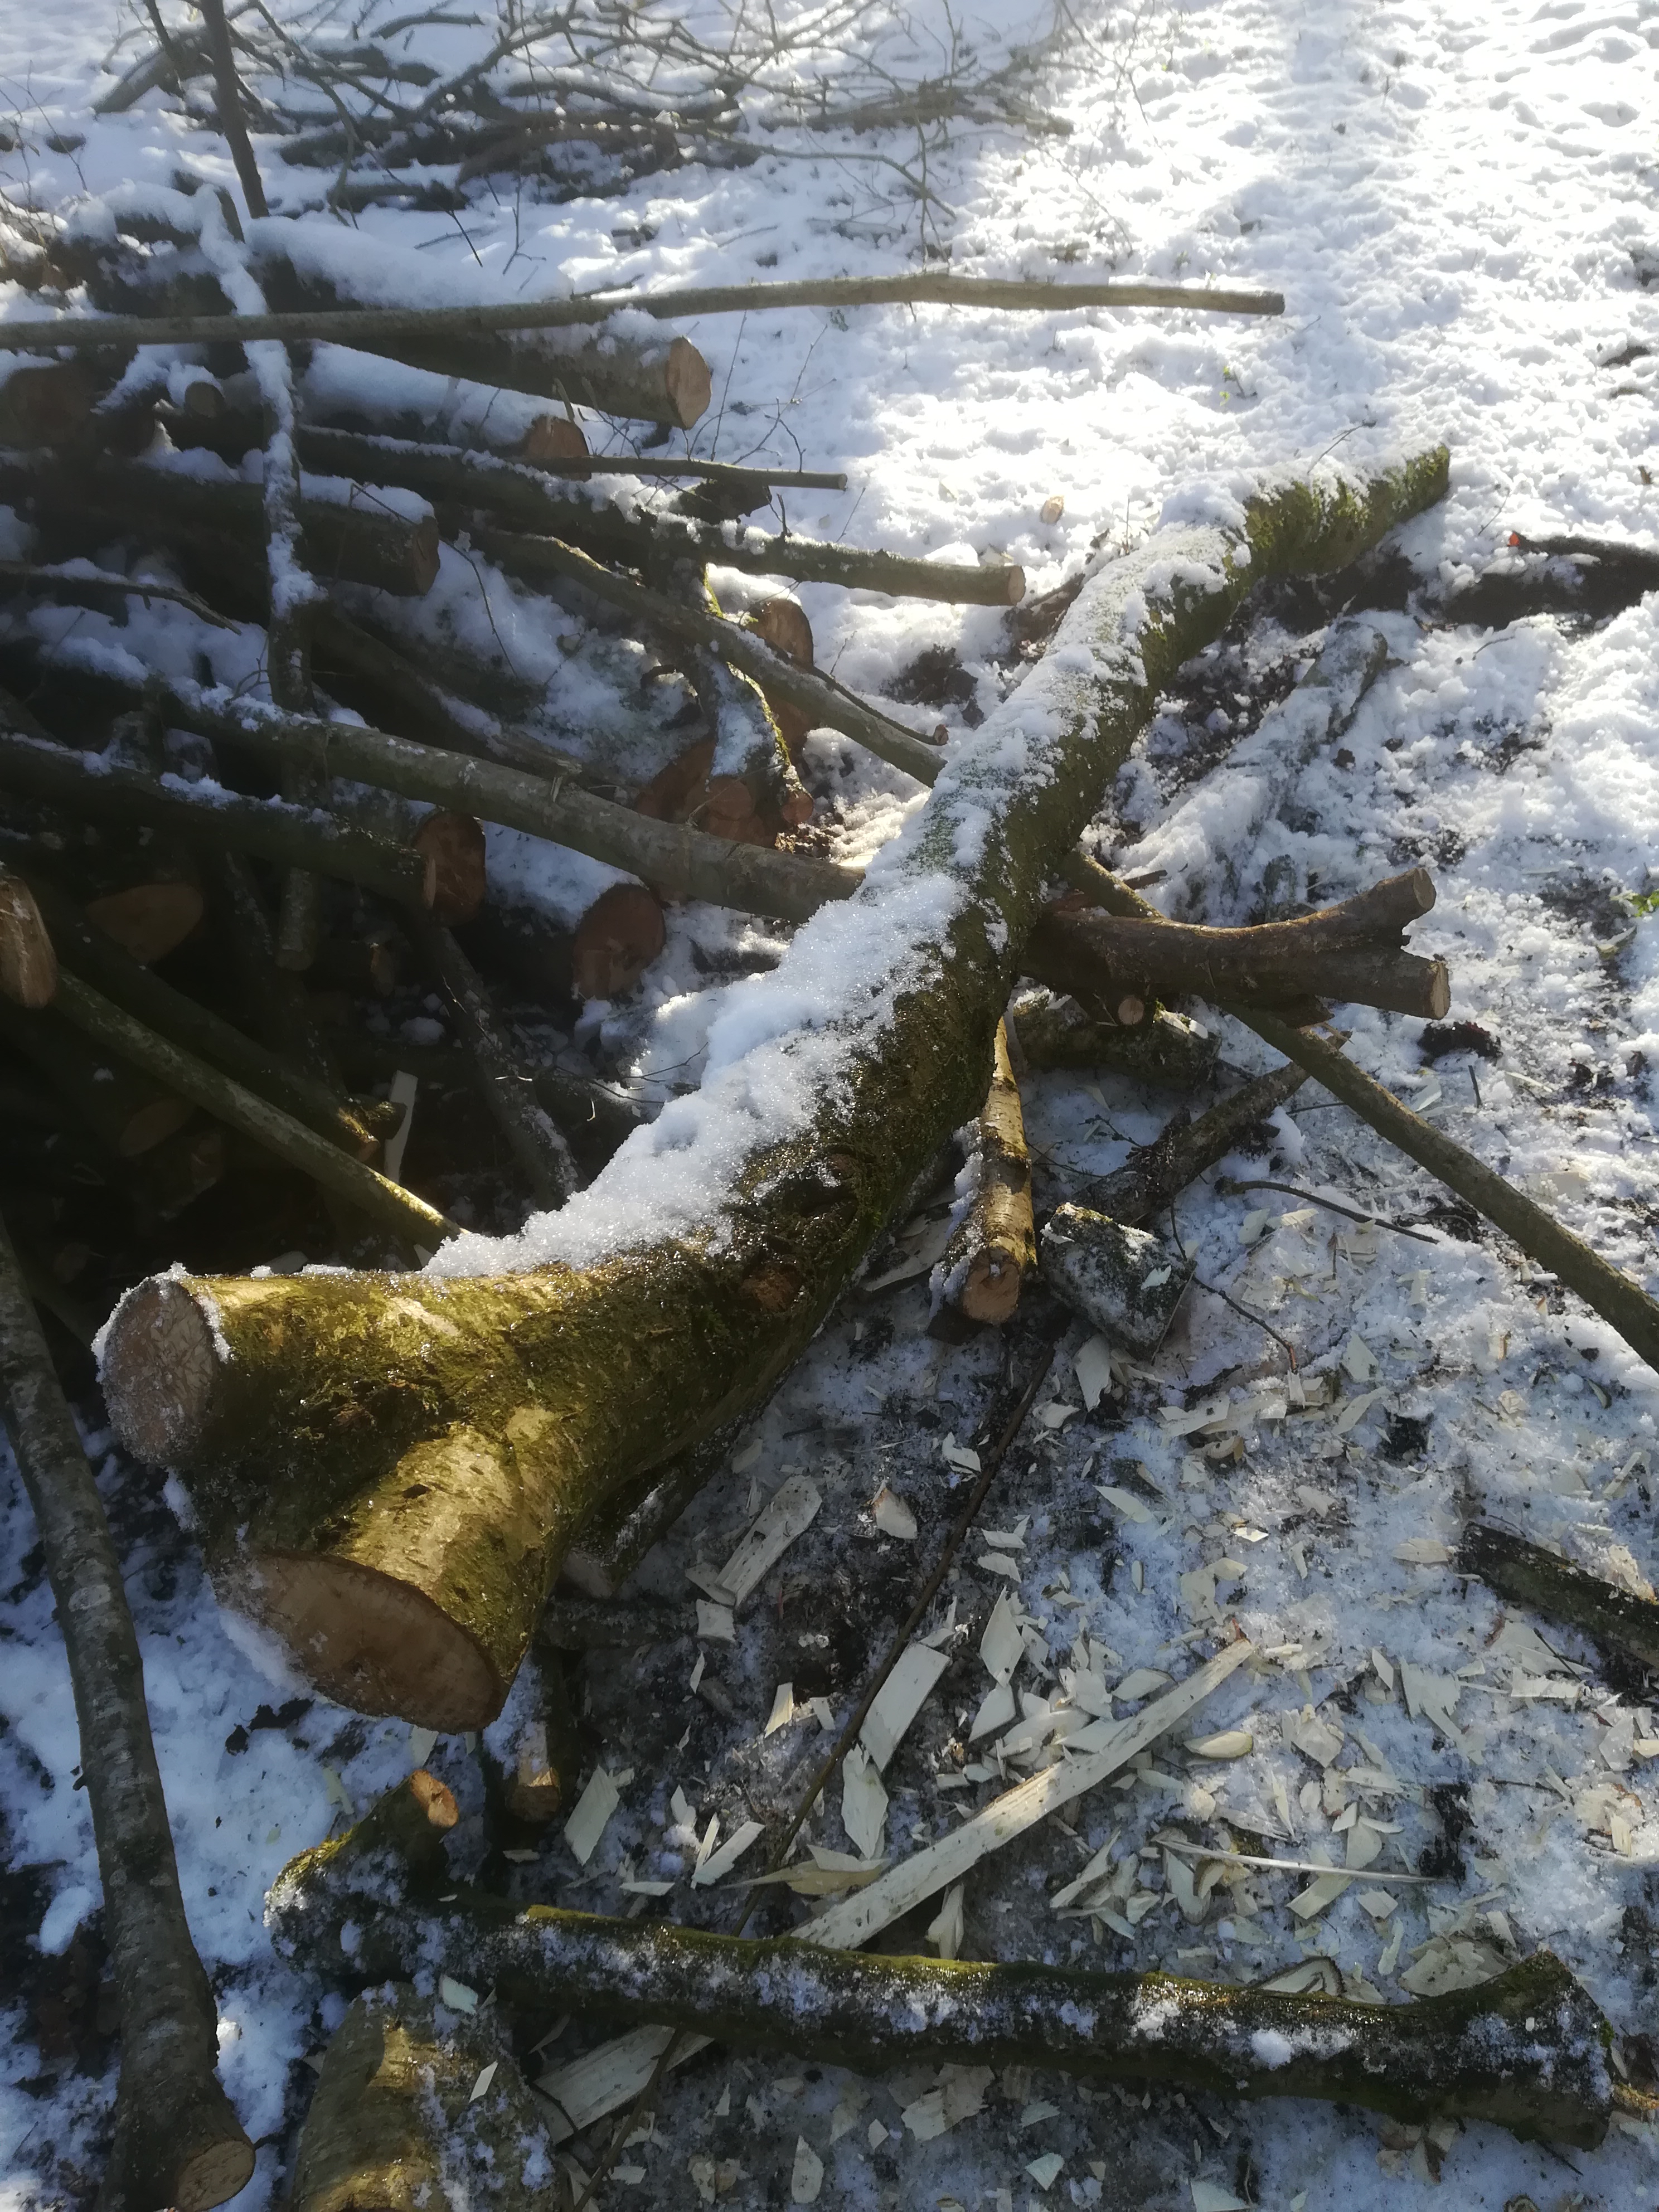
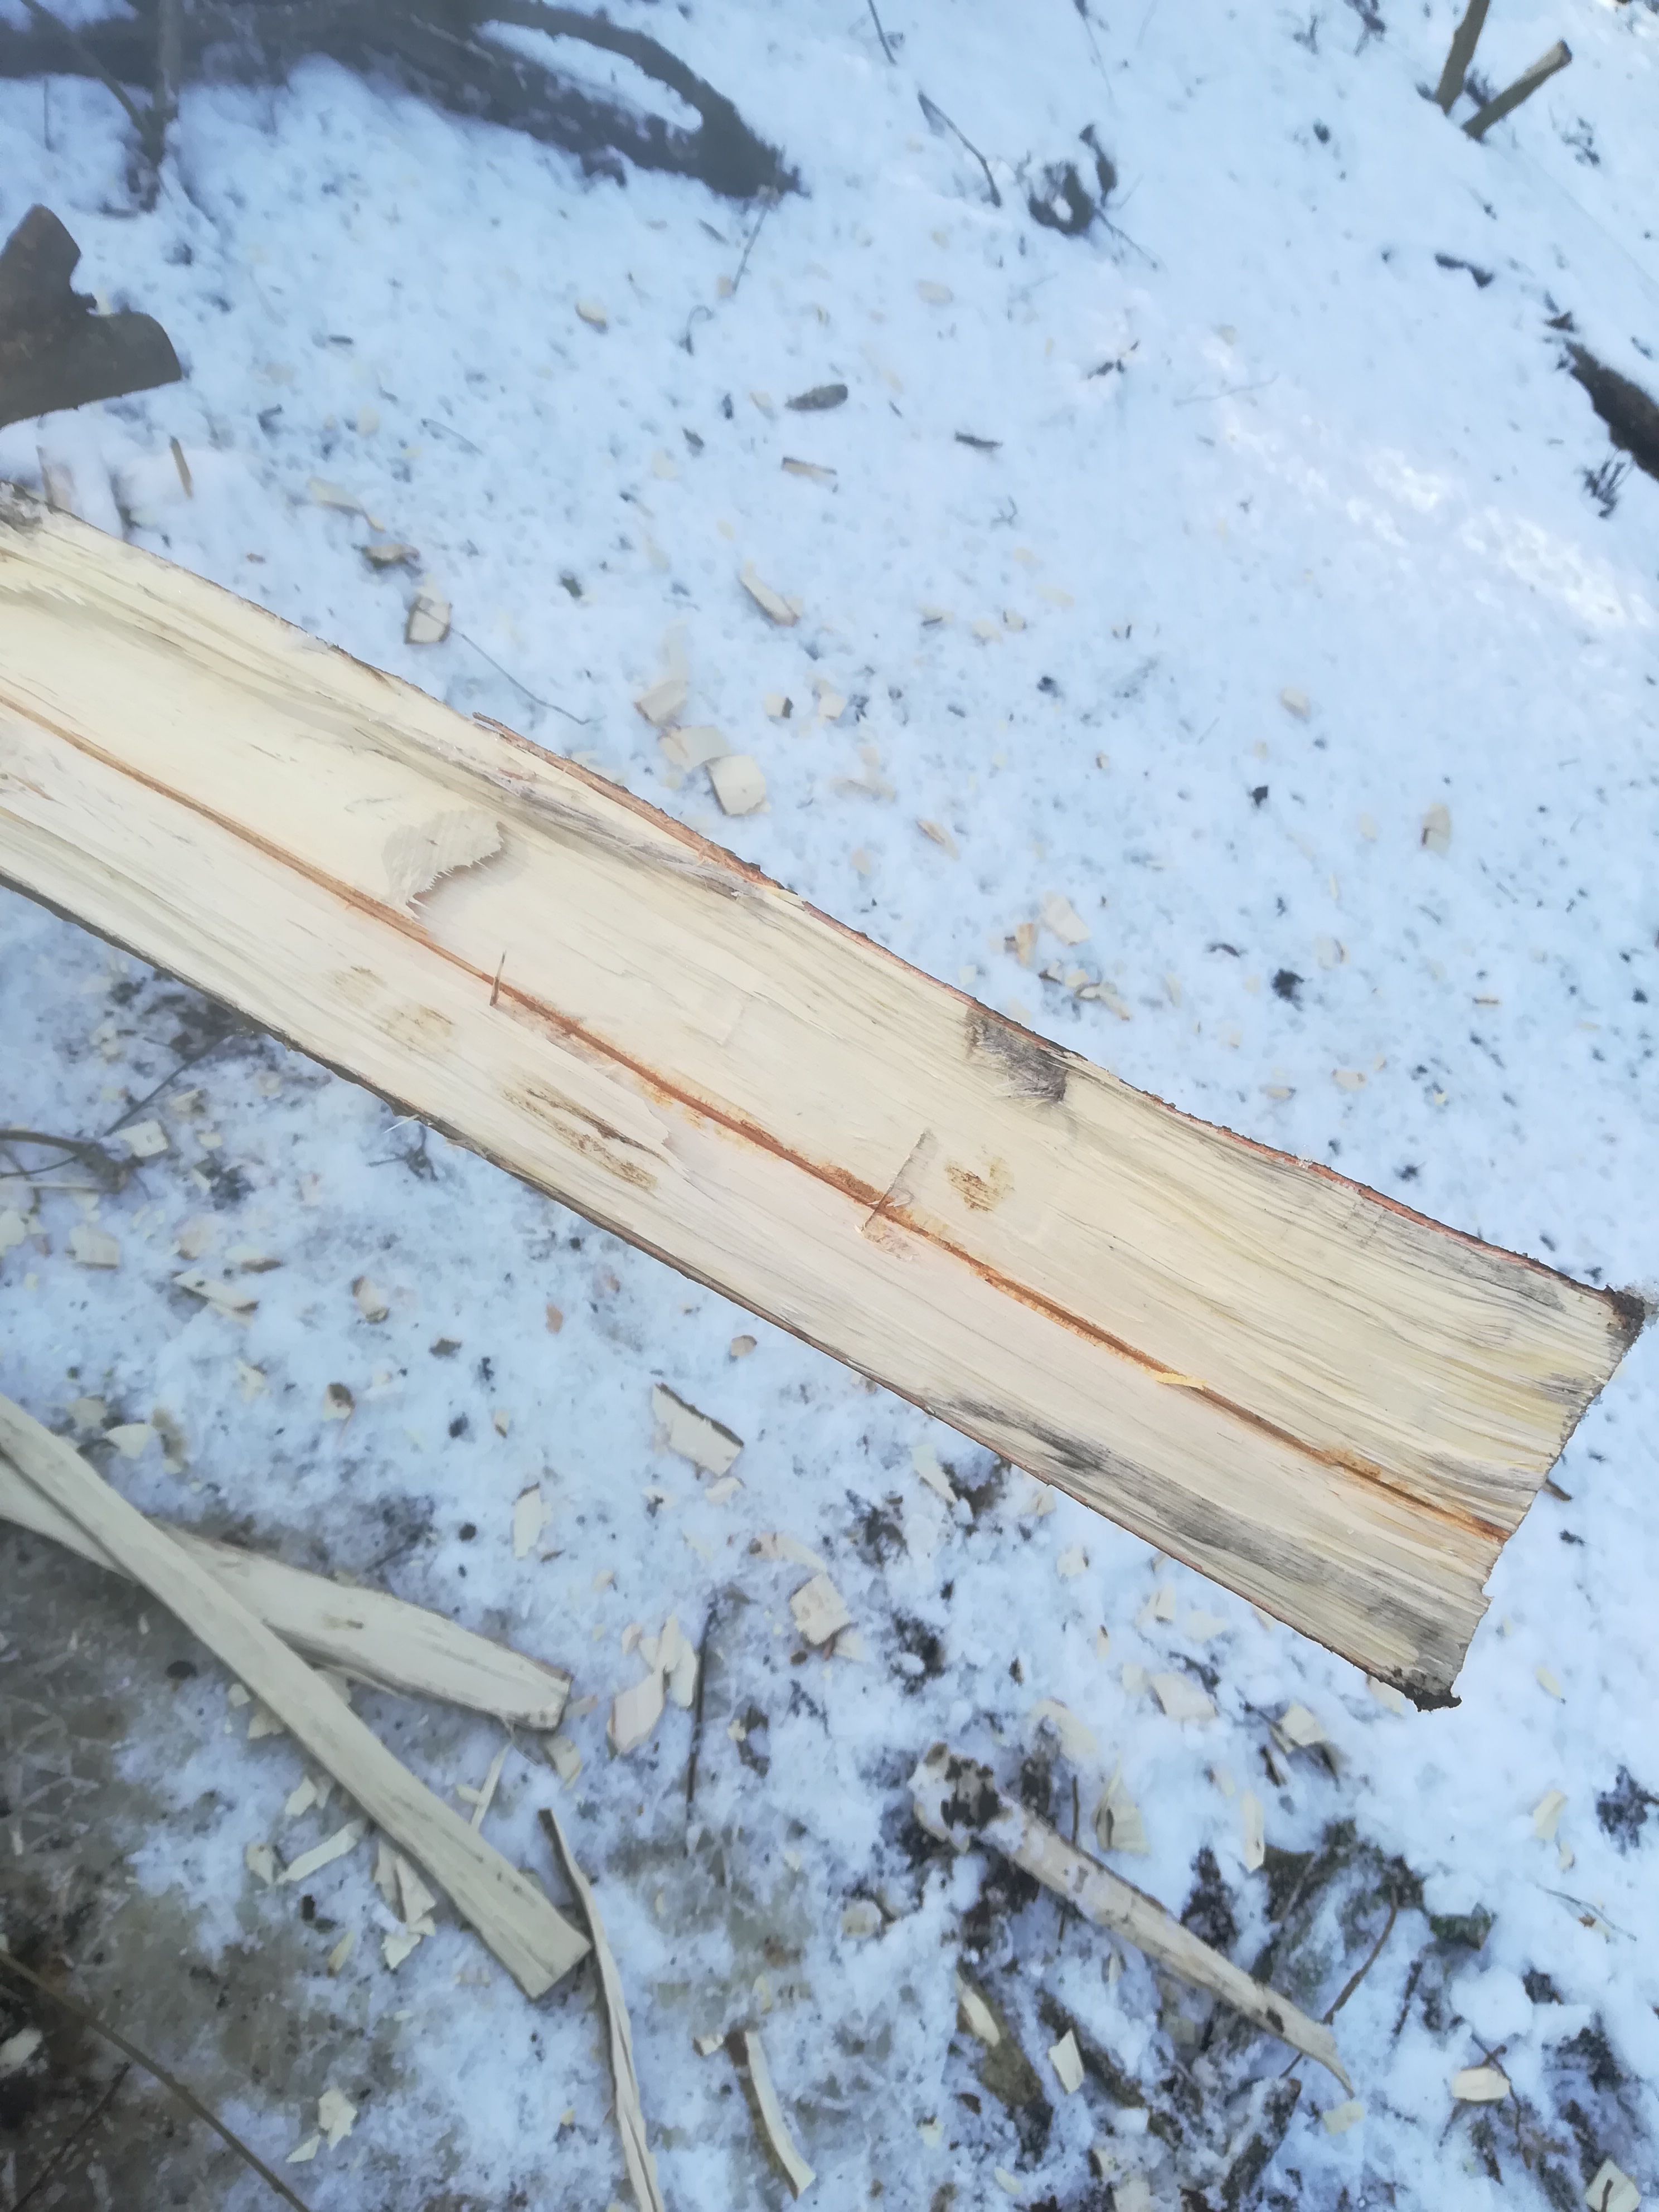
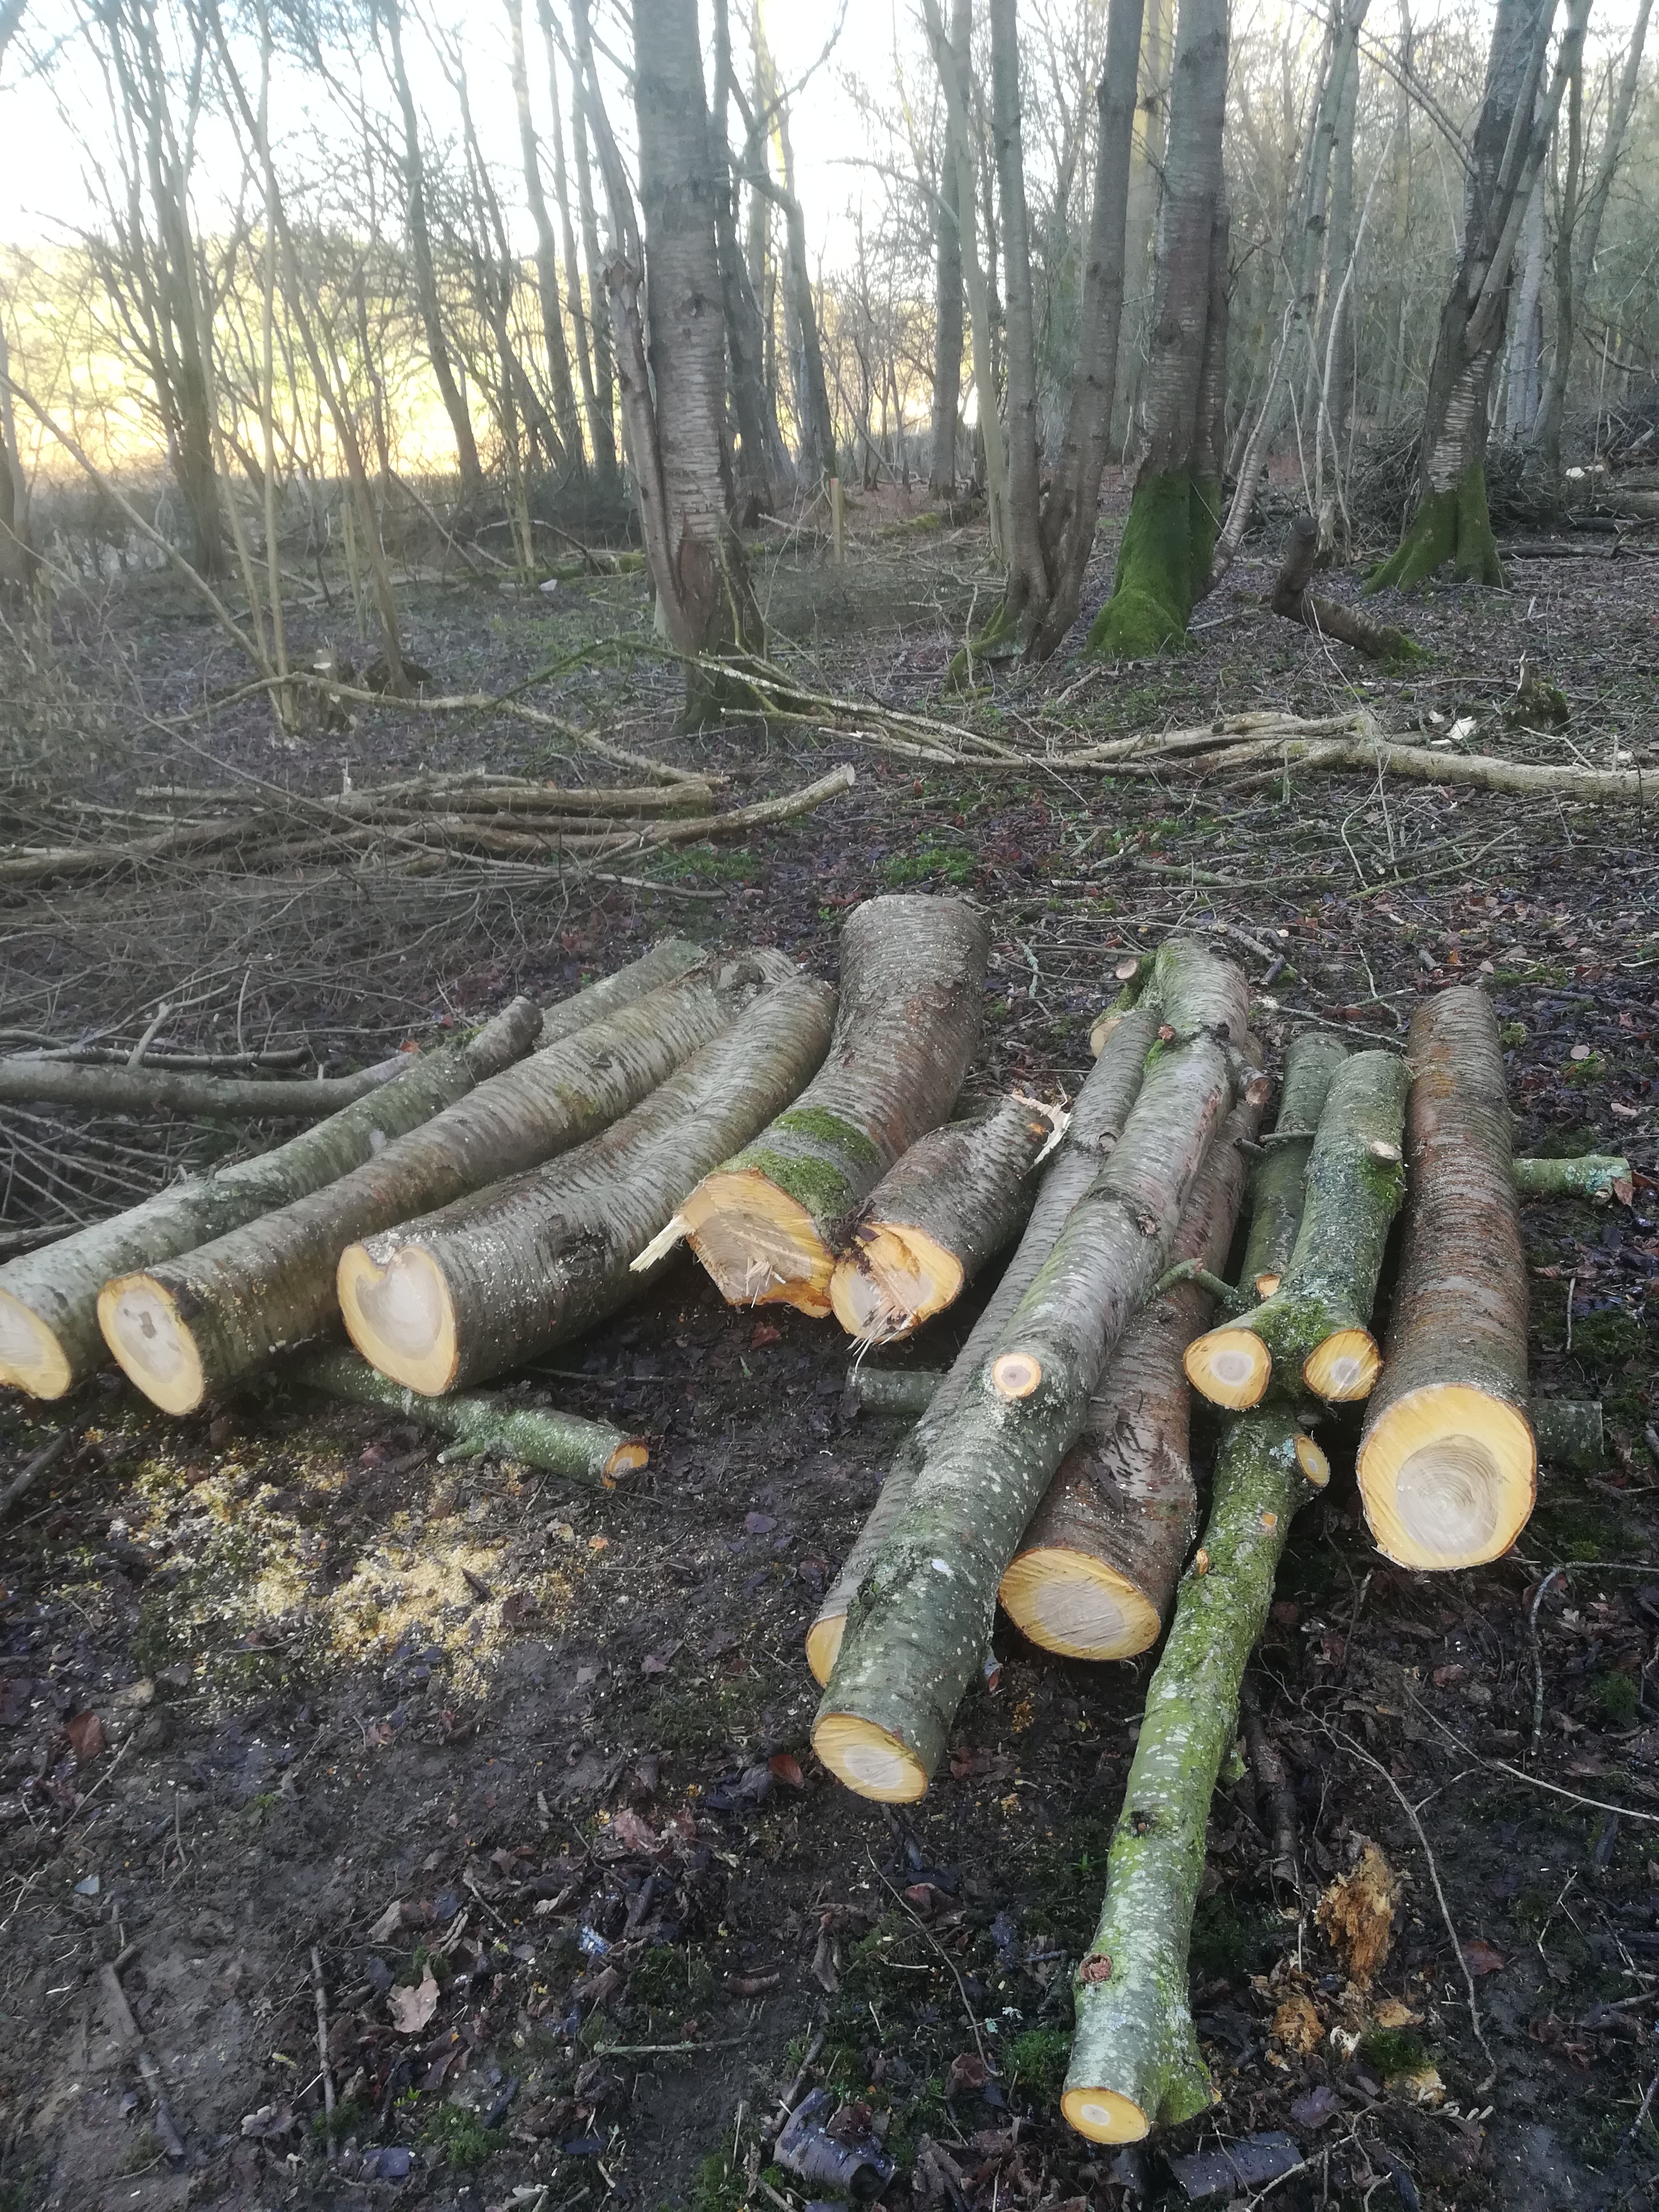
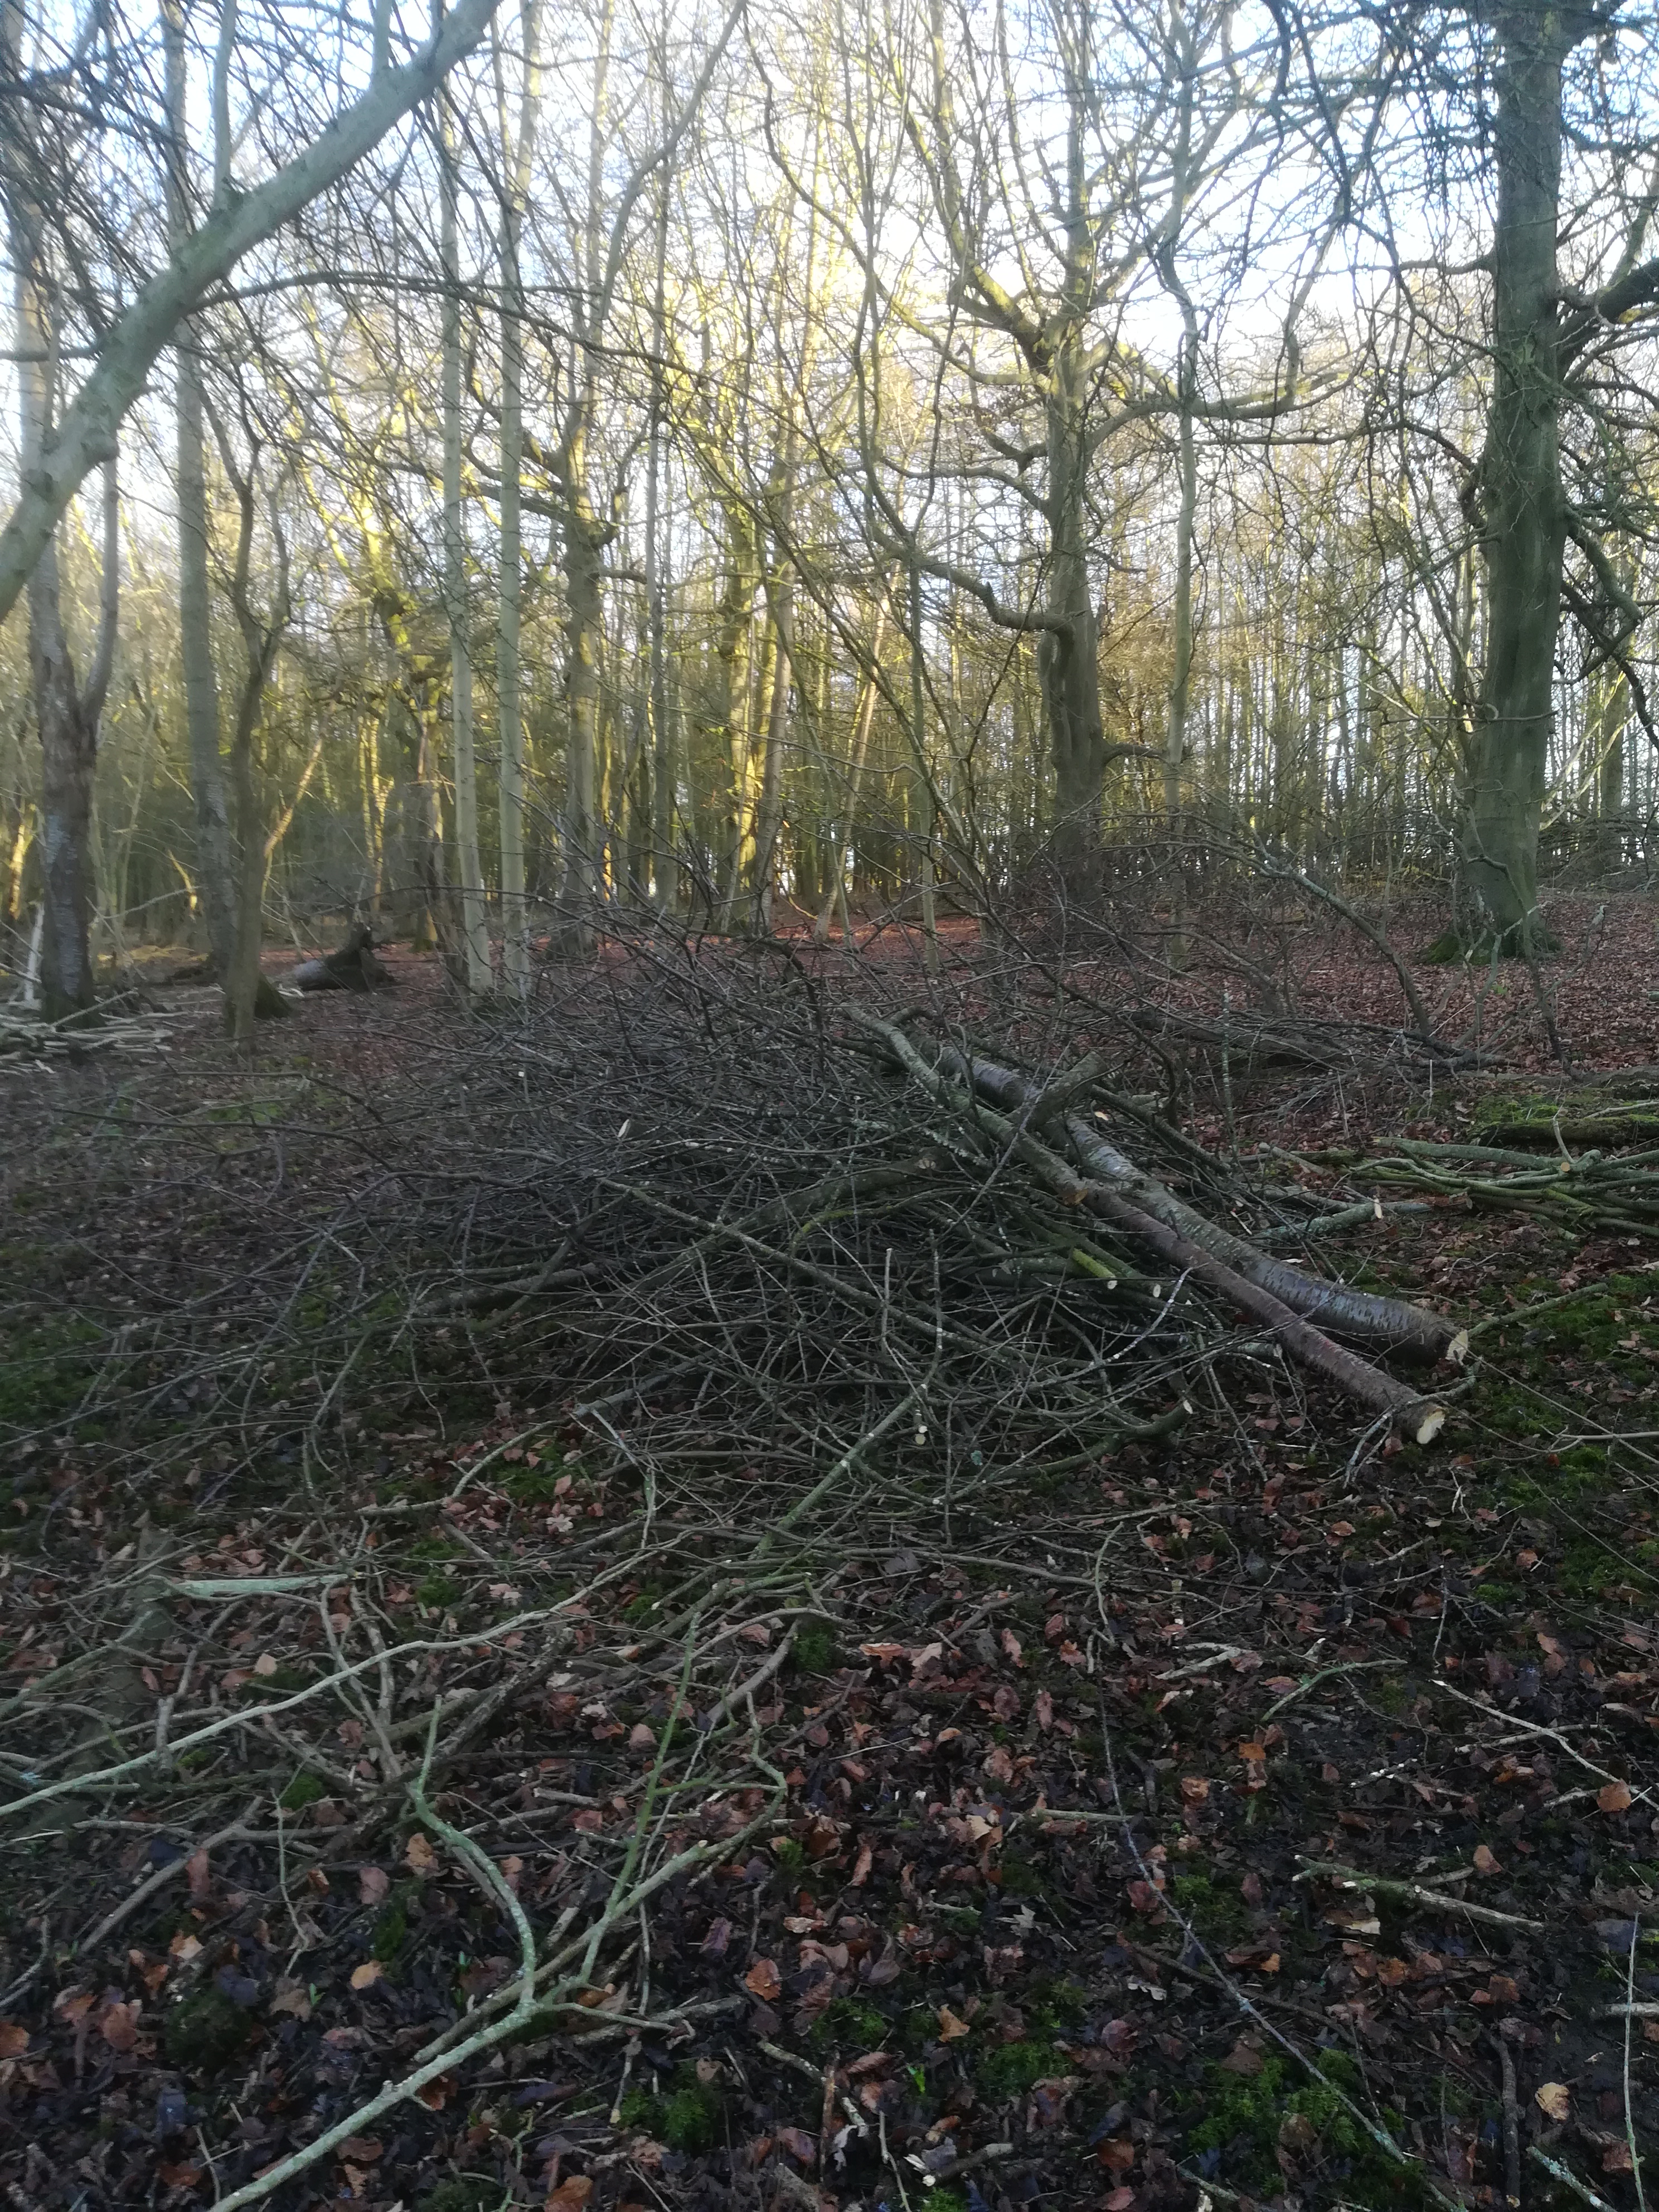
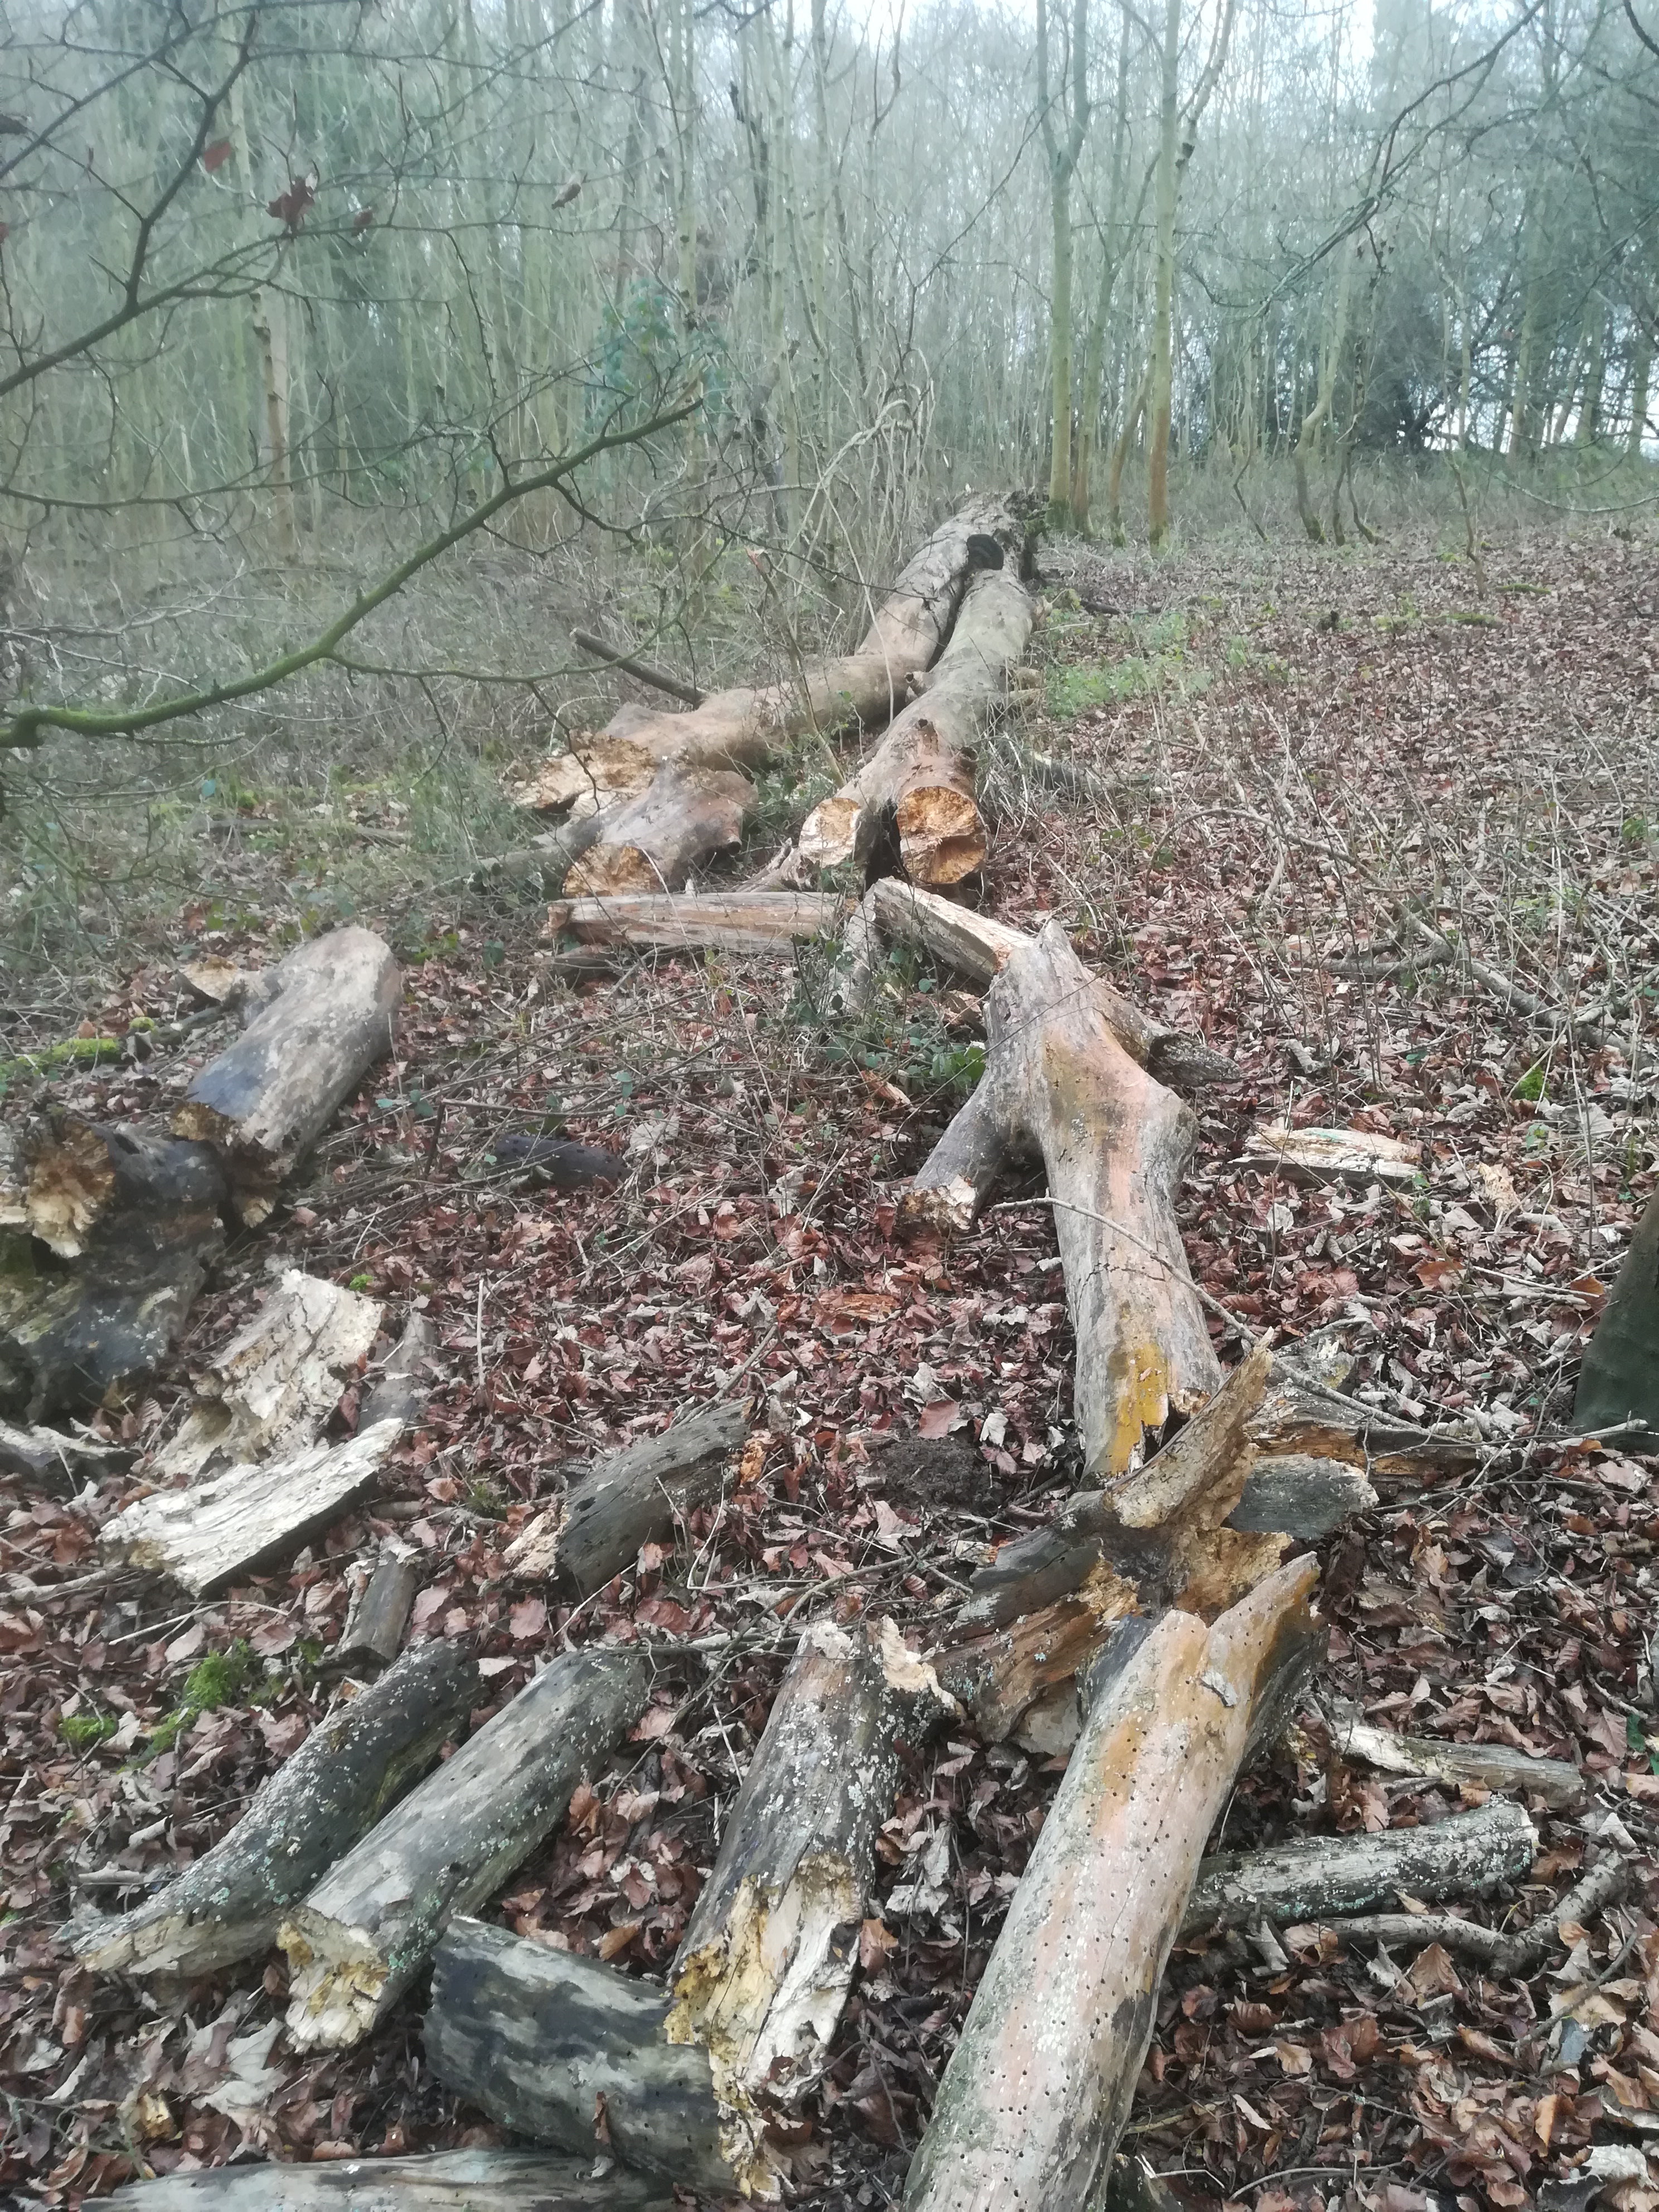
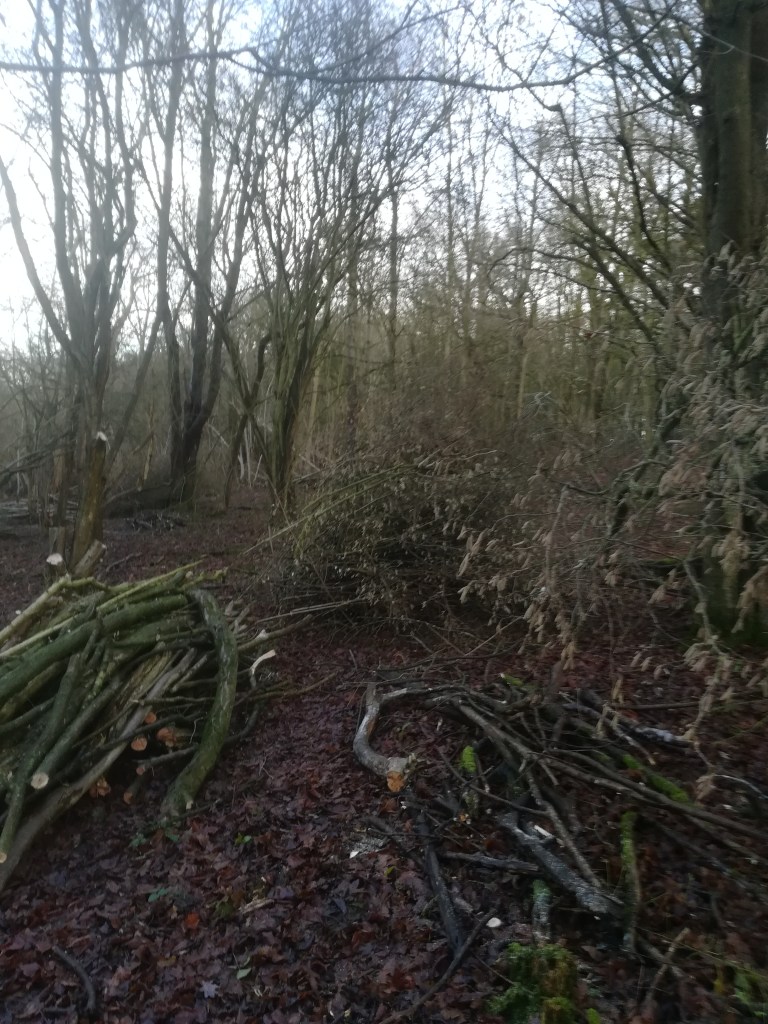
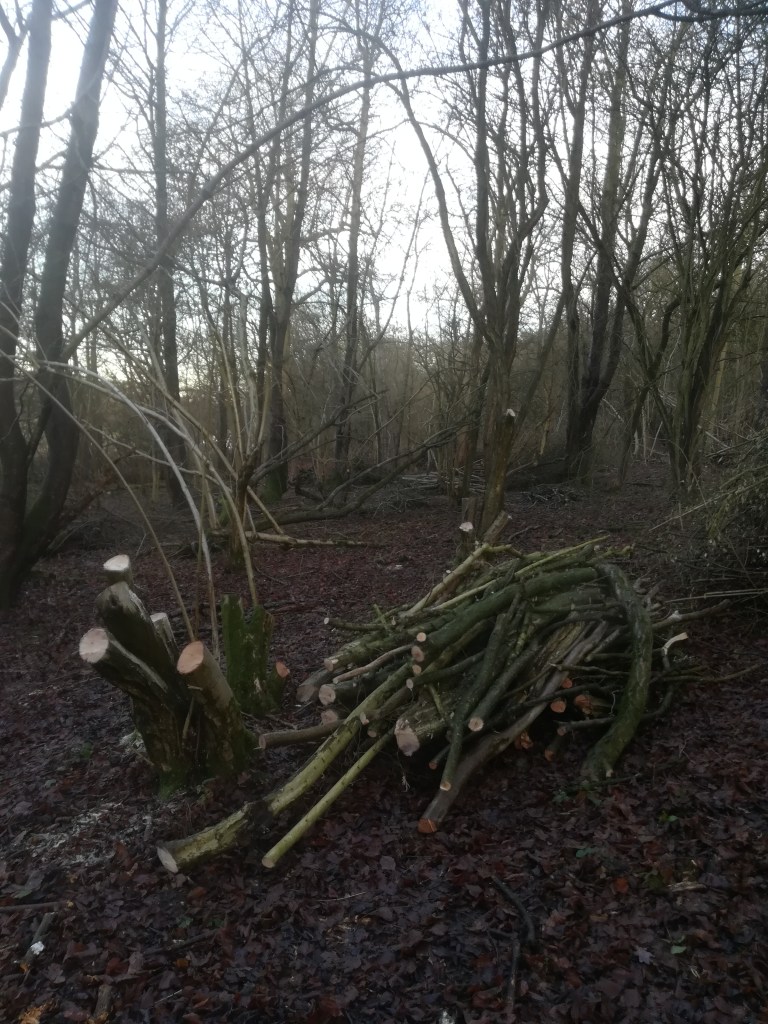
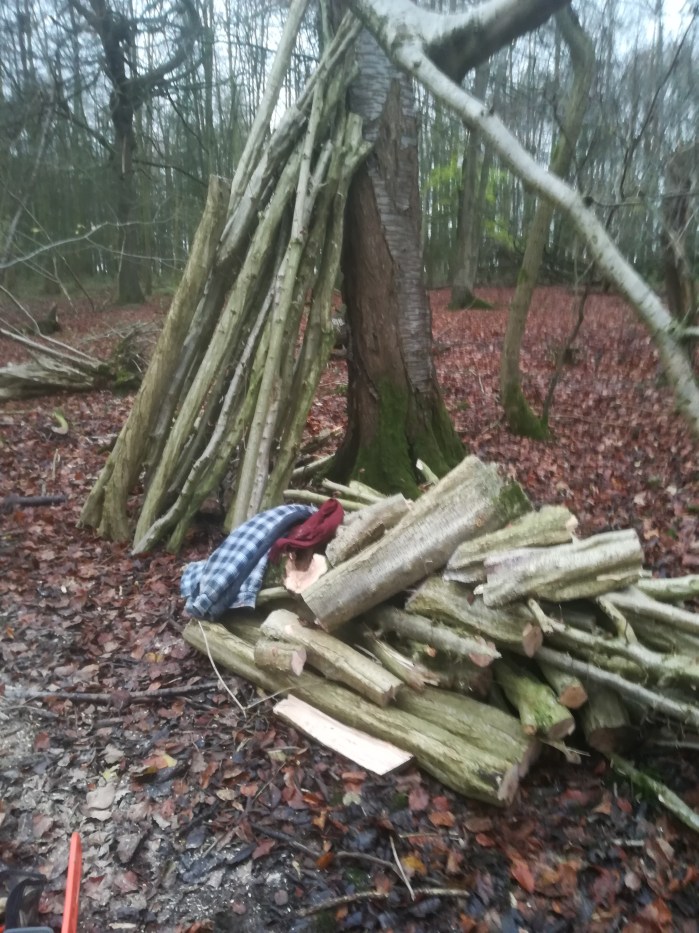
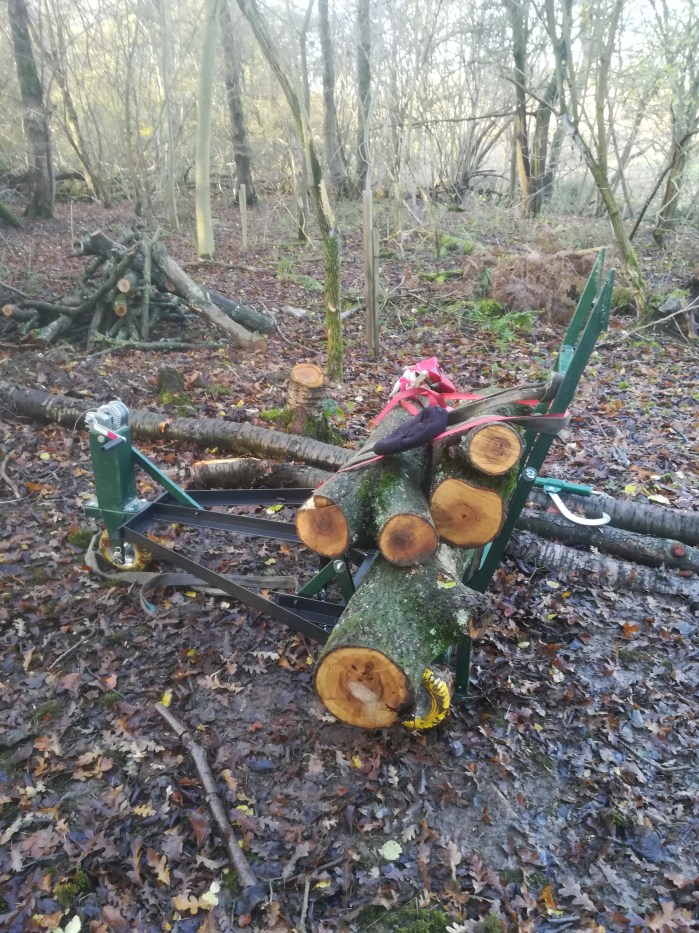
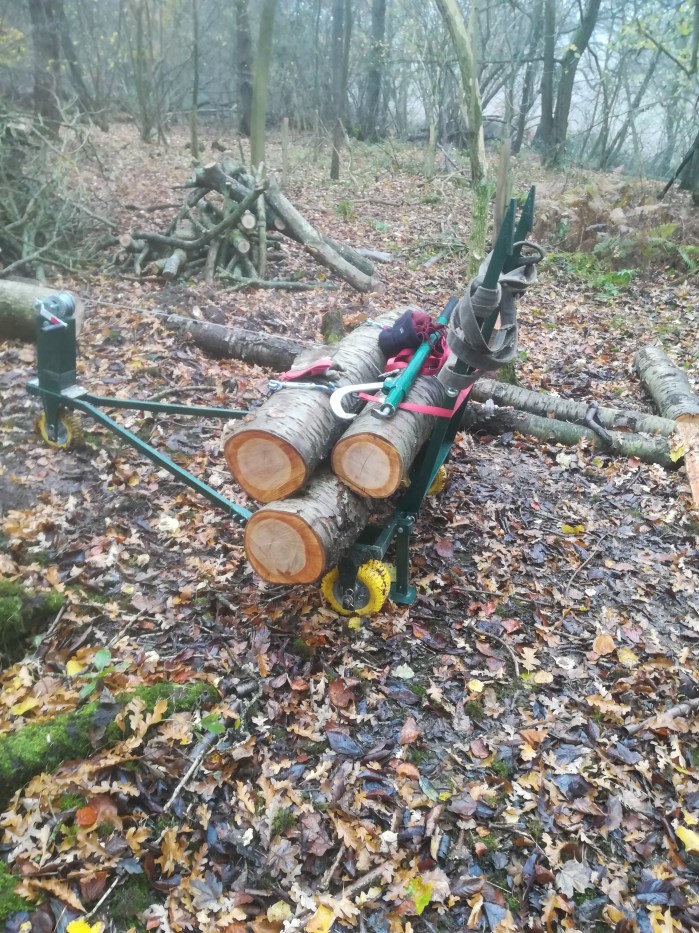
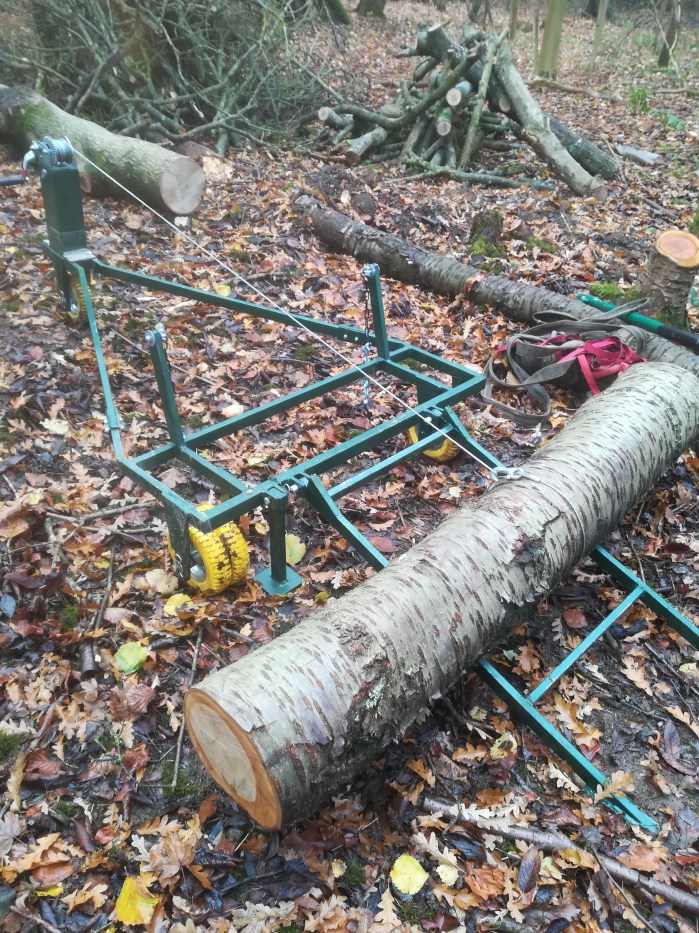
Once I had trimmed off all the canopy branches and shortened the main trunk it was possible to roll the rest of the stem off its precarious pivot and onto the ground. Once there it was straight forward to cut it up into sections and finish off tidying up the stump itself. I feel much better now this tree has been dealt with. Its creaking in the wind had been an ominous soundtrack to the rest of the work. The bole of the tree itself is that lovely classic pink ash wood colour and I will mill these logs down into useable timber as soon as practicable.
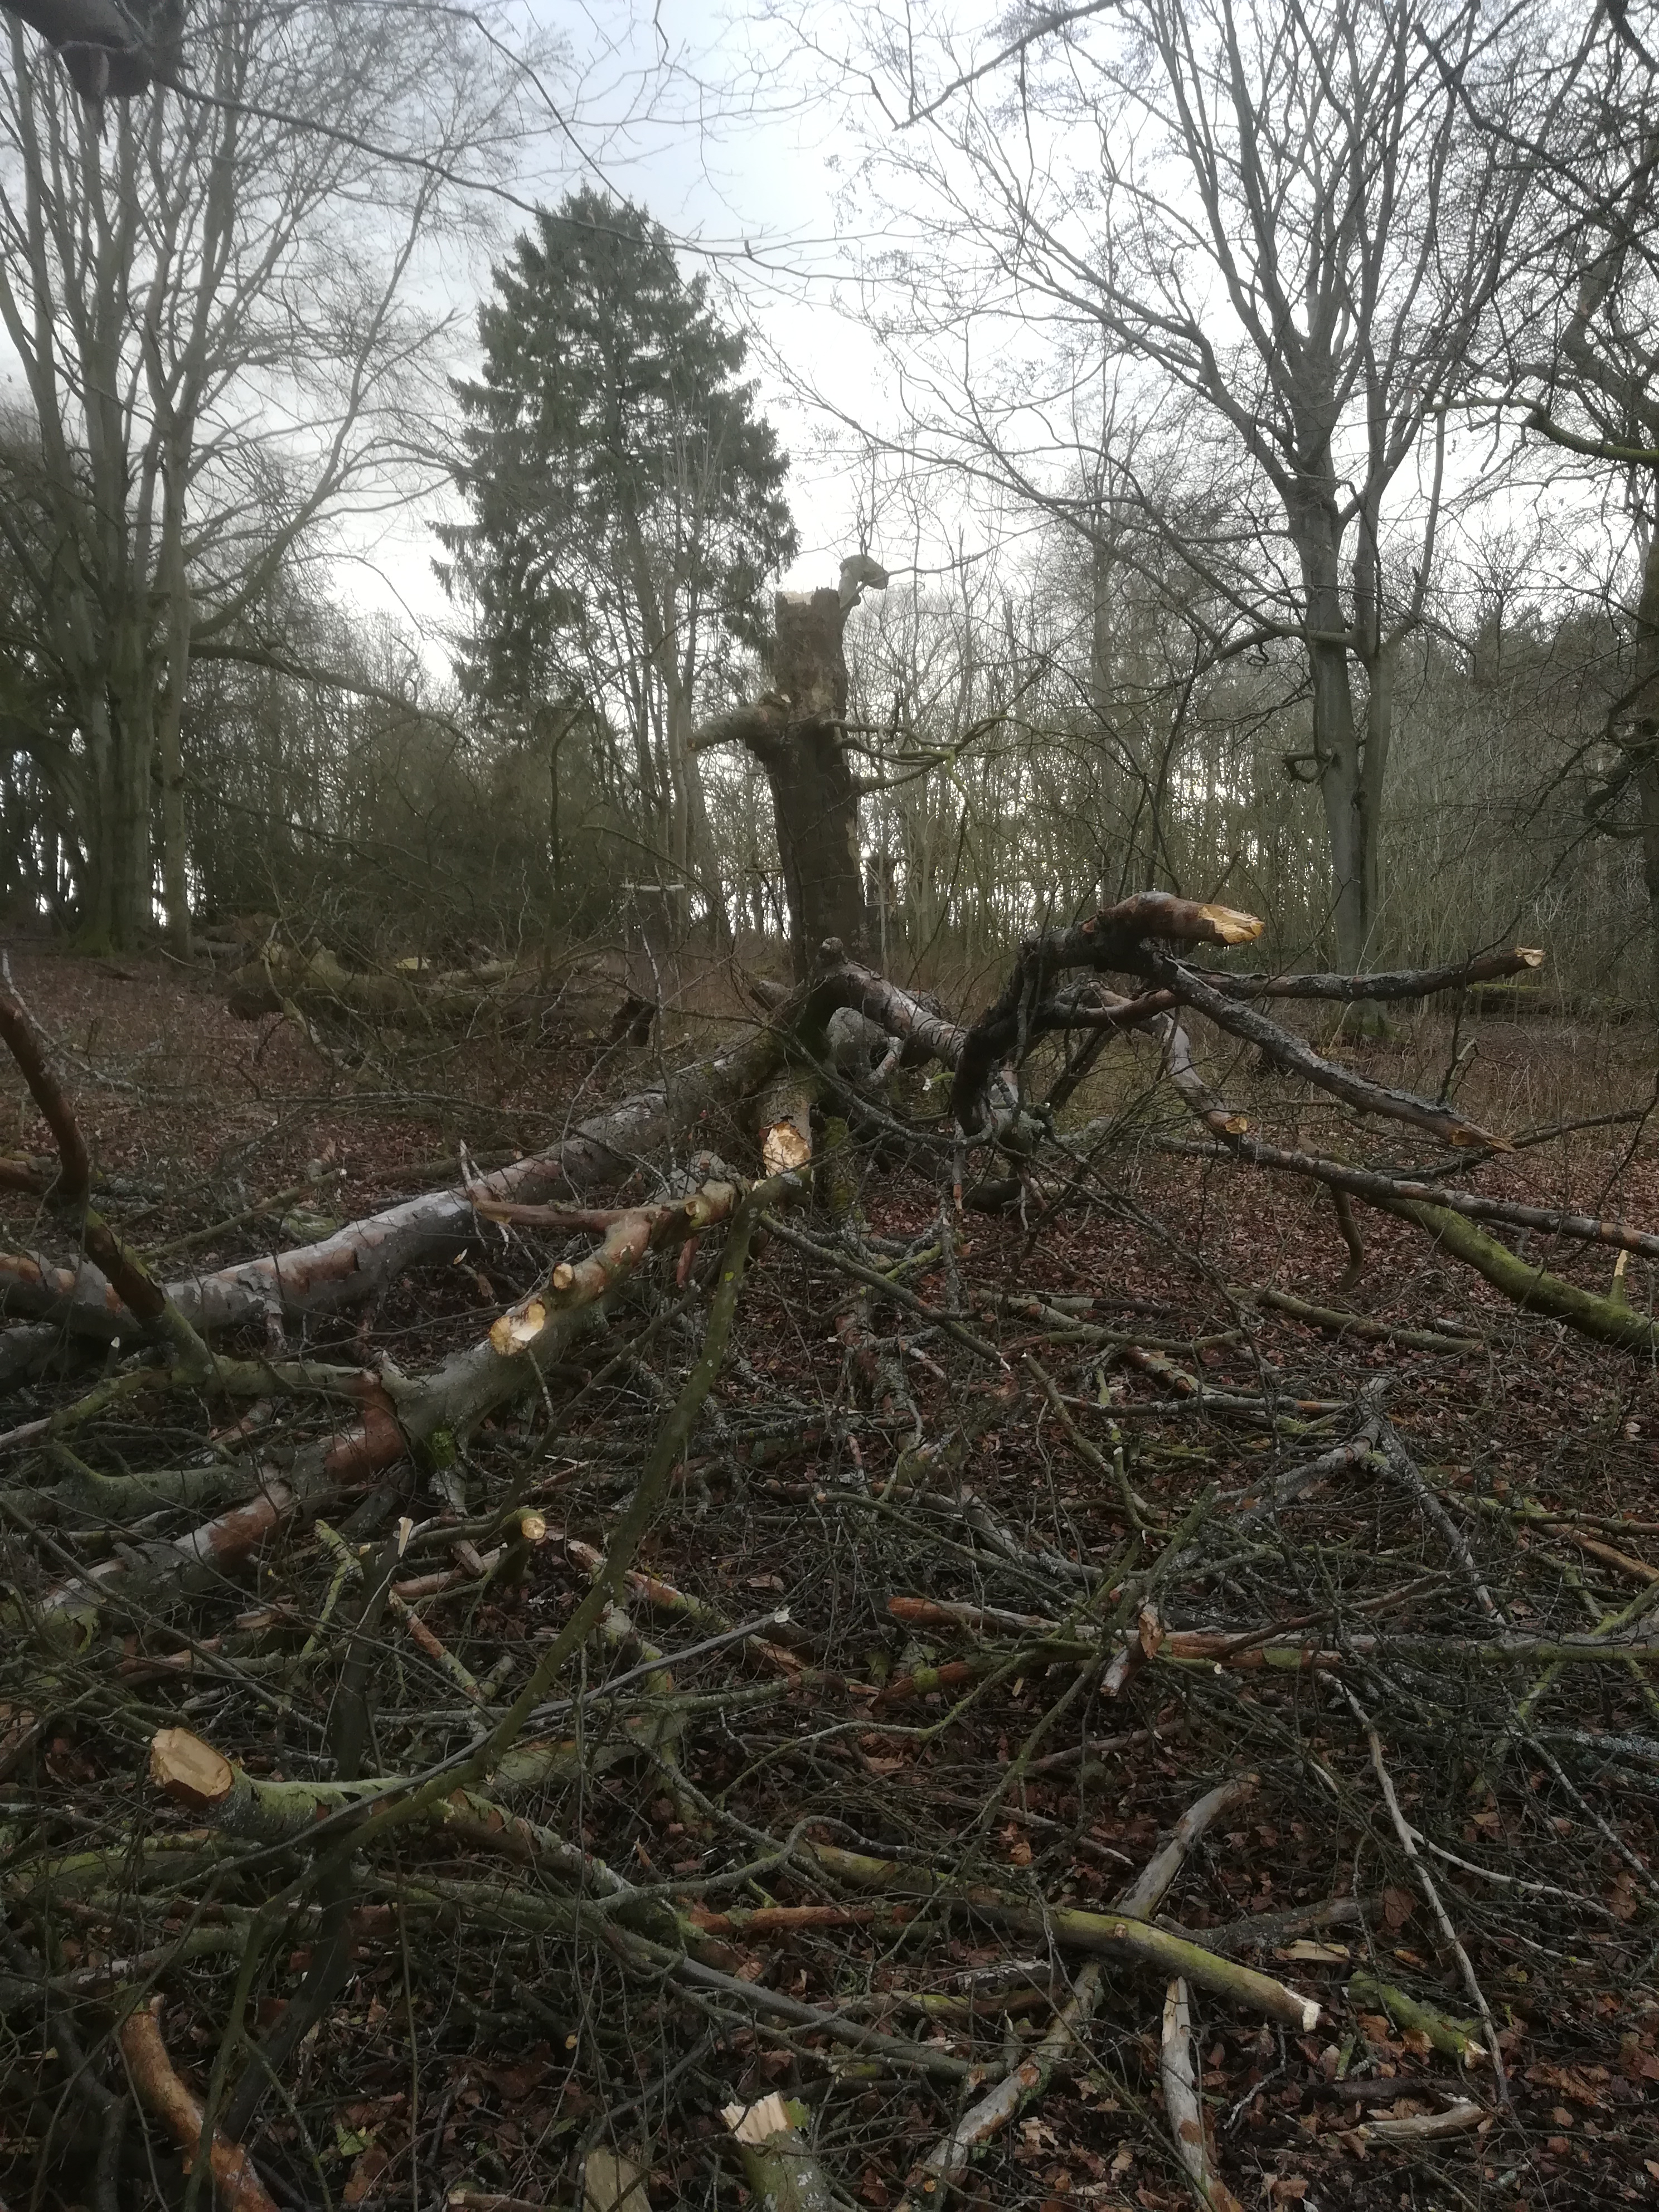
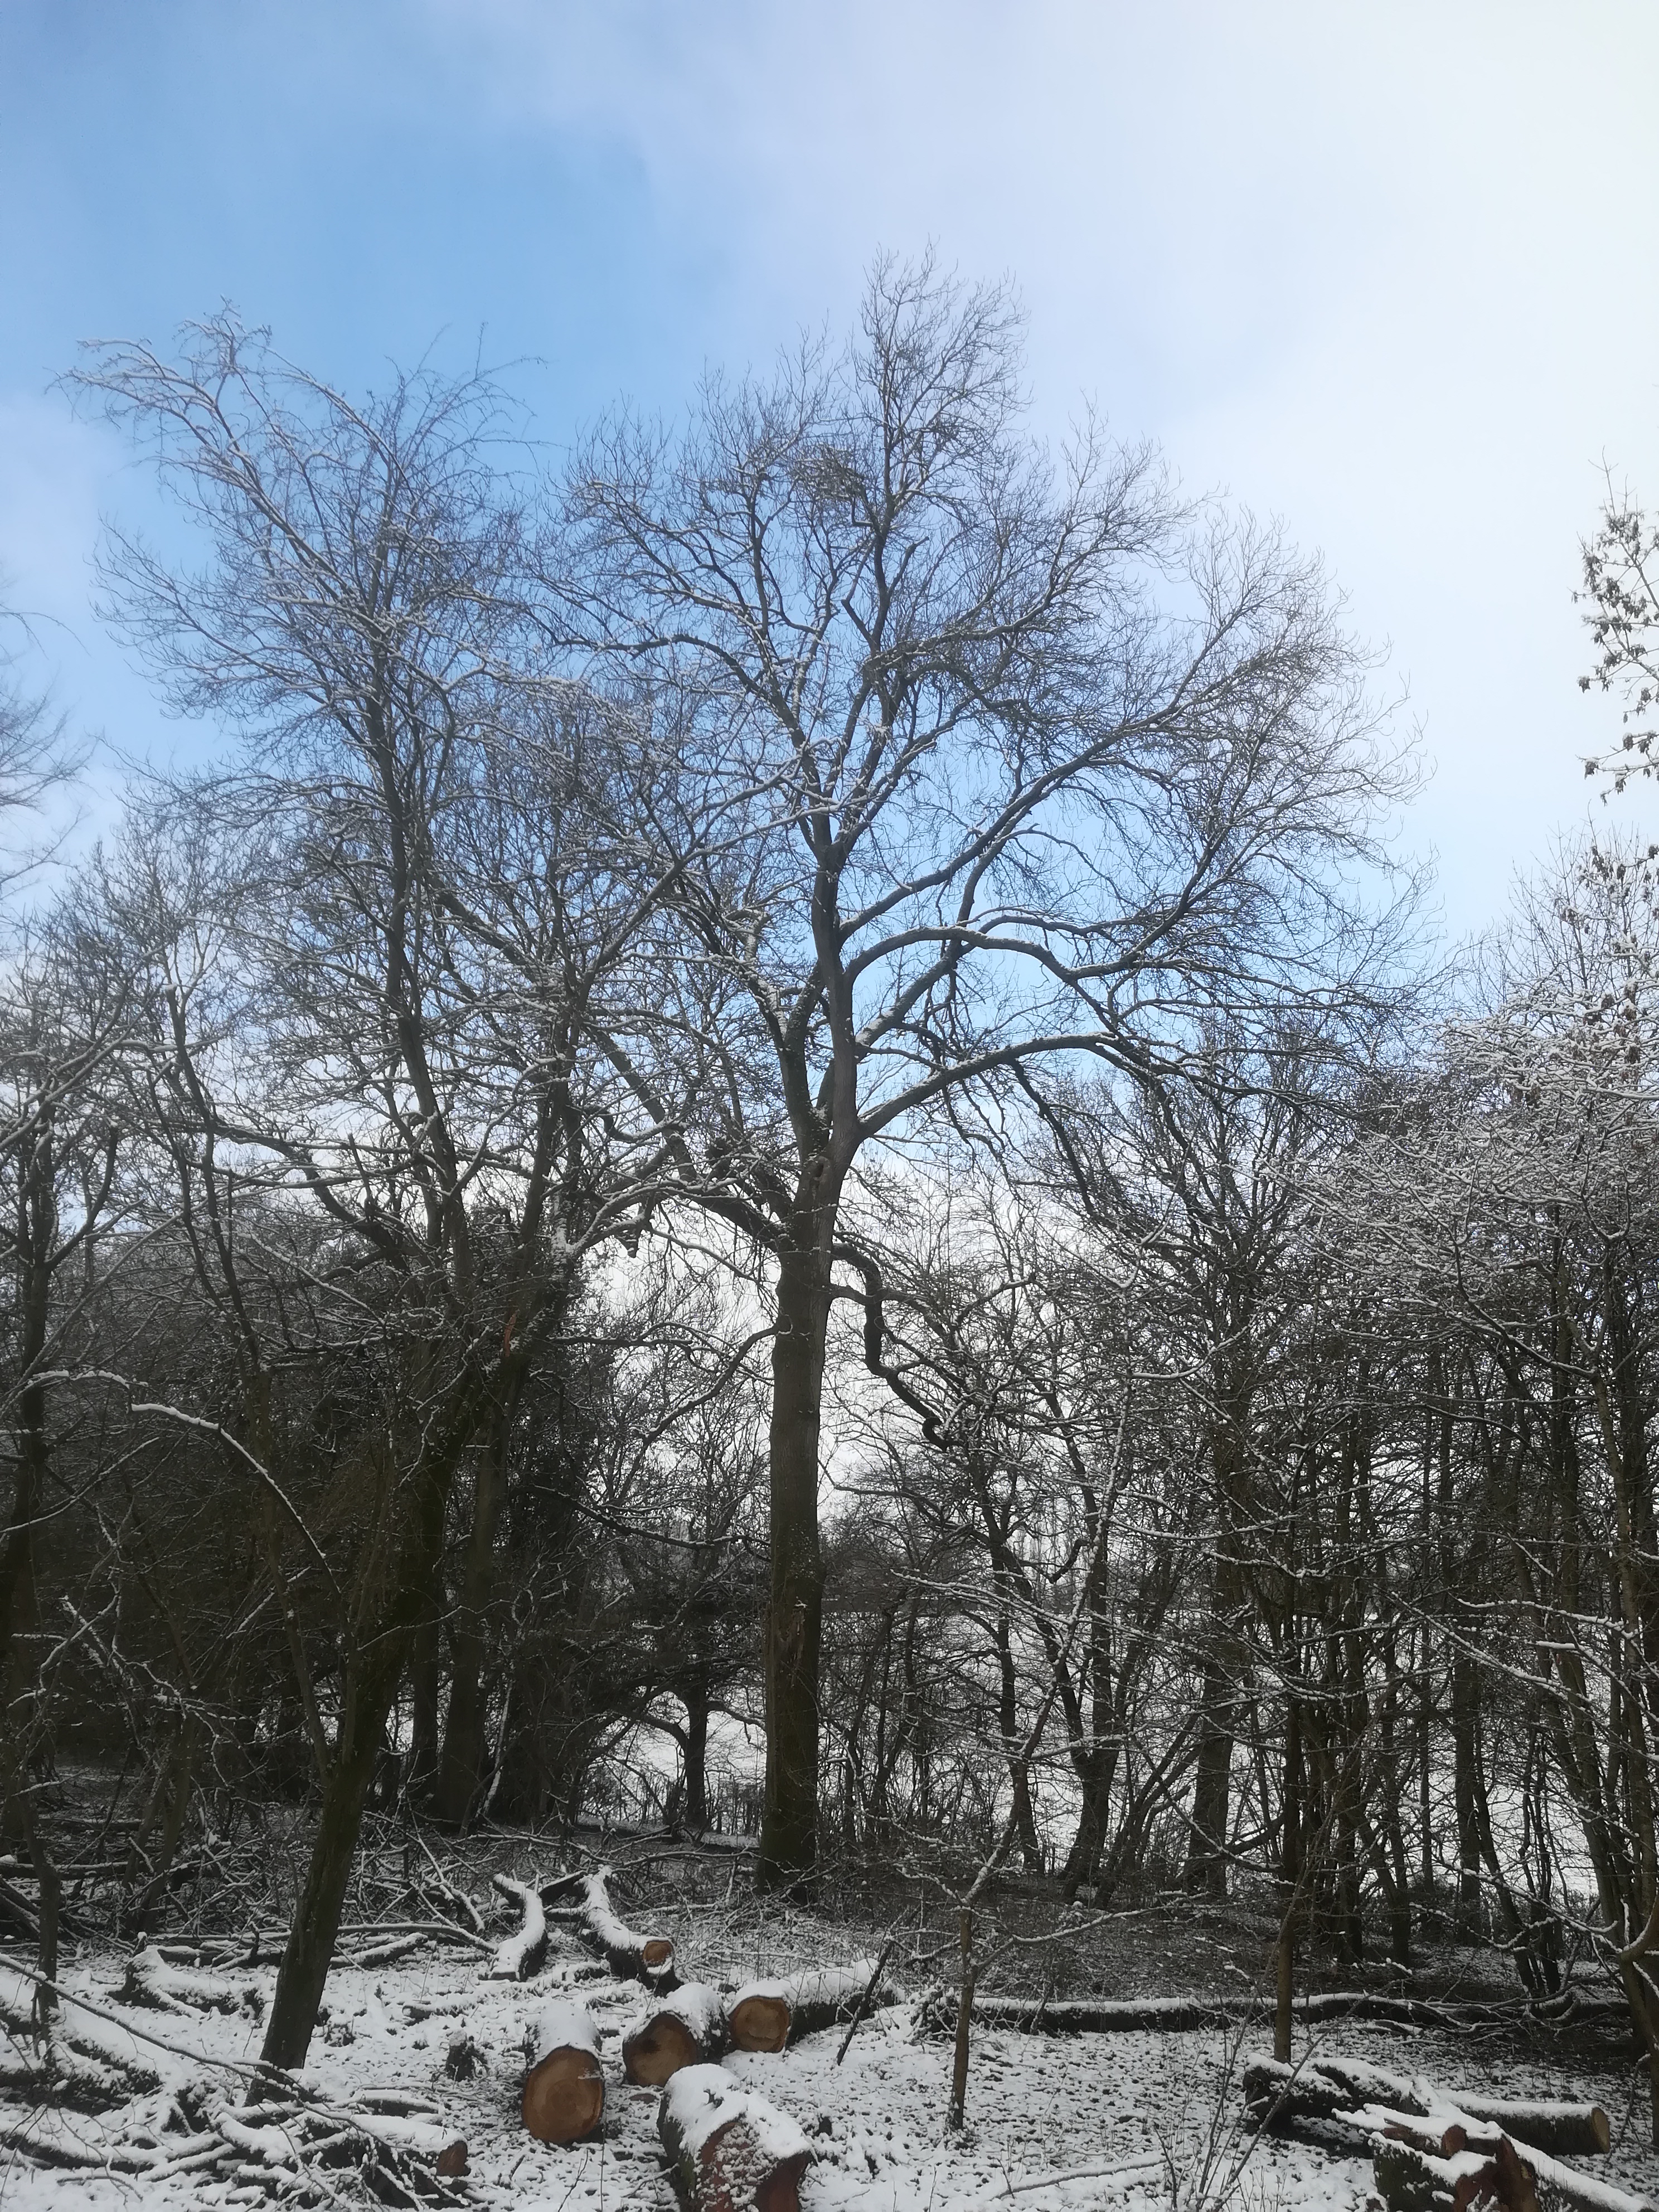
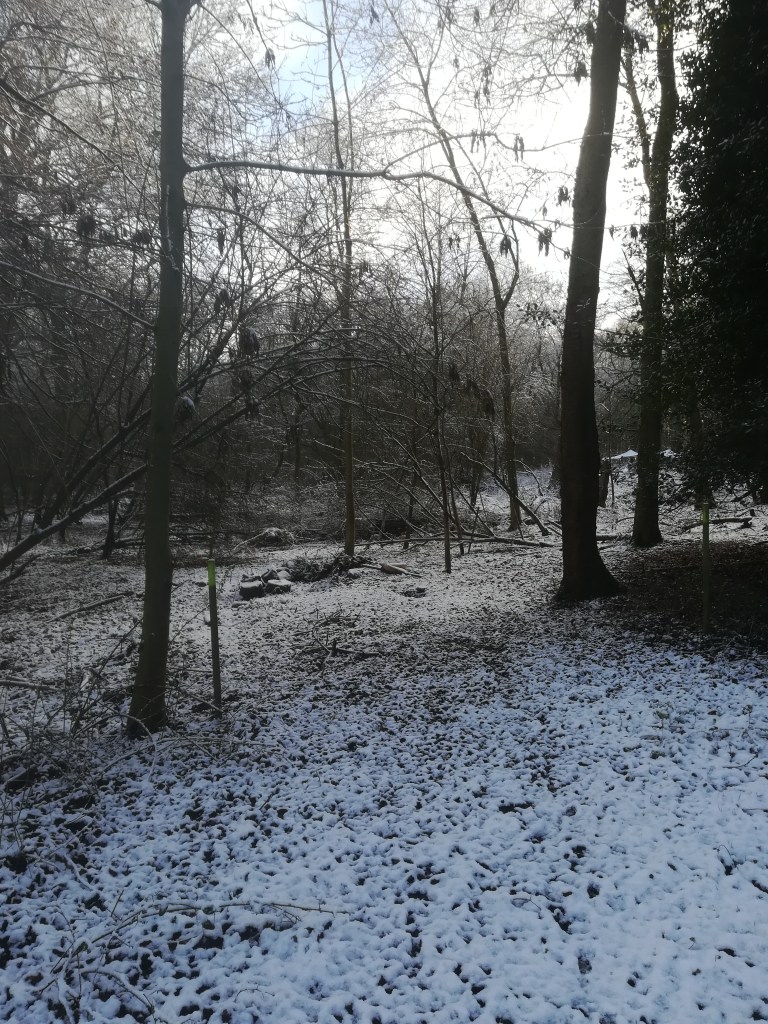
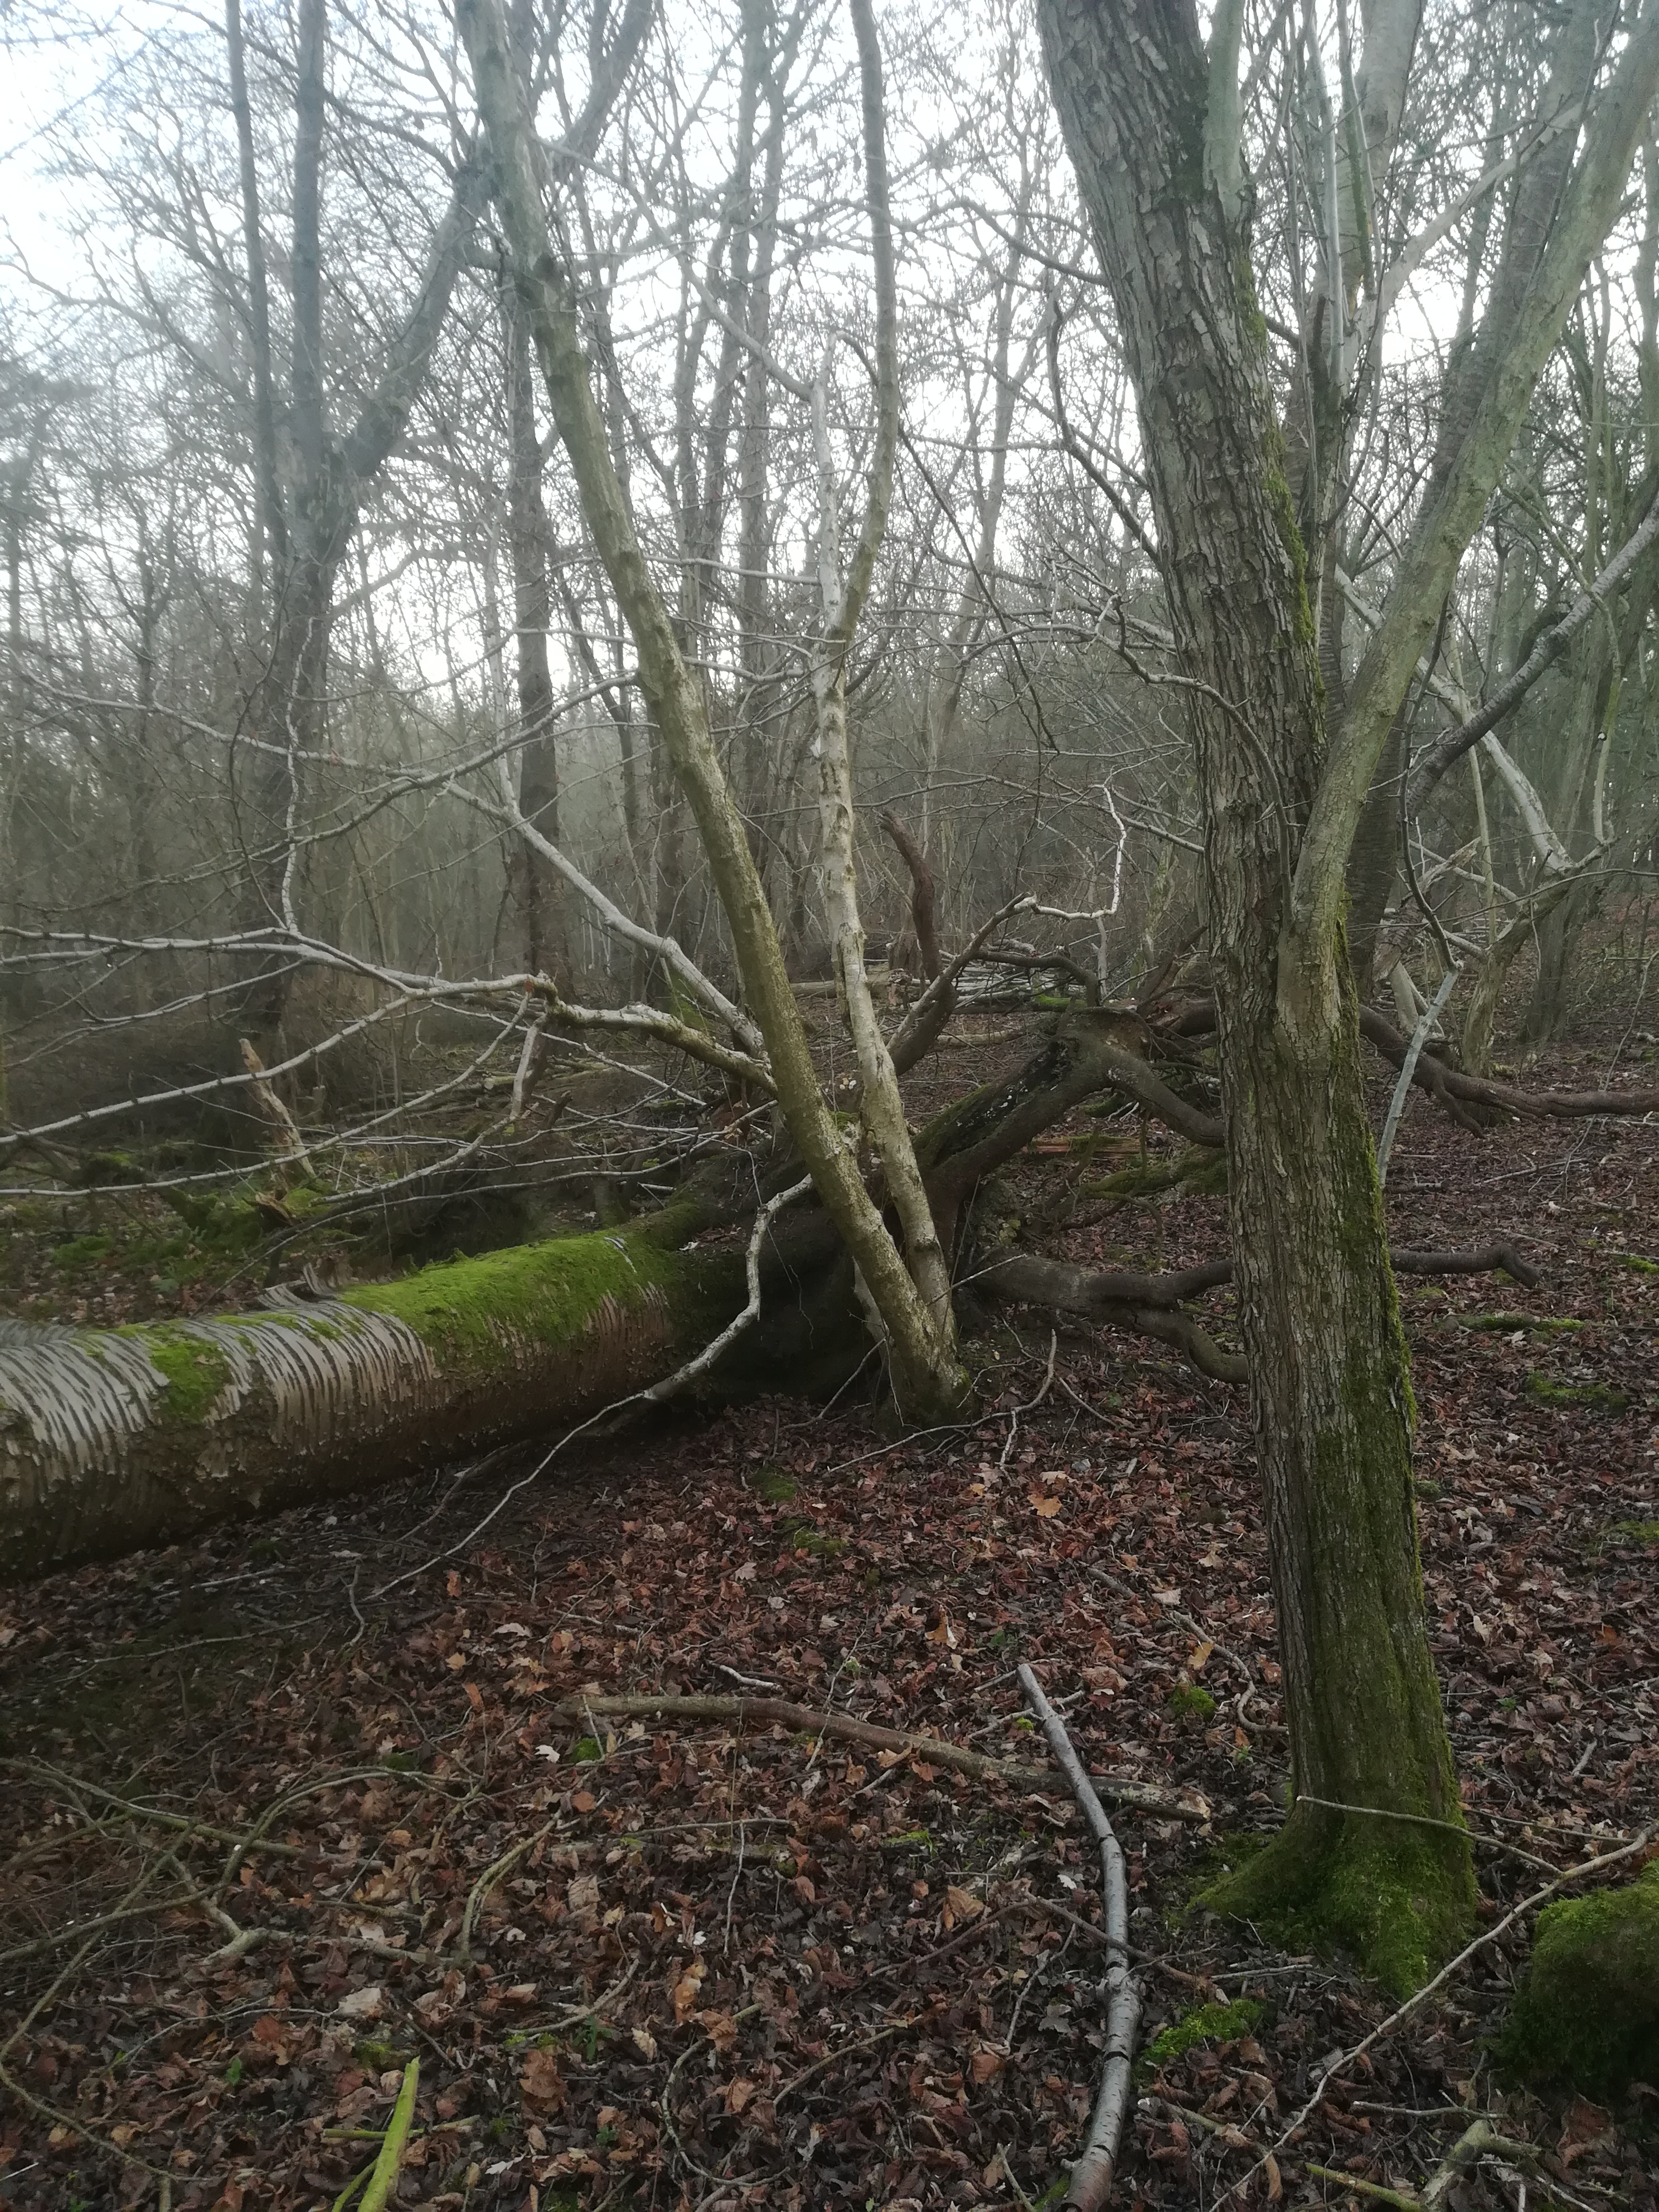
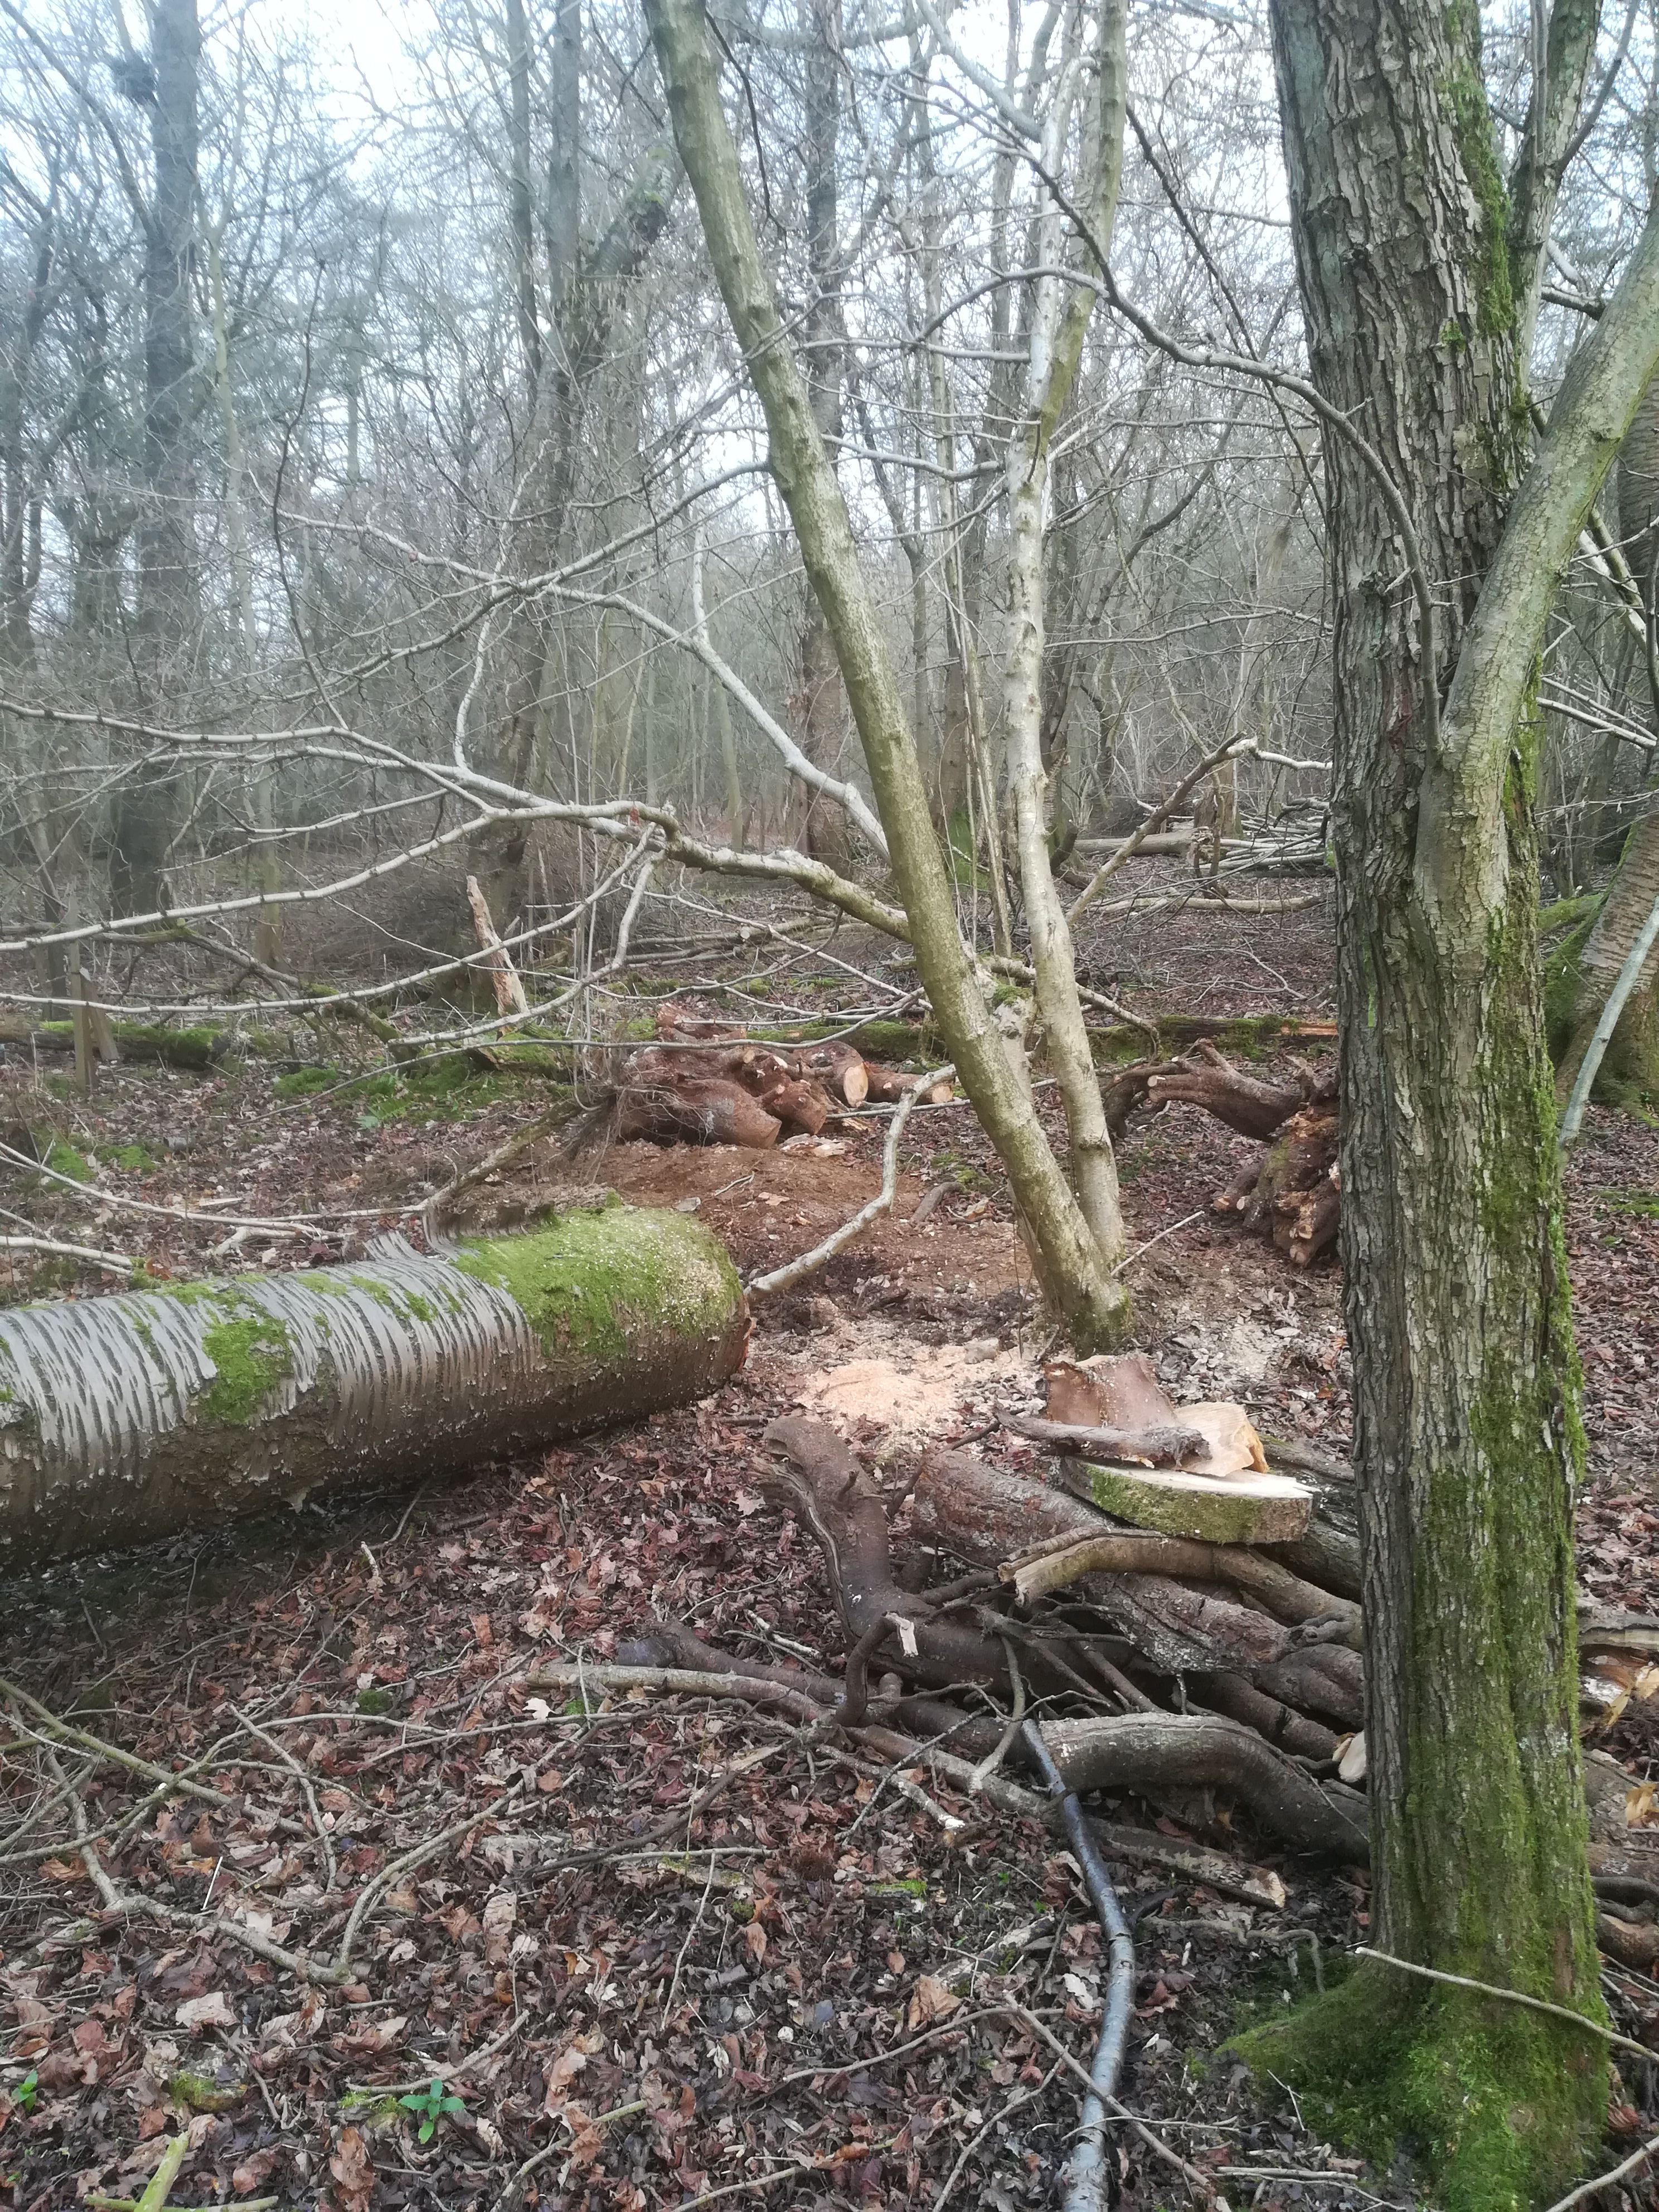
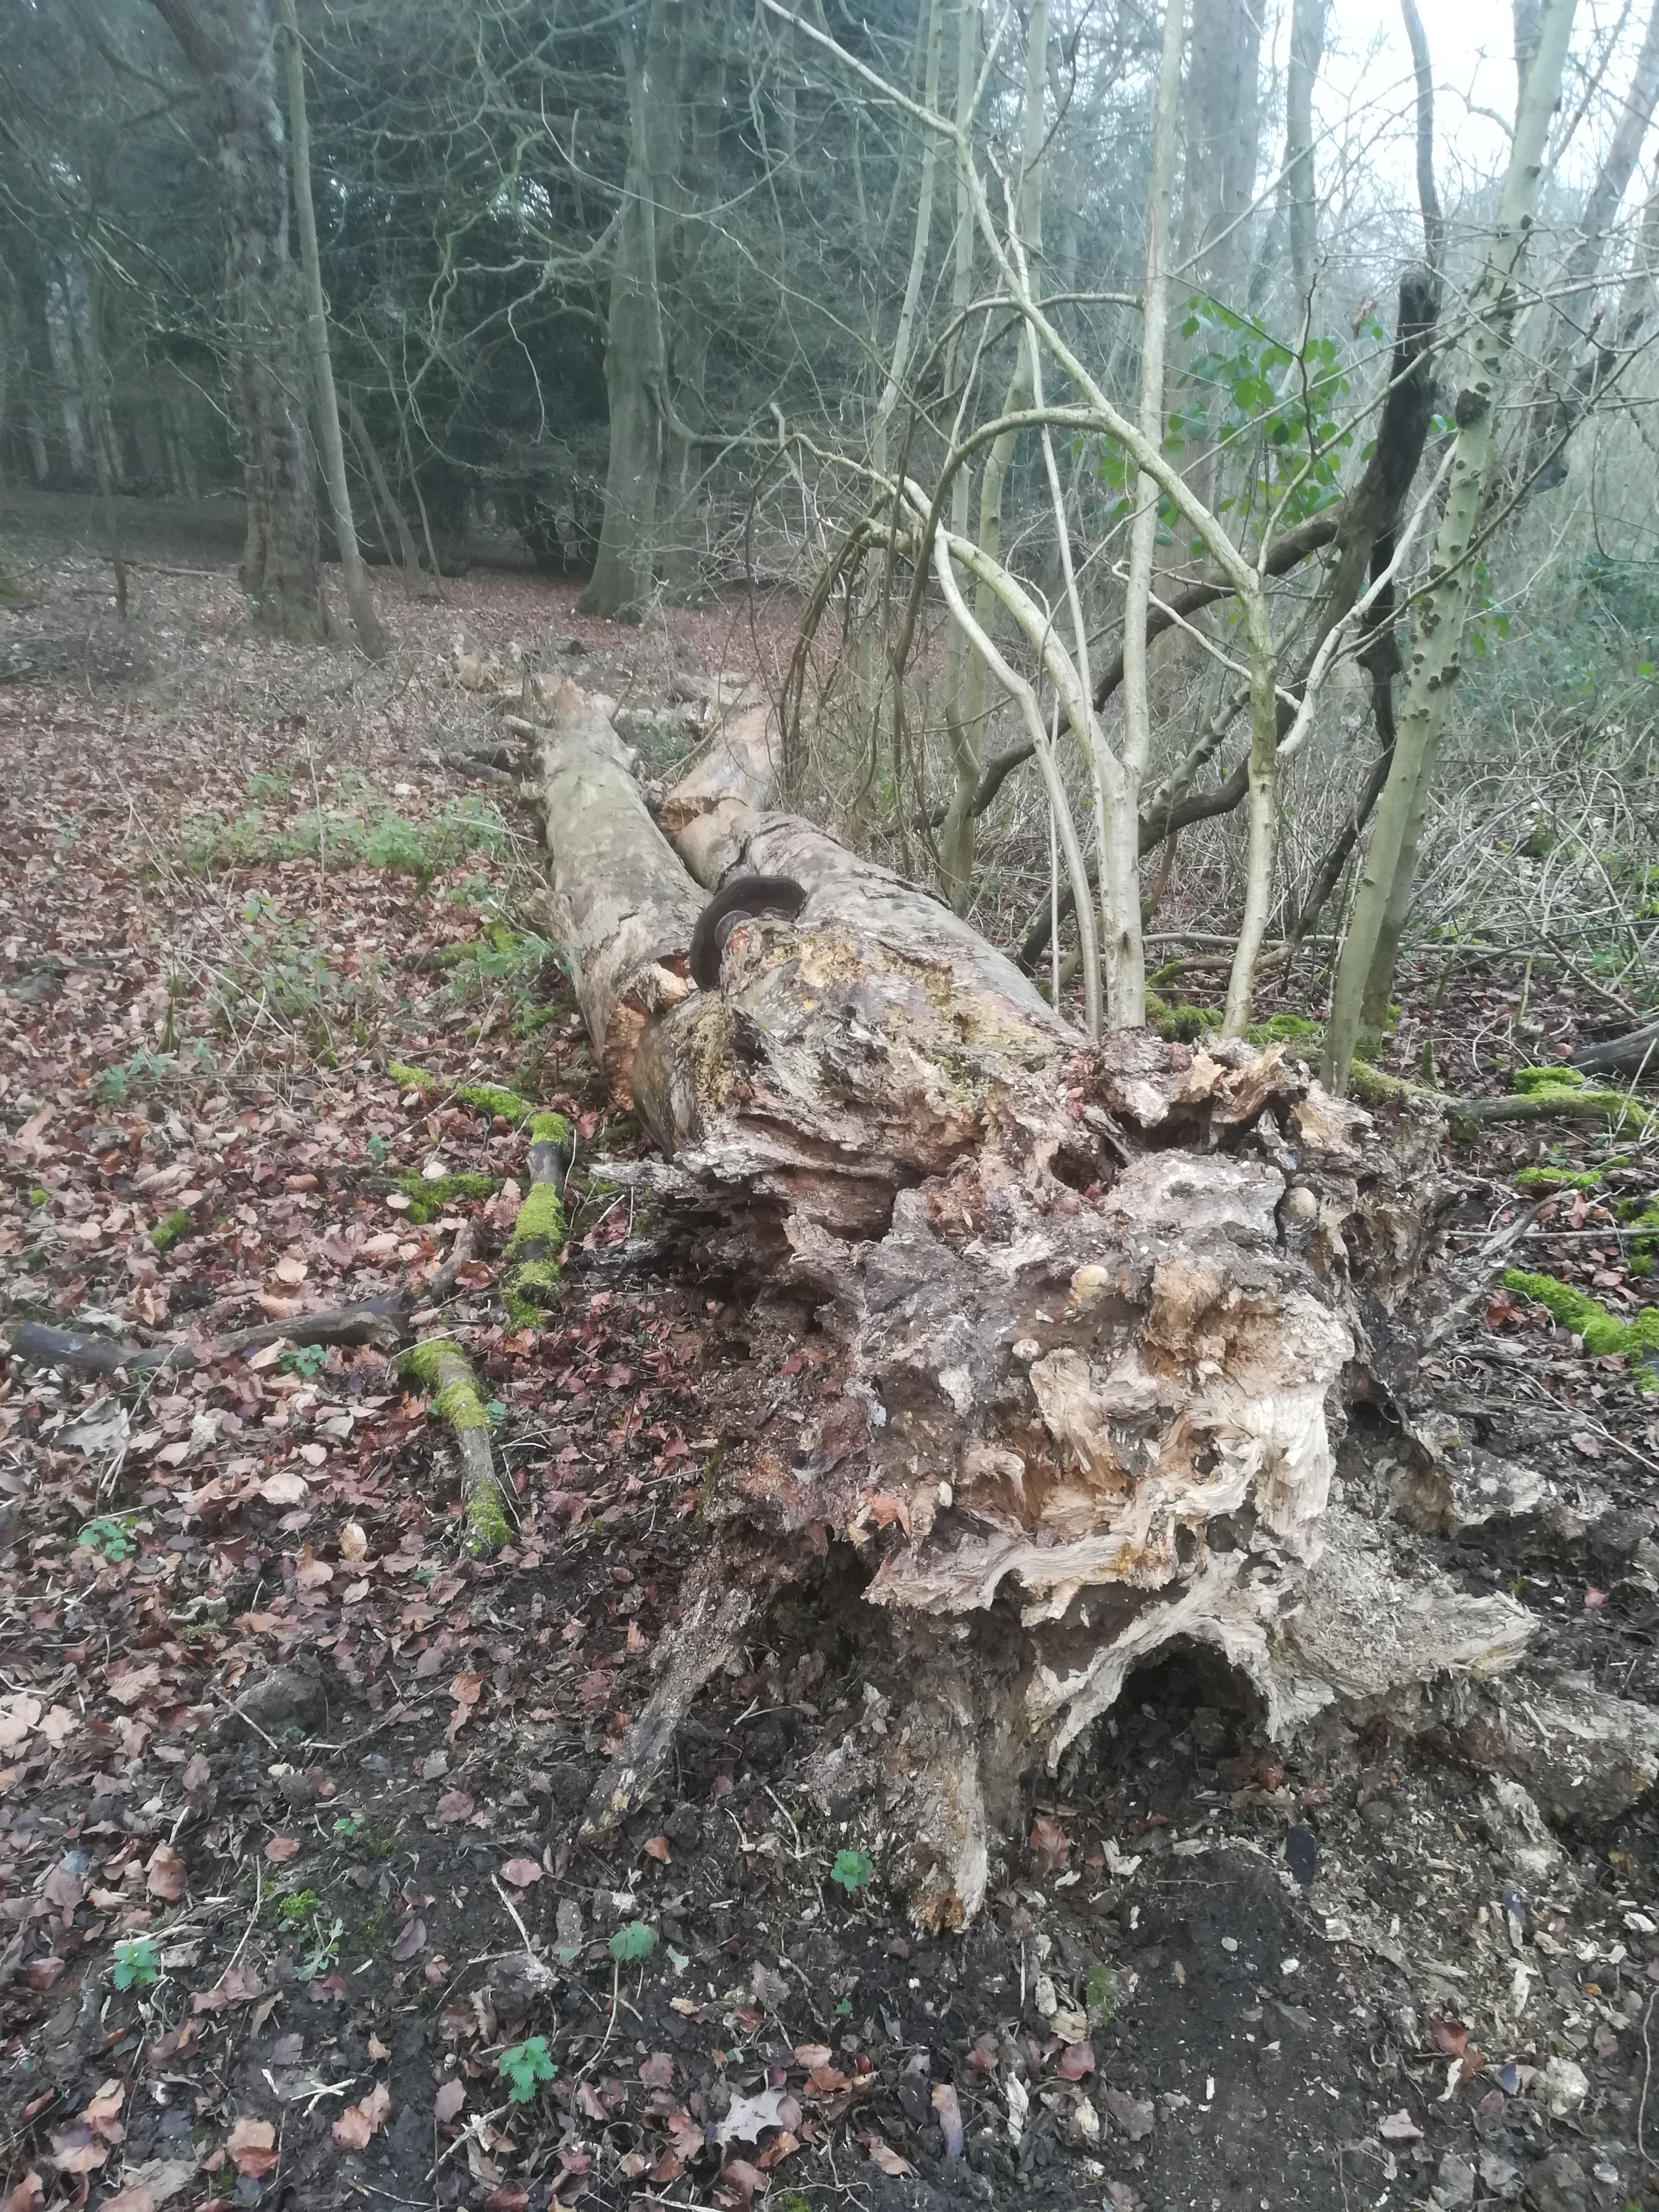
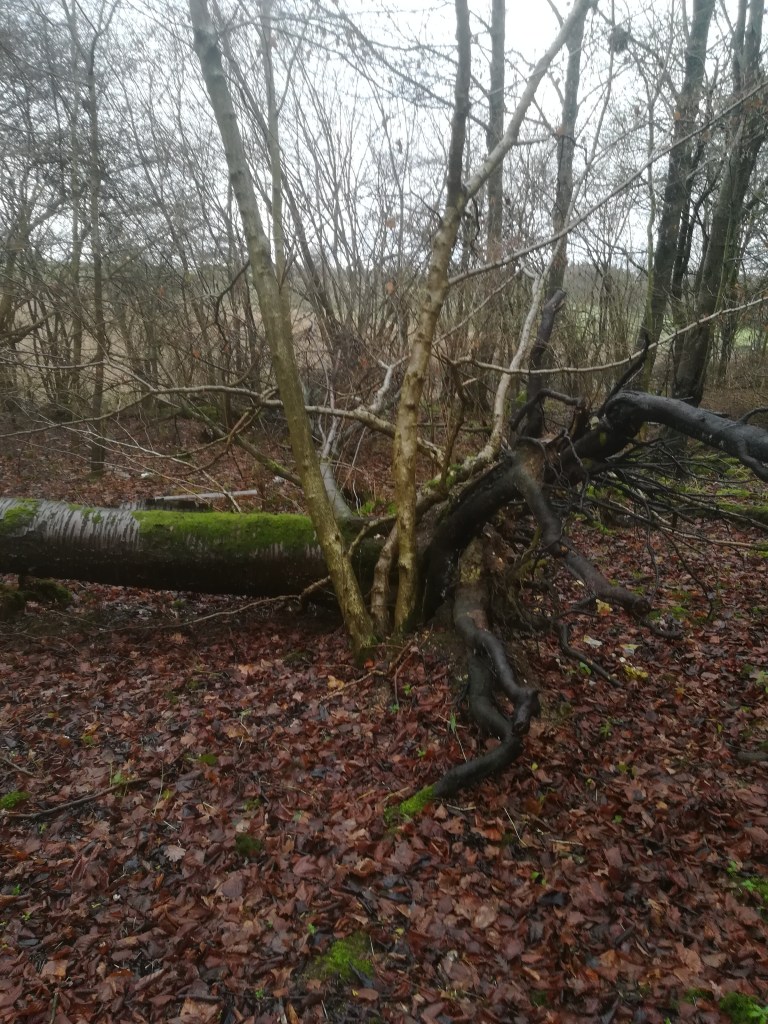
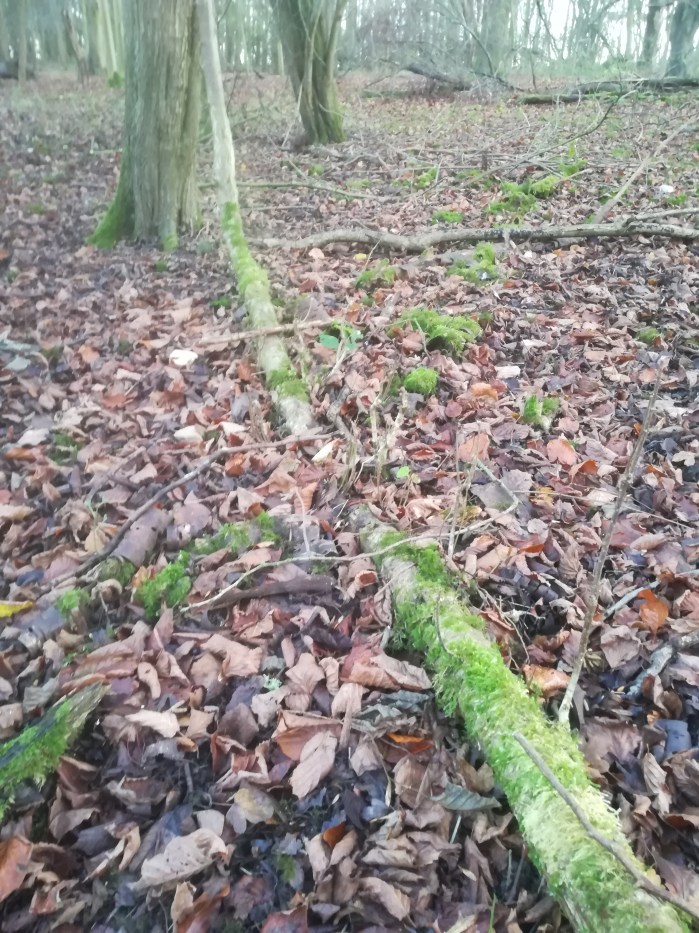
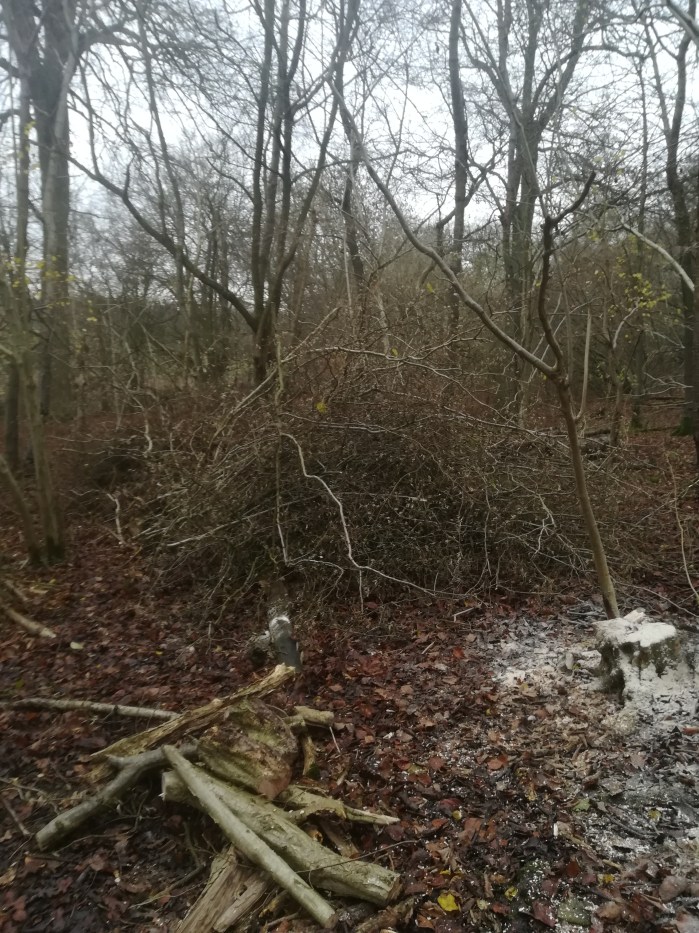
Sadly another victim of the strong winds has been one of the standing dead beech trees. This particular tree shed a huge branch a couple of years ago and this week saw the whole thing snap at the top of the stem and come crashing down. I wasn’t there so whether it made a noise – who knows. This is the process that the beech trees seem to follow. The wood is probably at the edge of the chalky conditions that beech prefer and small changes to the ground water makes the roots become too wet and the tree struggles. Once dead they shed a few branches followed by the main trunk. The remaining trunk stands like statue less column until it too succumbs to gravity and falls to the ground. However, each stage of this death and decay offers a perfect opportunity for some aspect of the flora and fauna of the woodland. This is the easiest part of woodland management – do nothing. Just let the process take its course and the whole of the wood benefits.

………having said that I will be processing the fallen branches for making charcoal later in the spring.

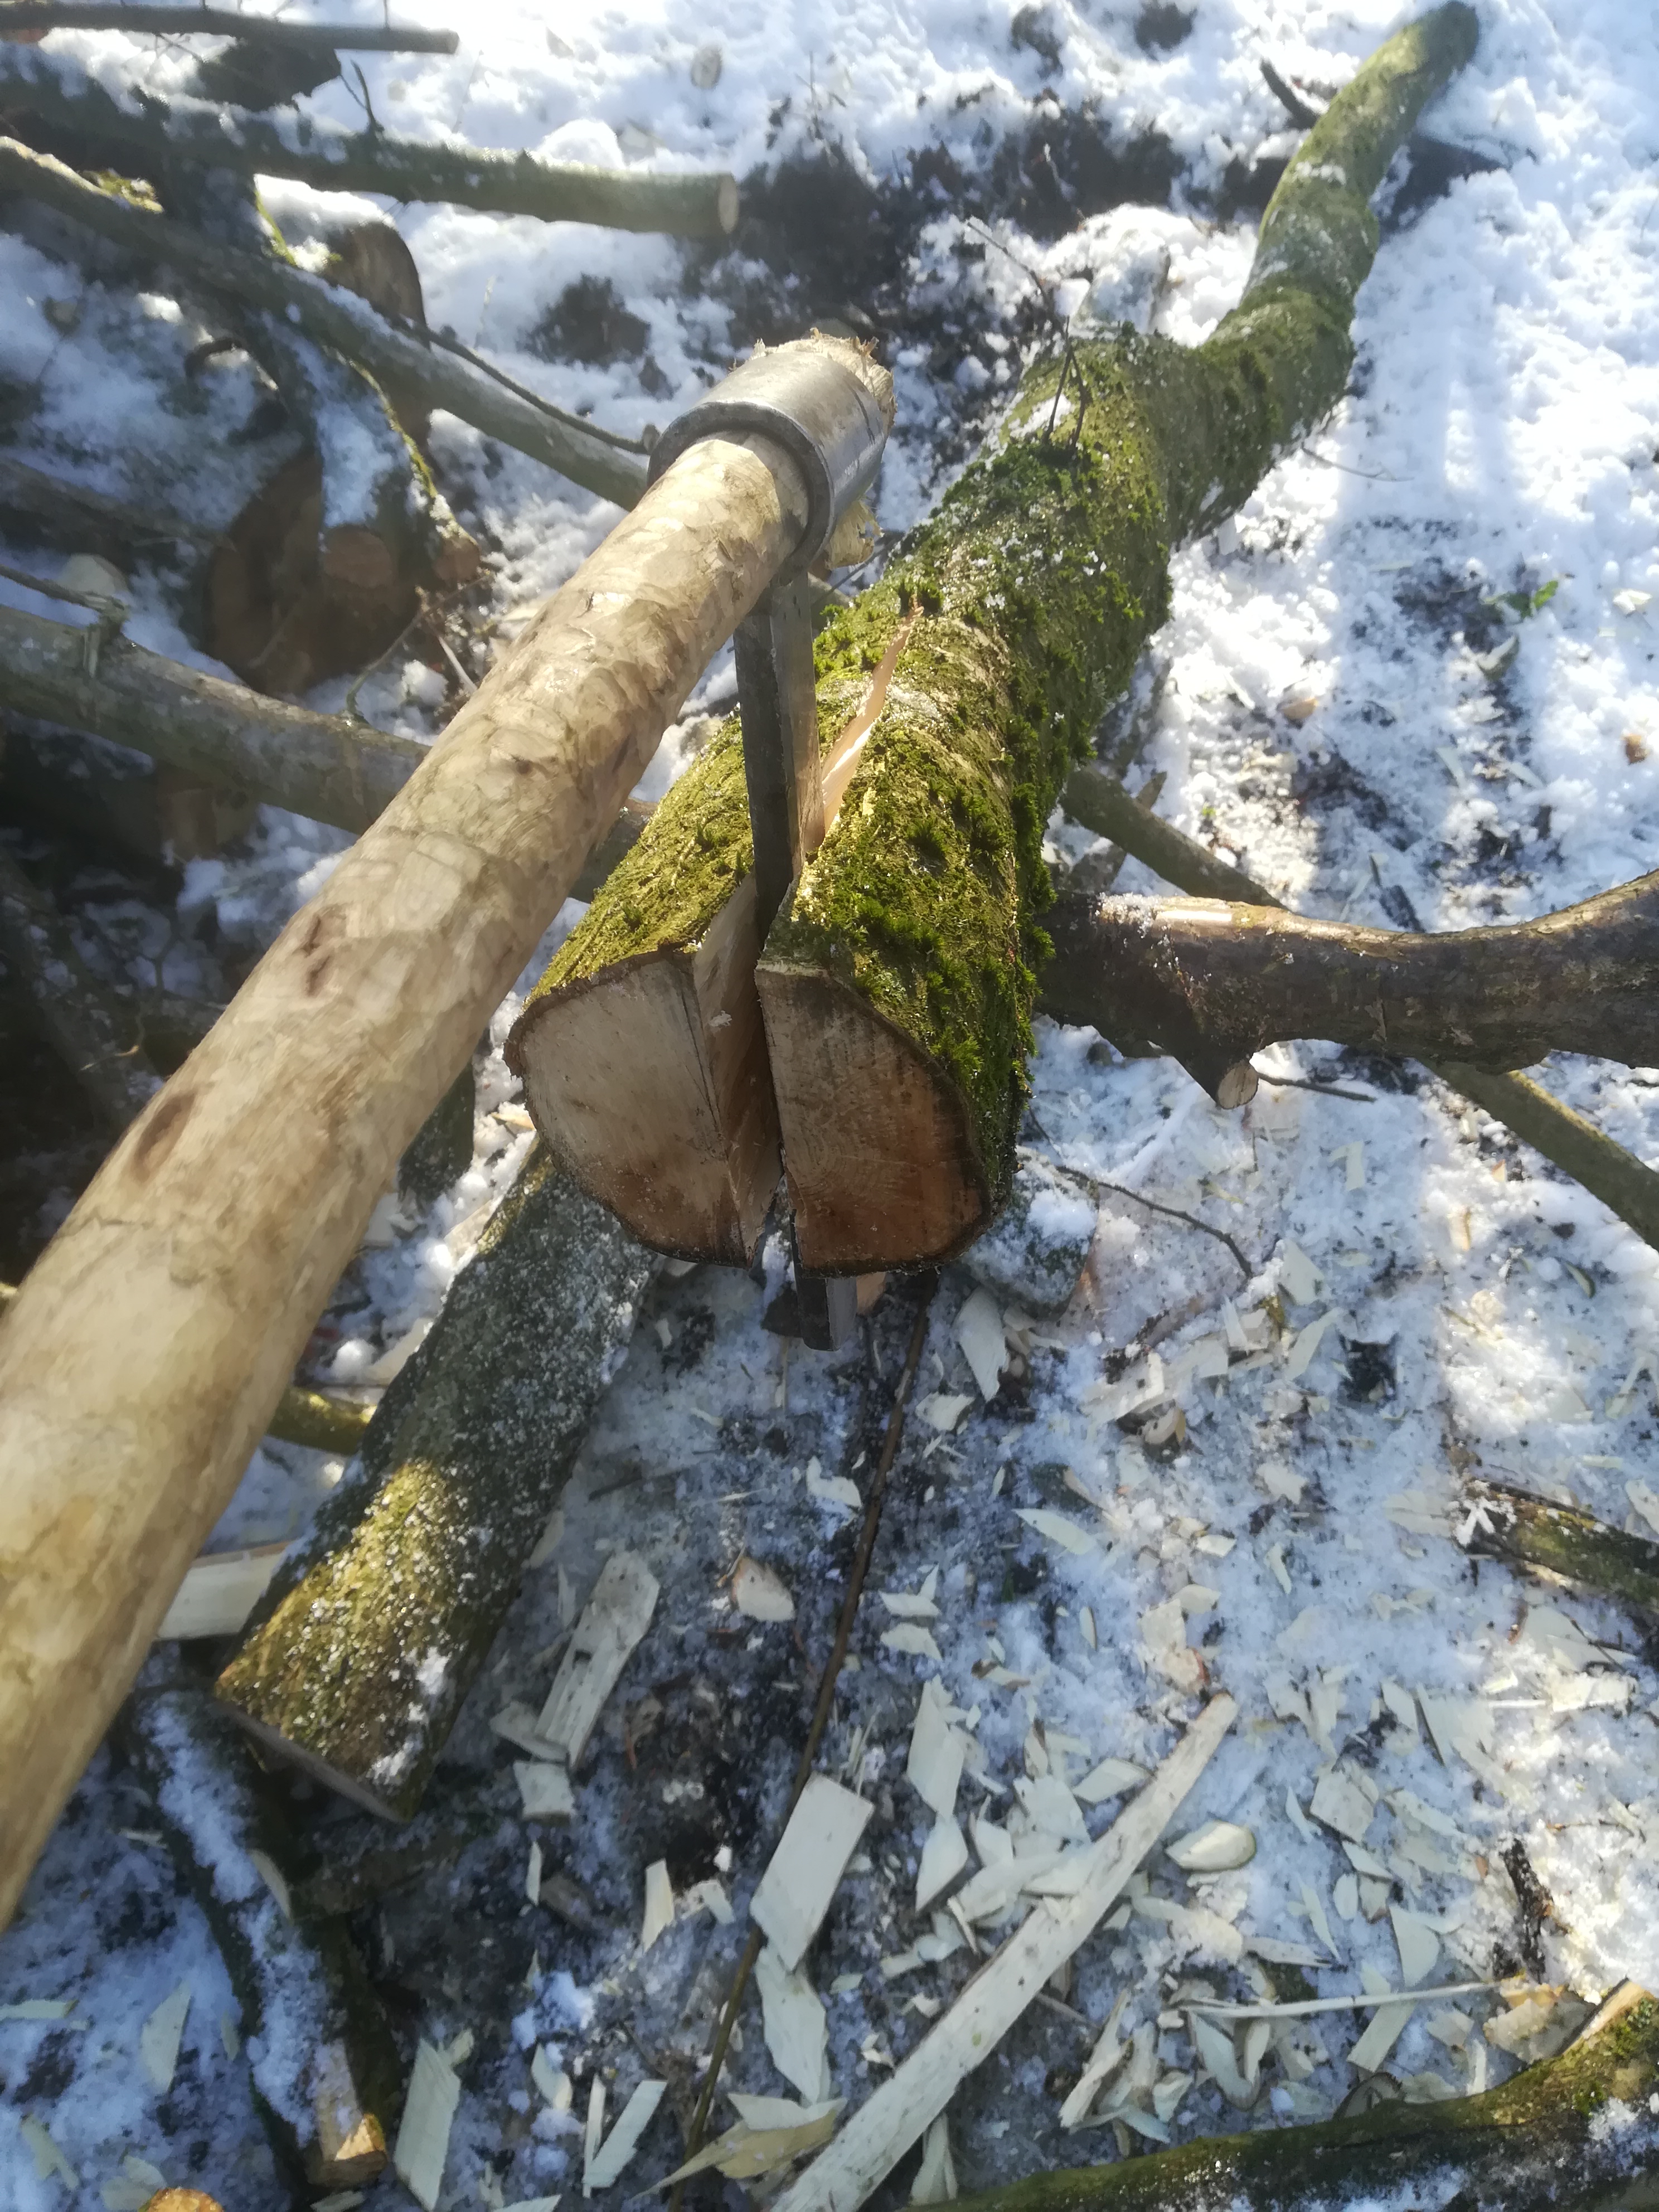
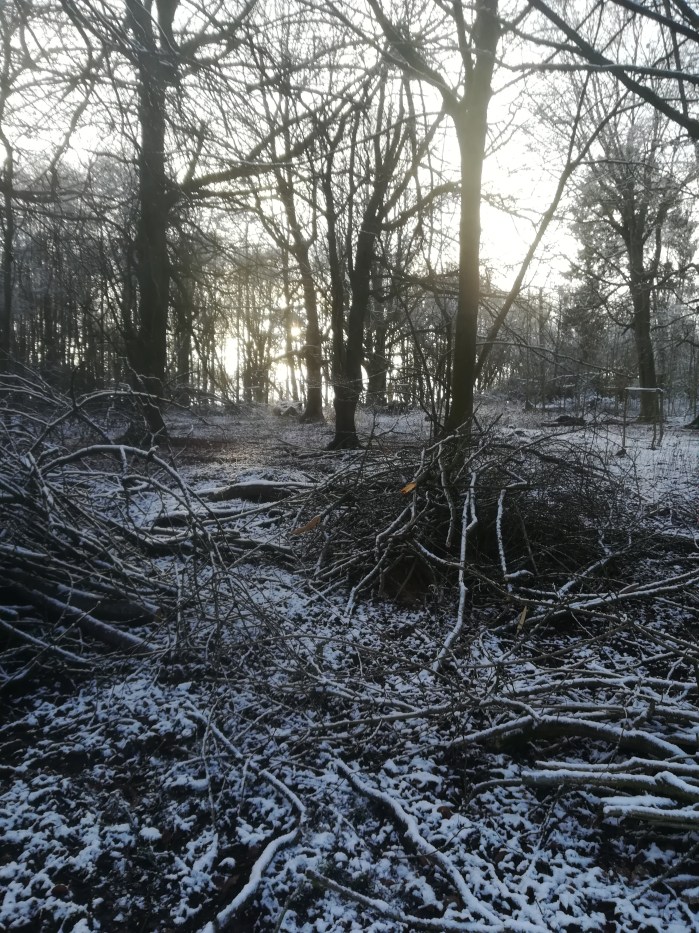
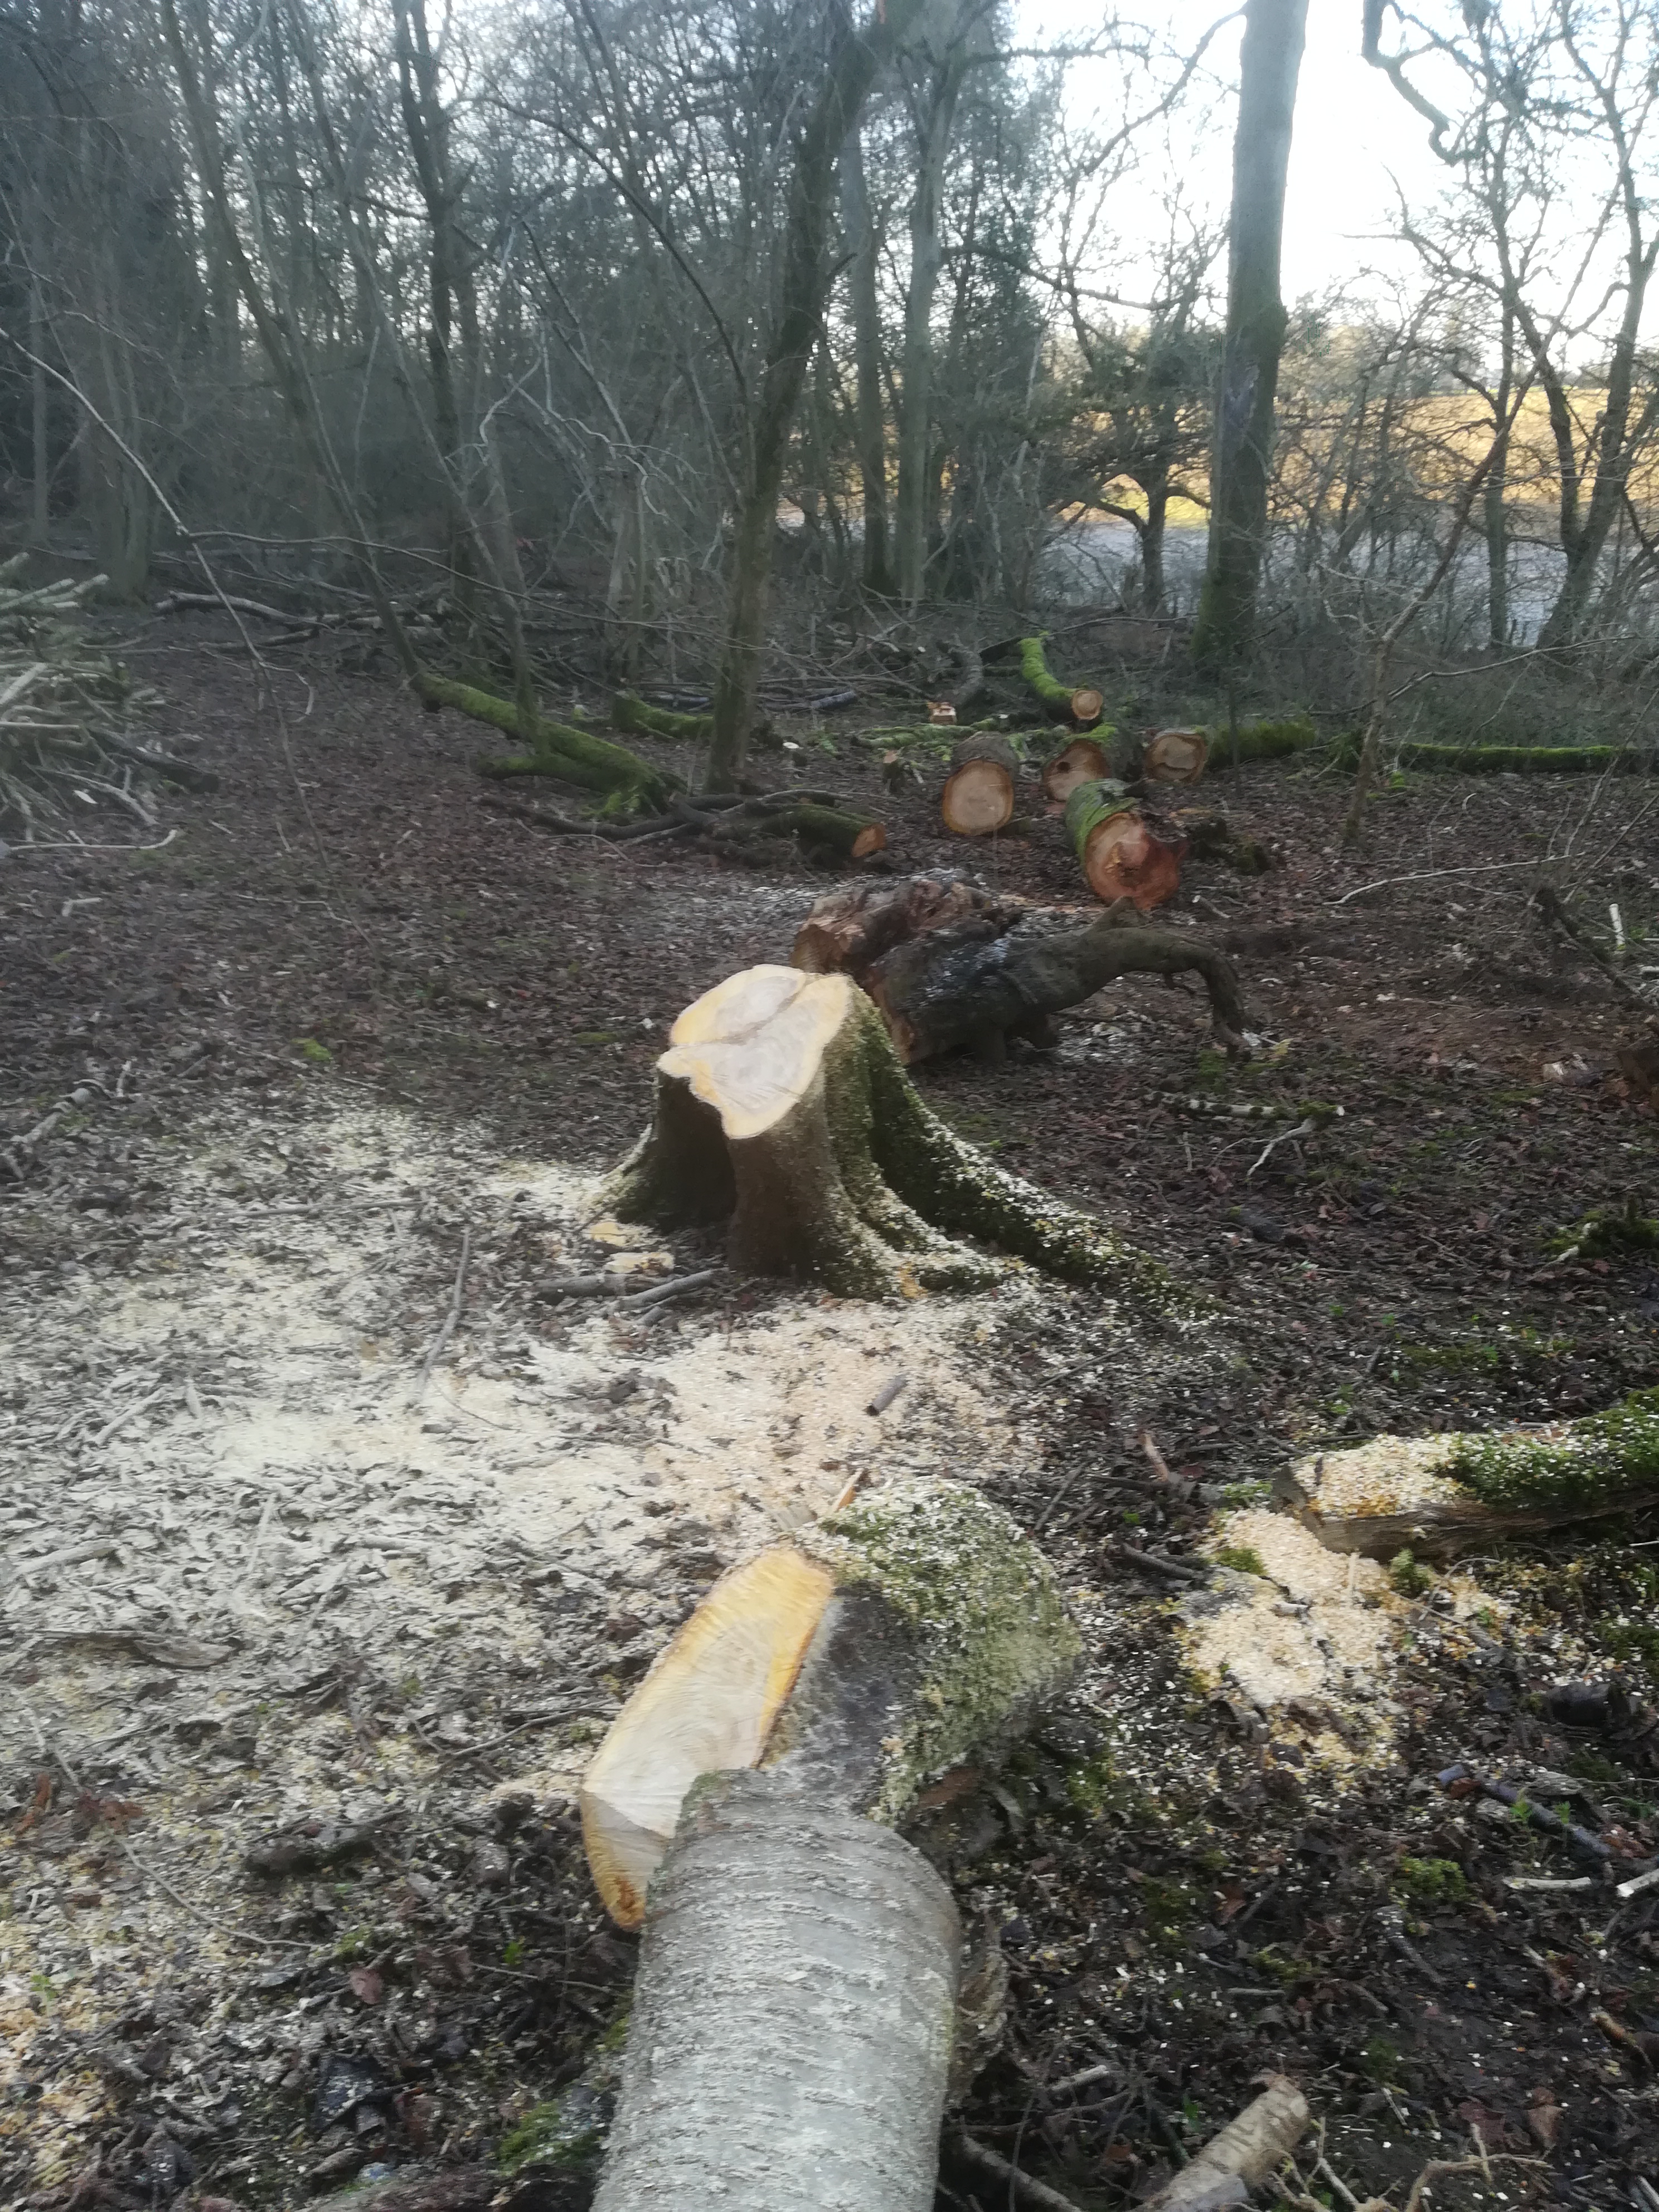
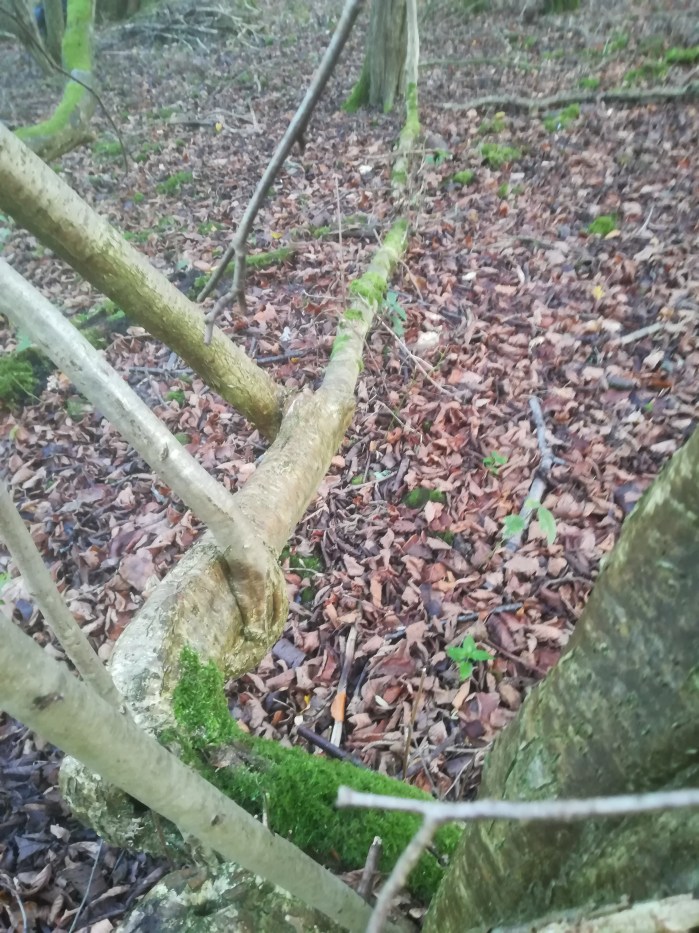
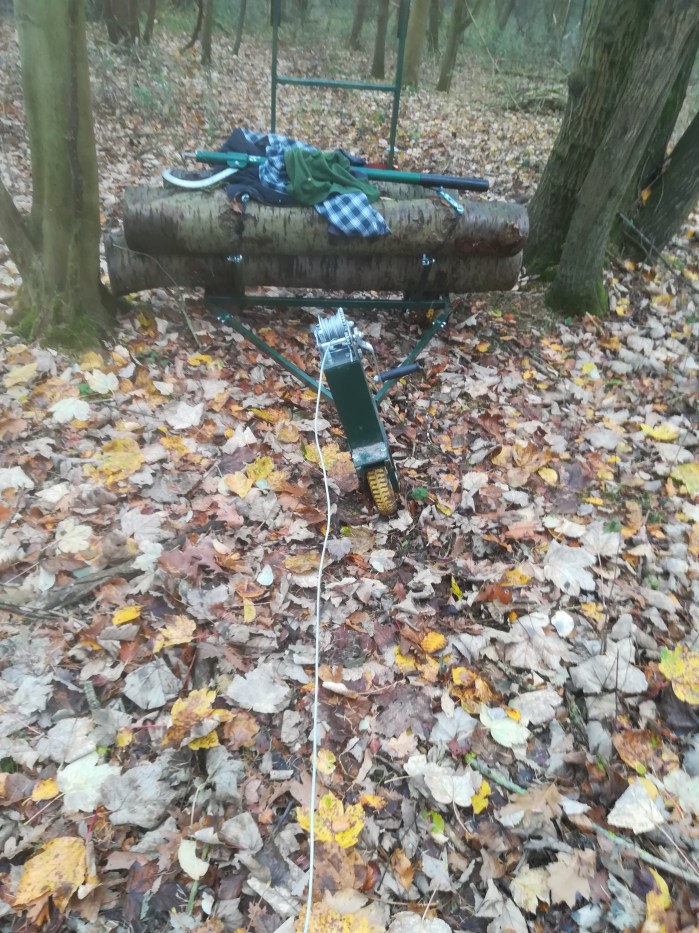
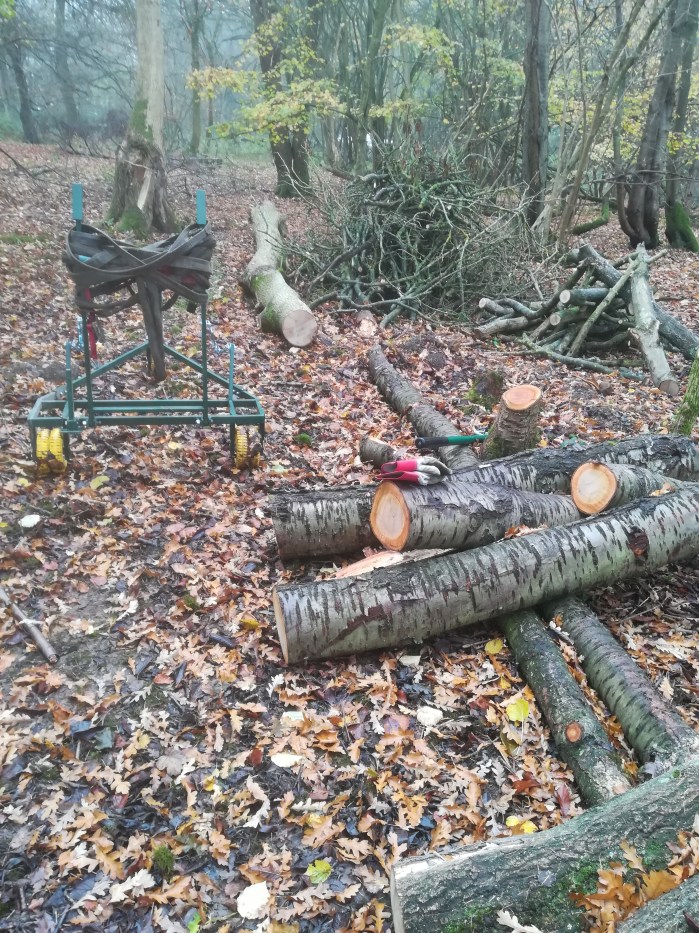
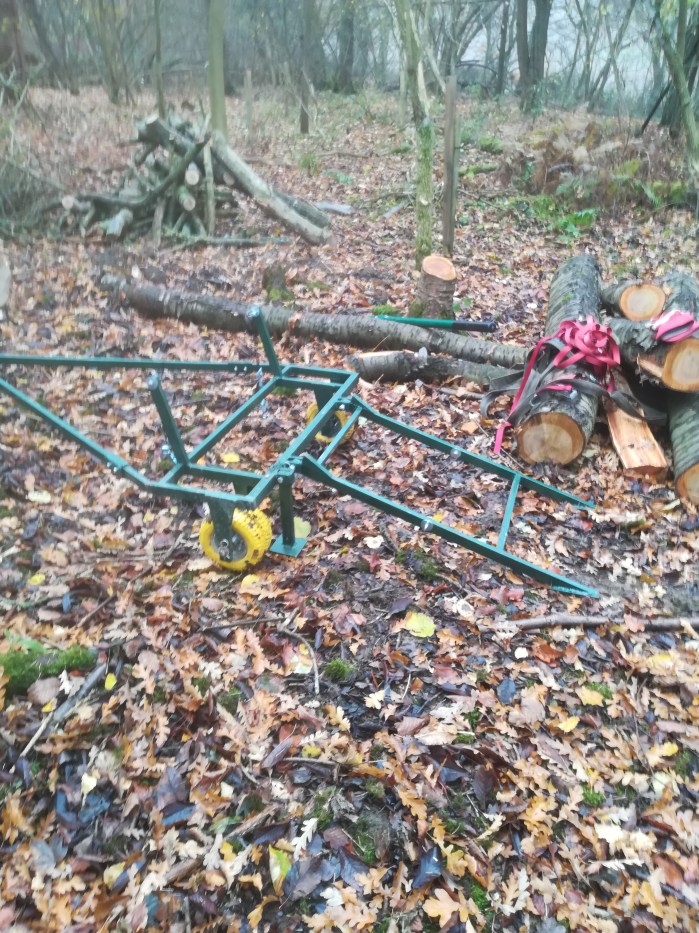
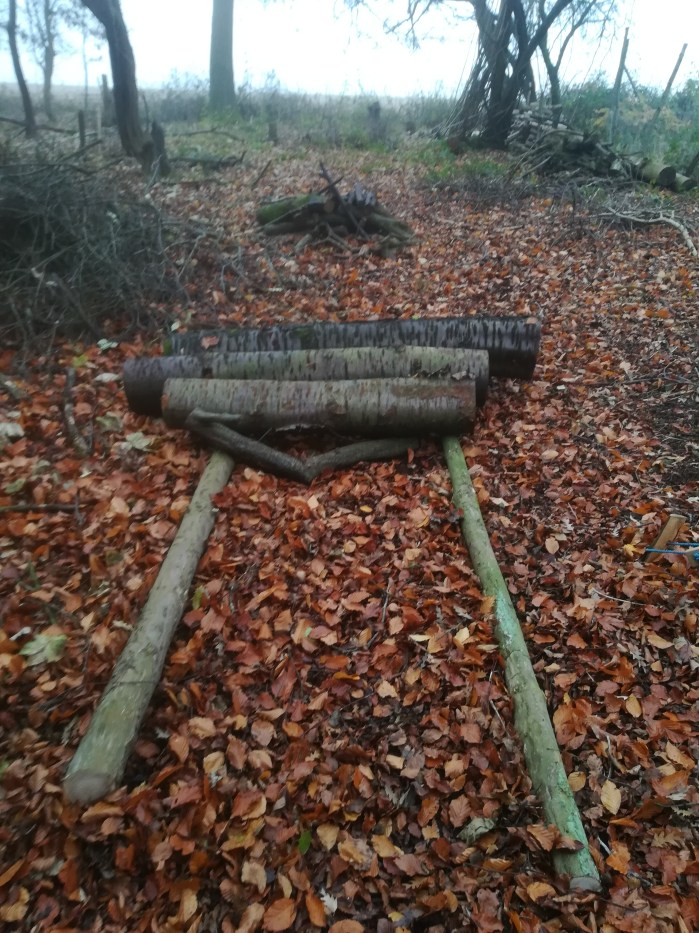
Just a final foot note. A couple of weeks ago I included a simple method of estimating where the top of a tree would fall when felled. That is the distance away from the base. I tried this out during the week and was amazed by the accuracy.

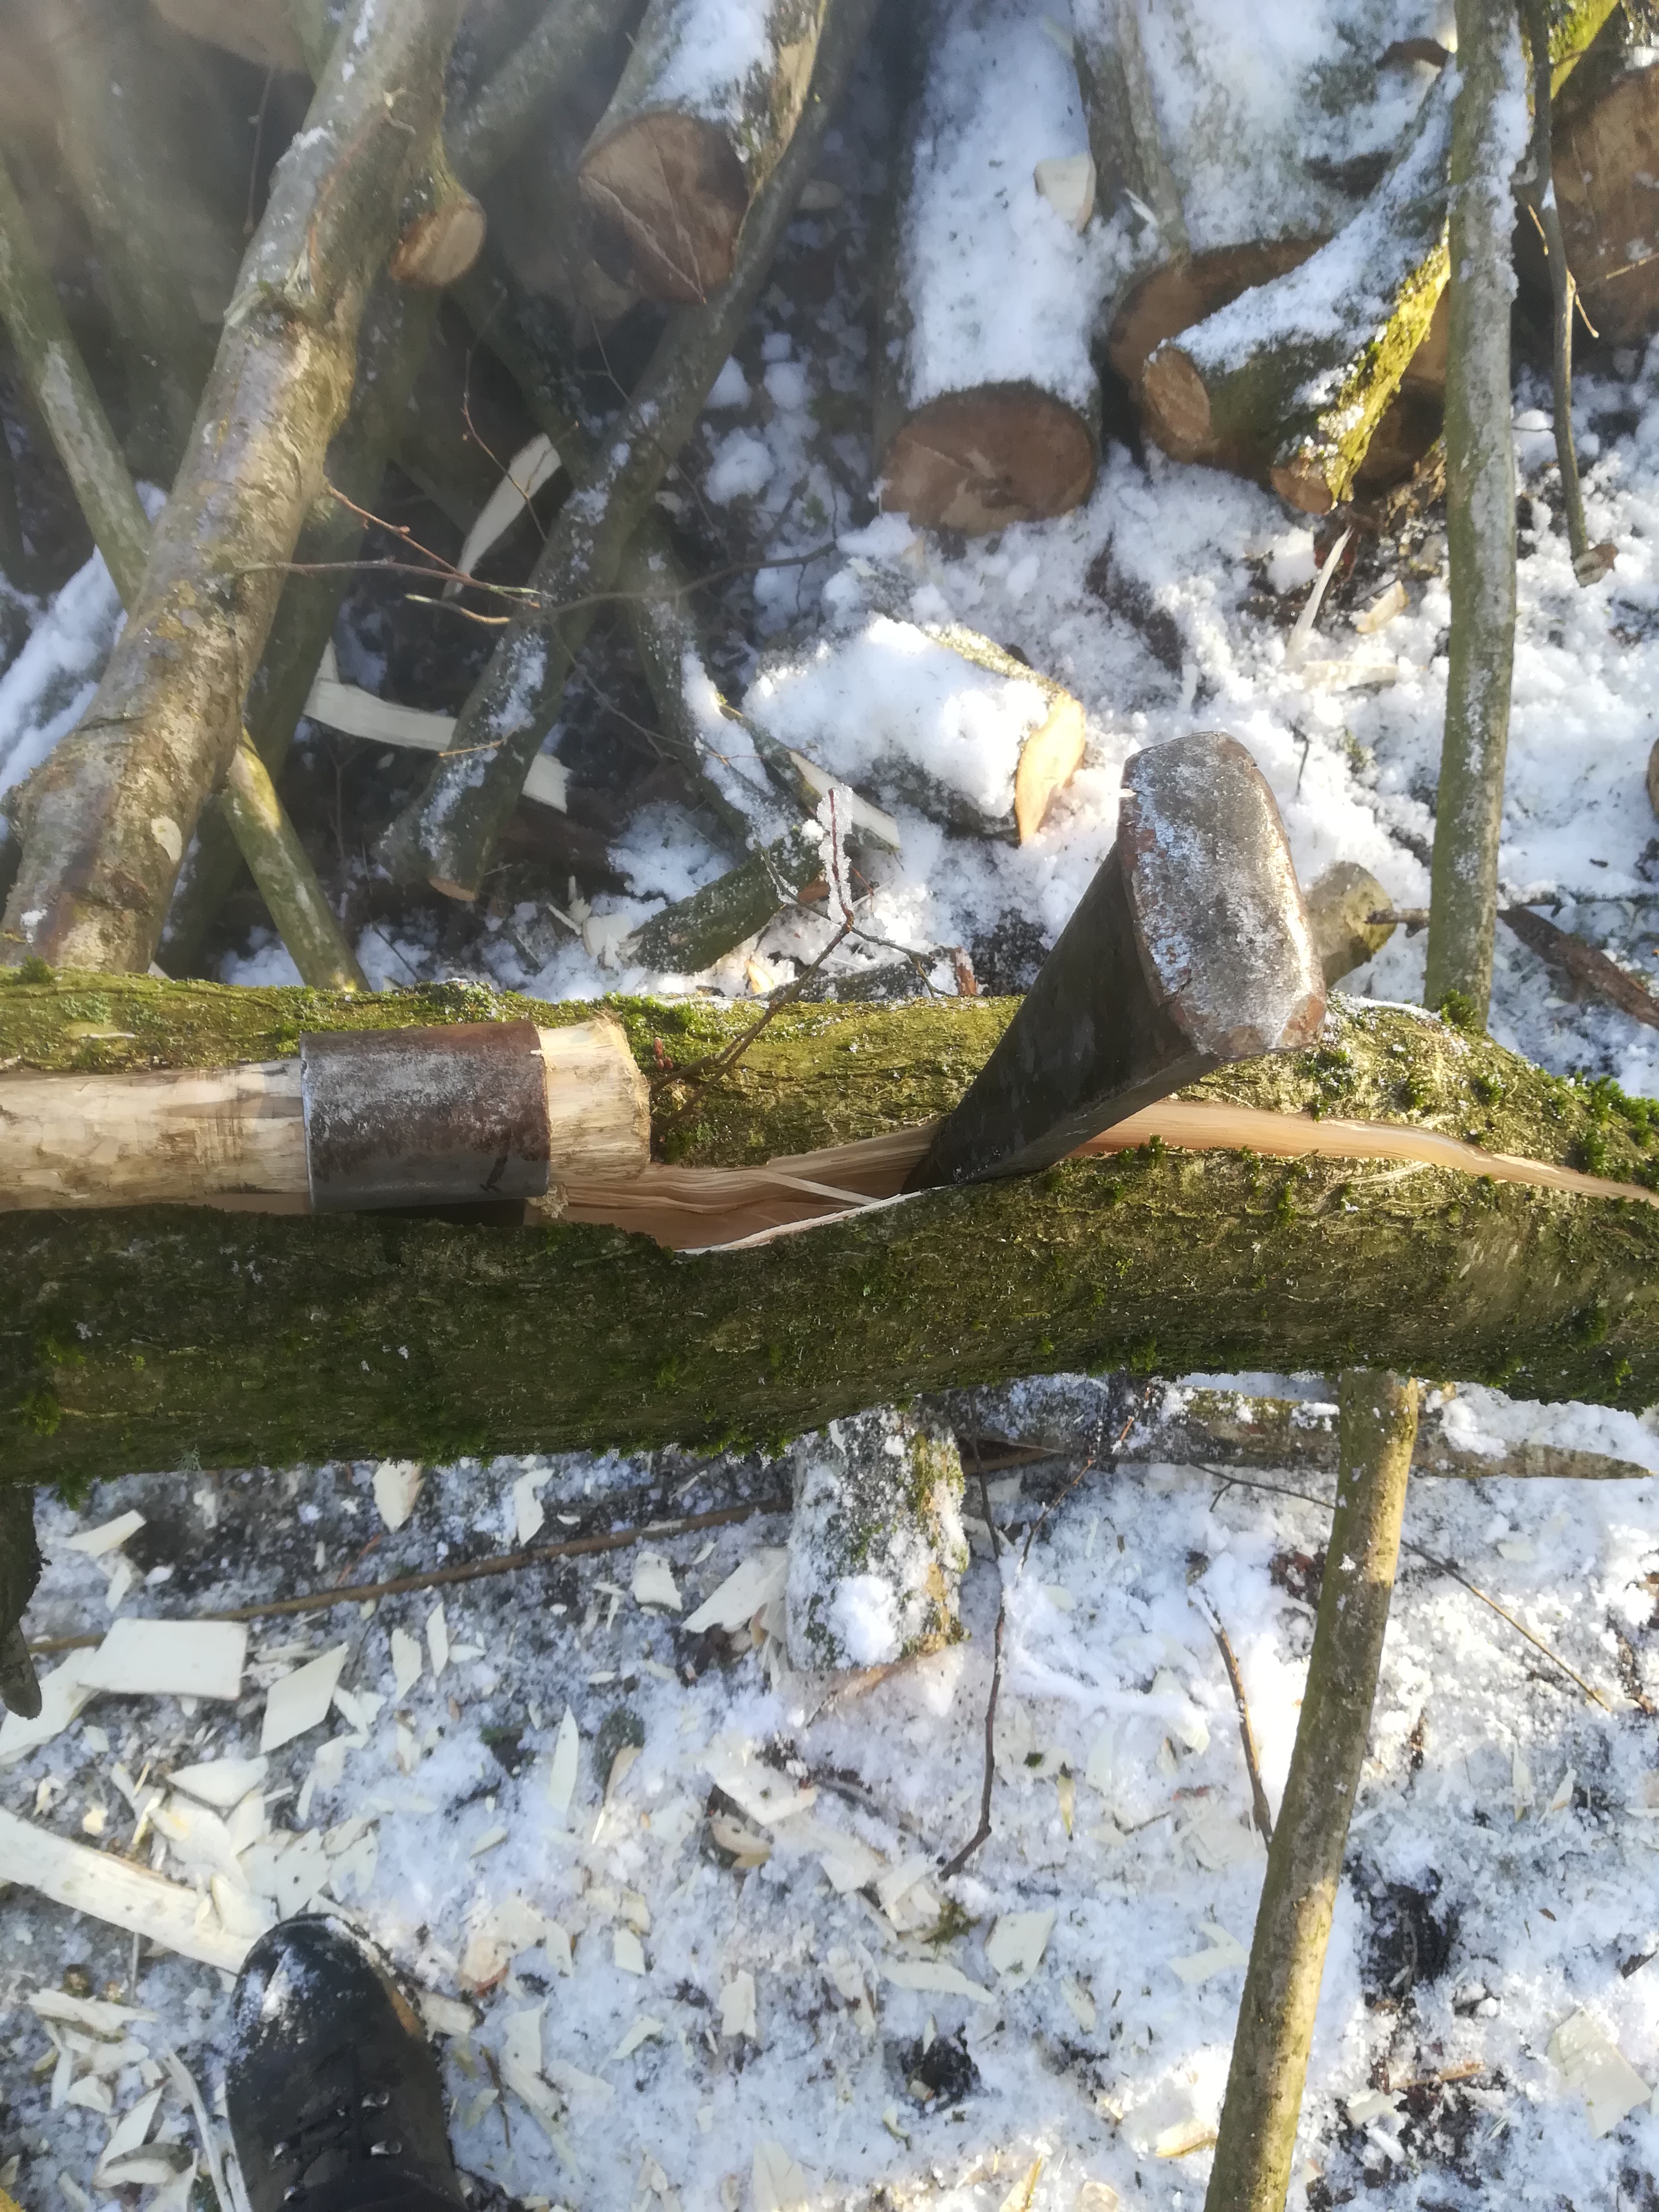
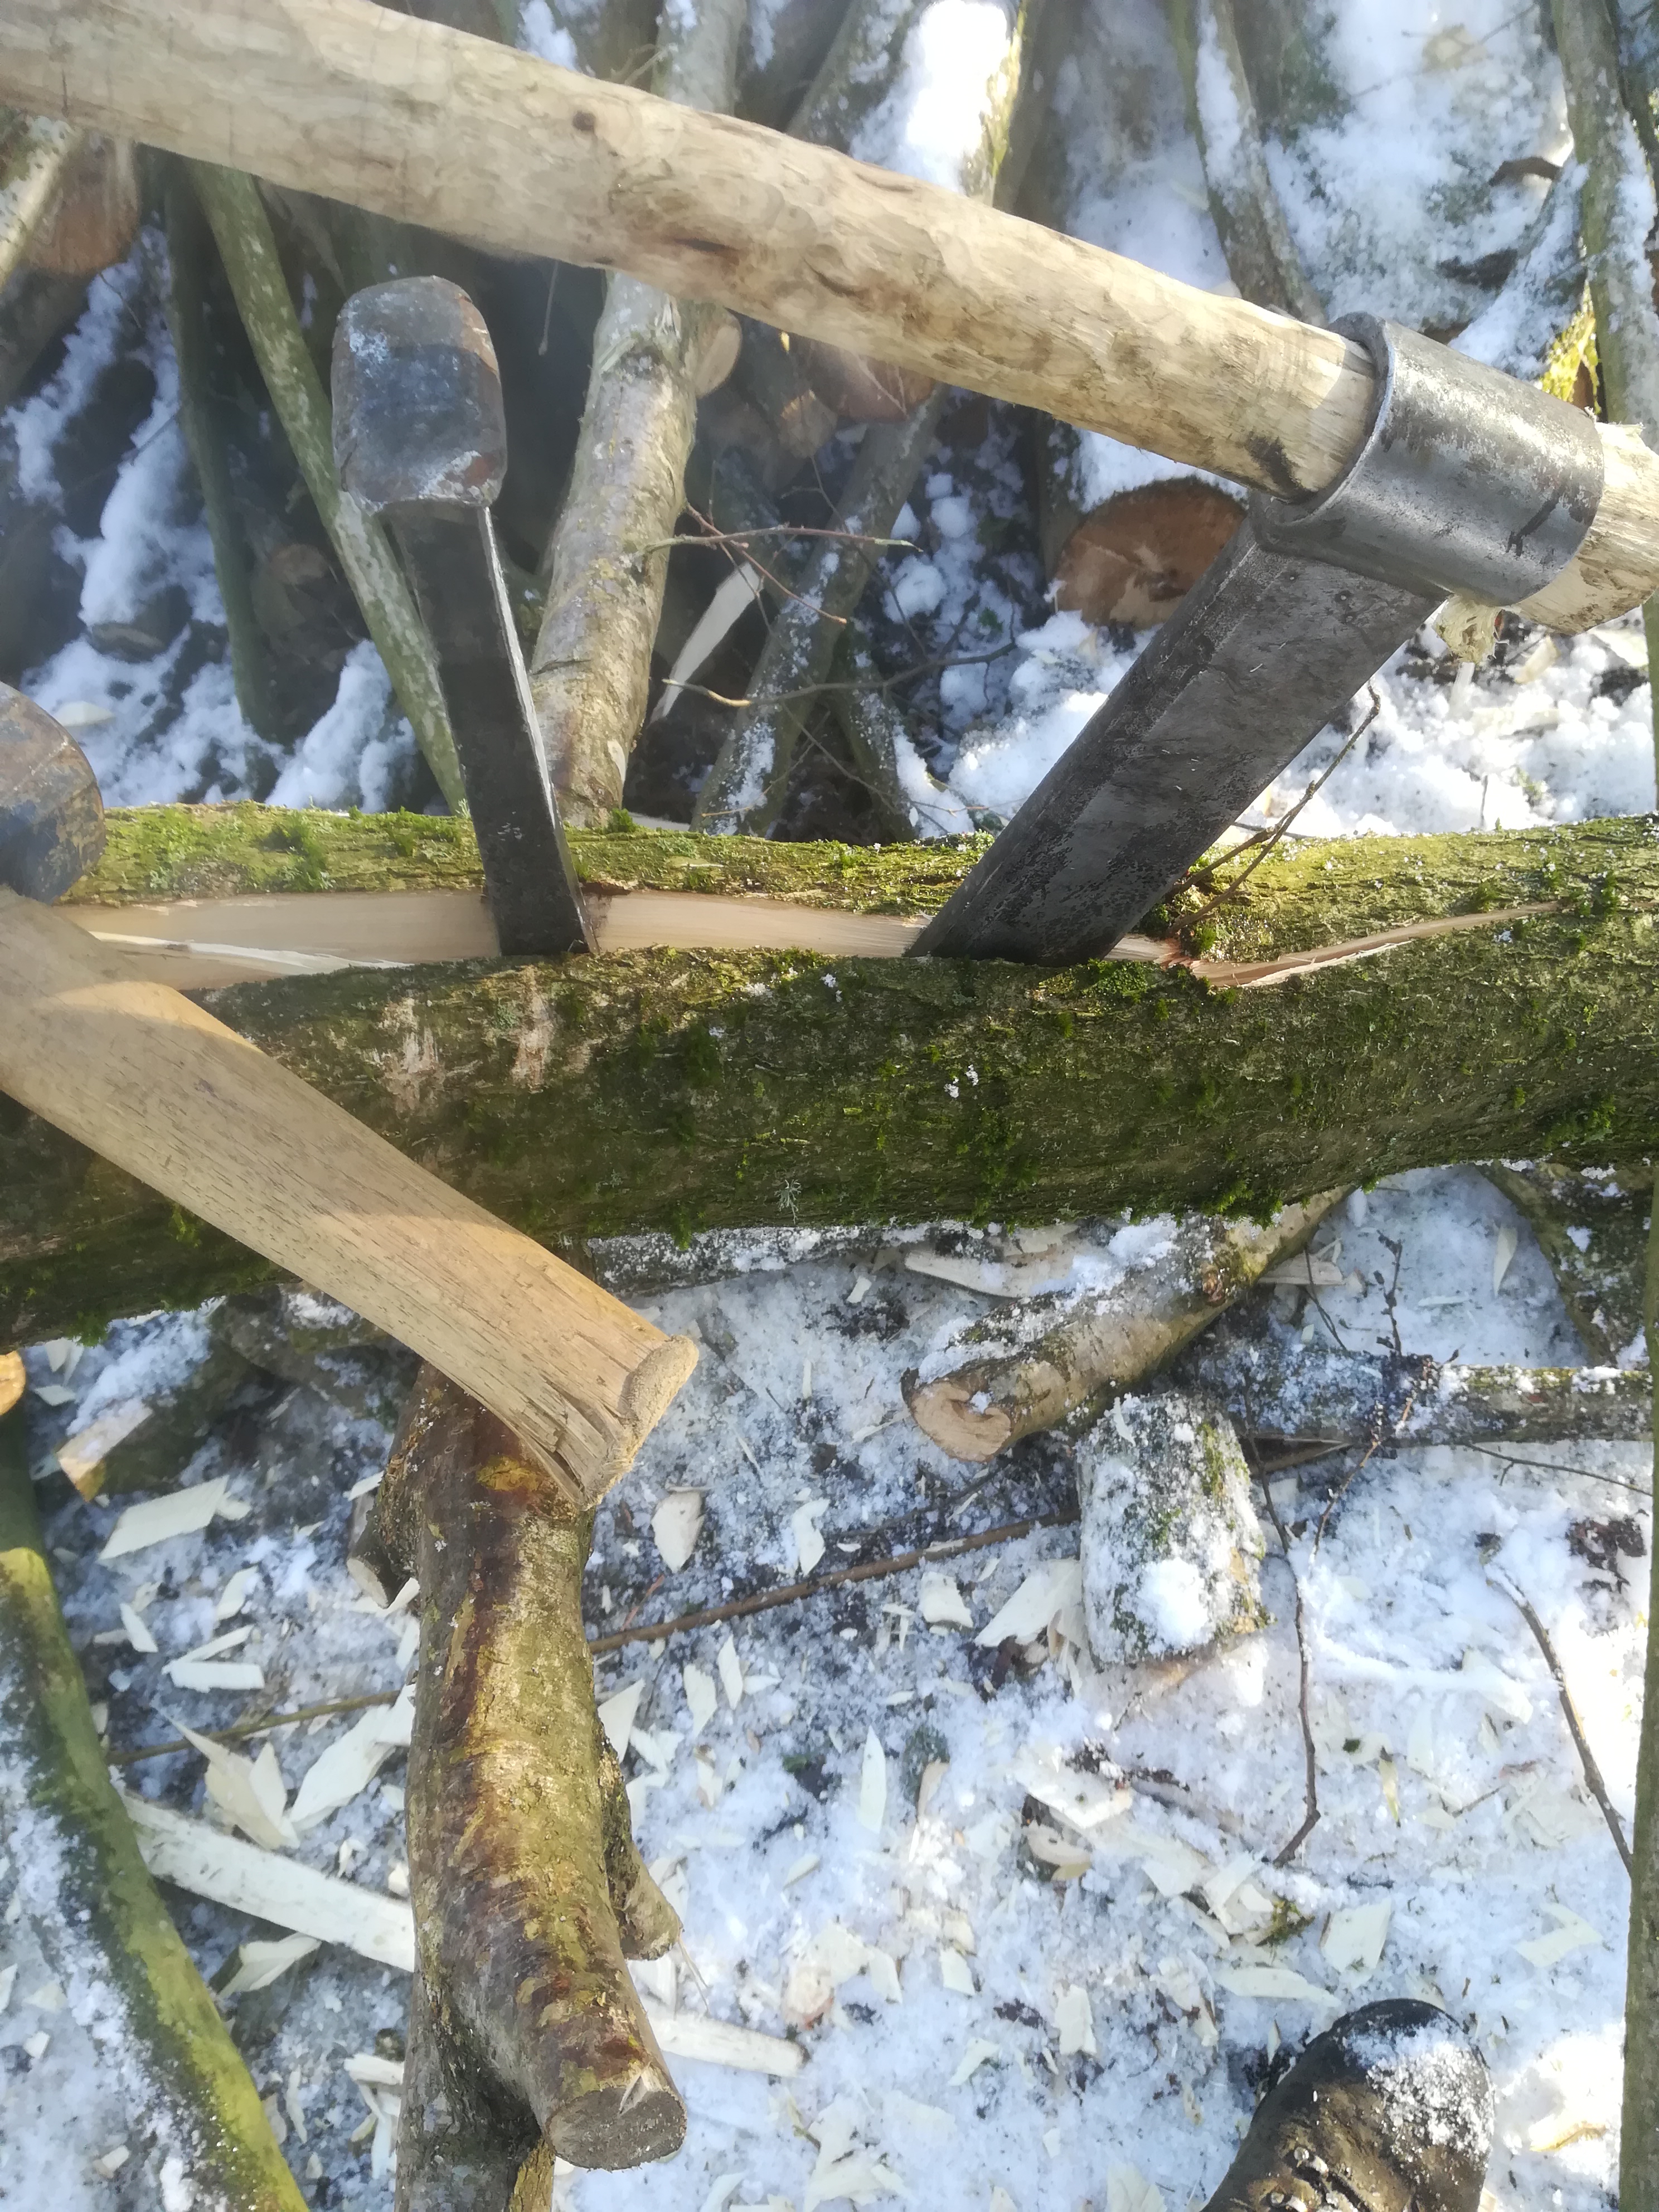
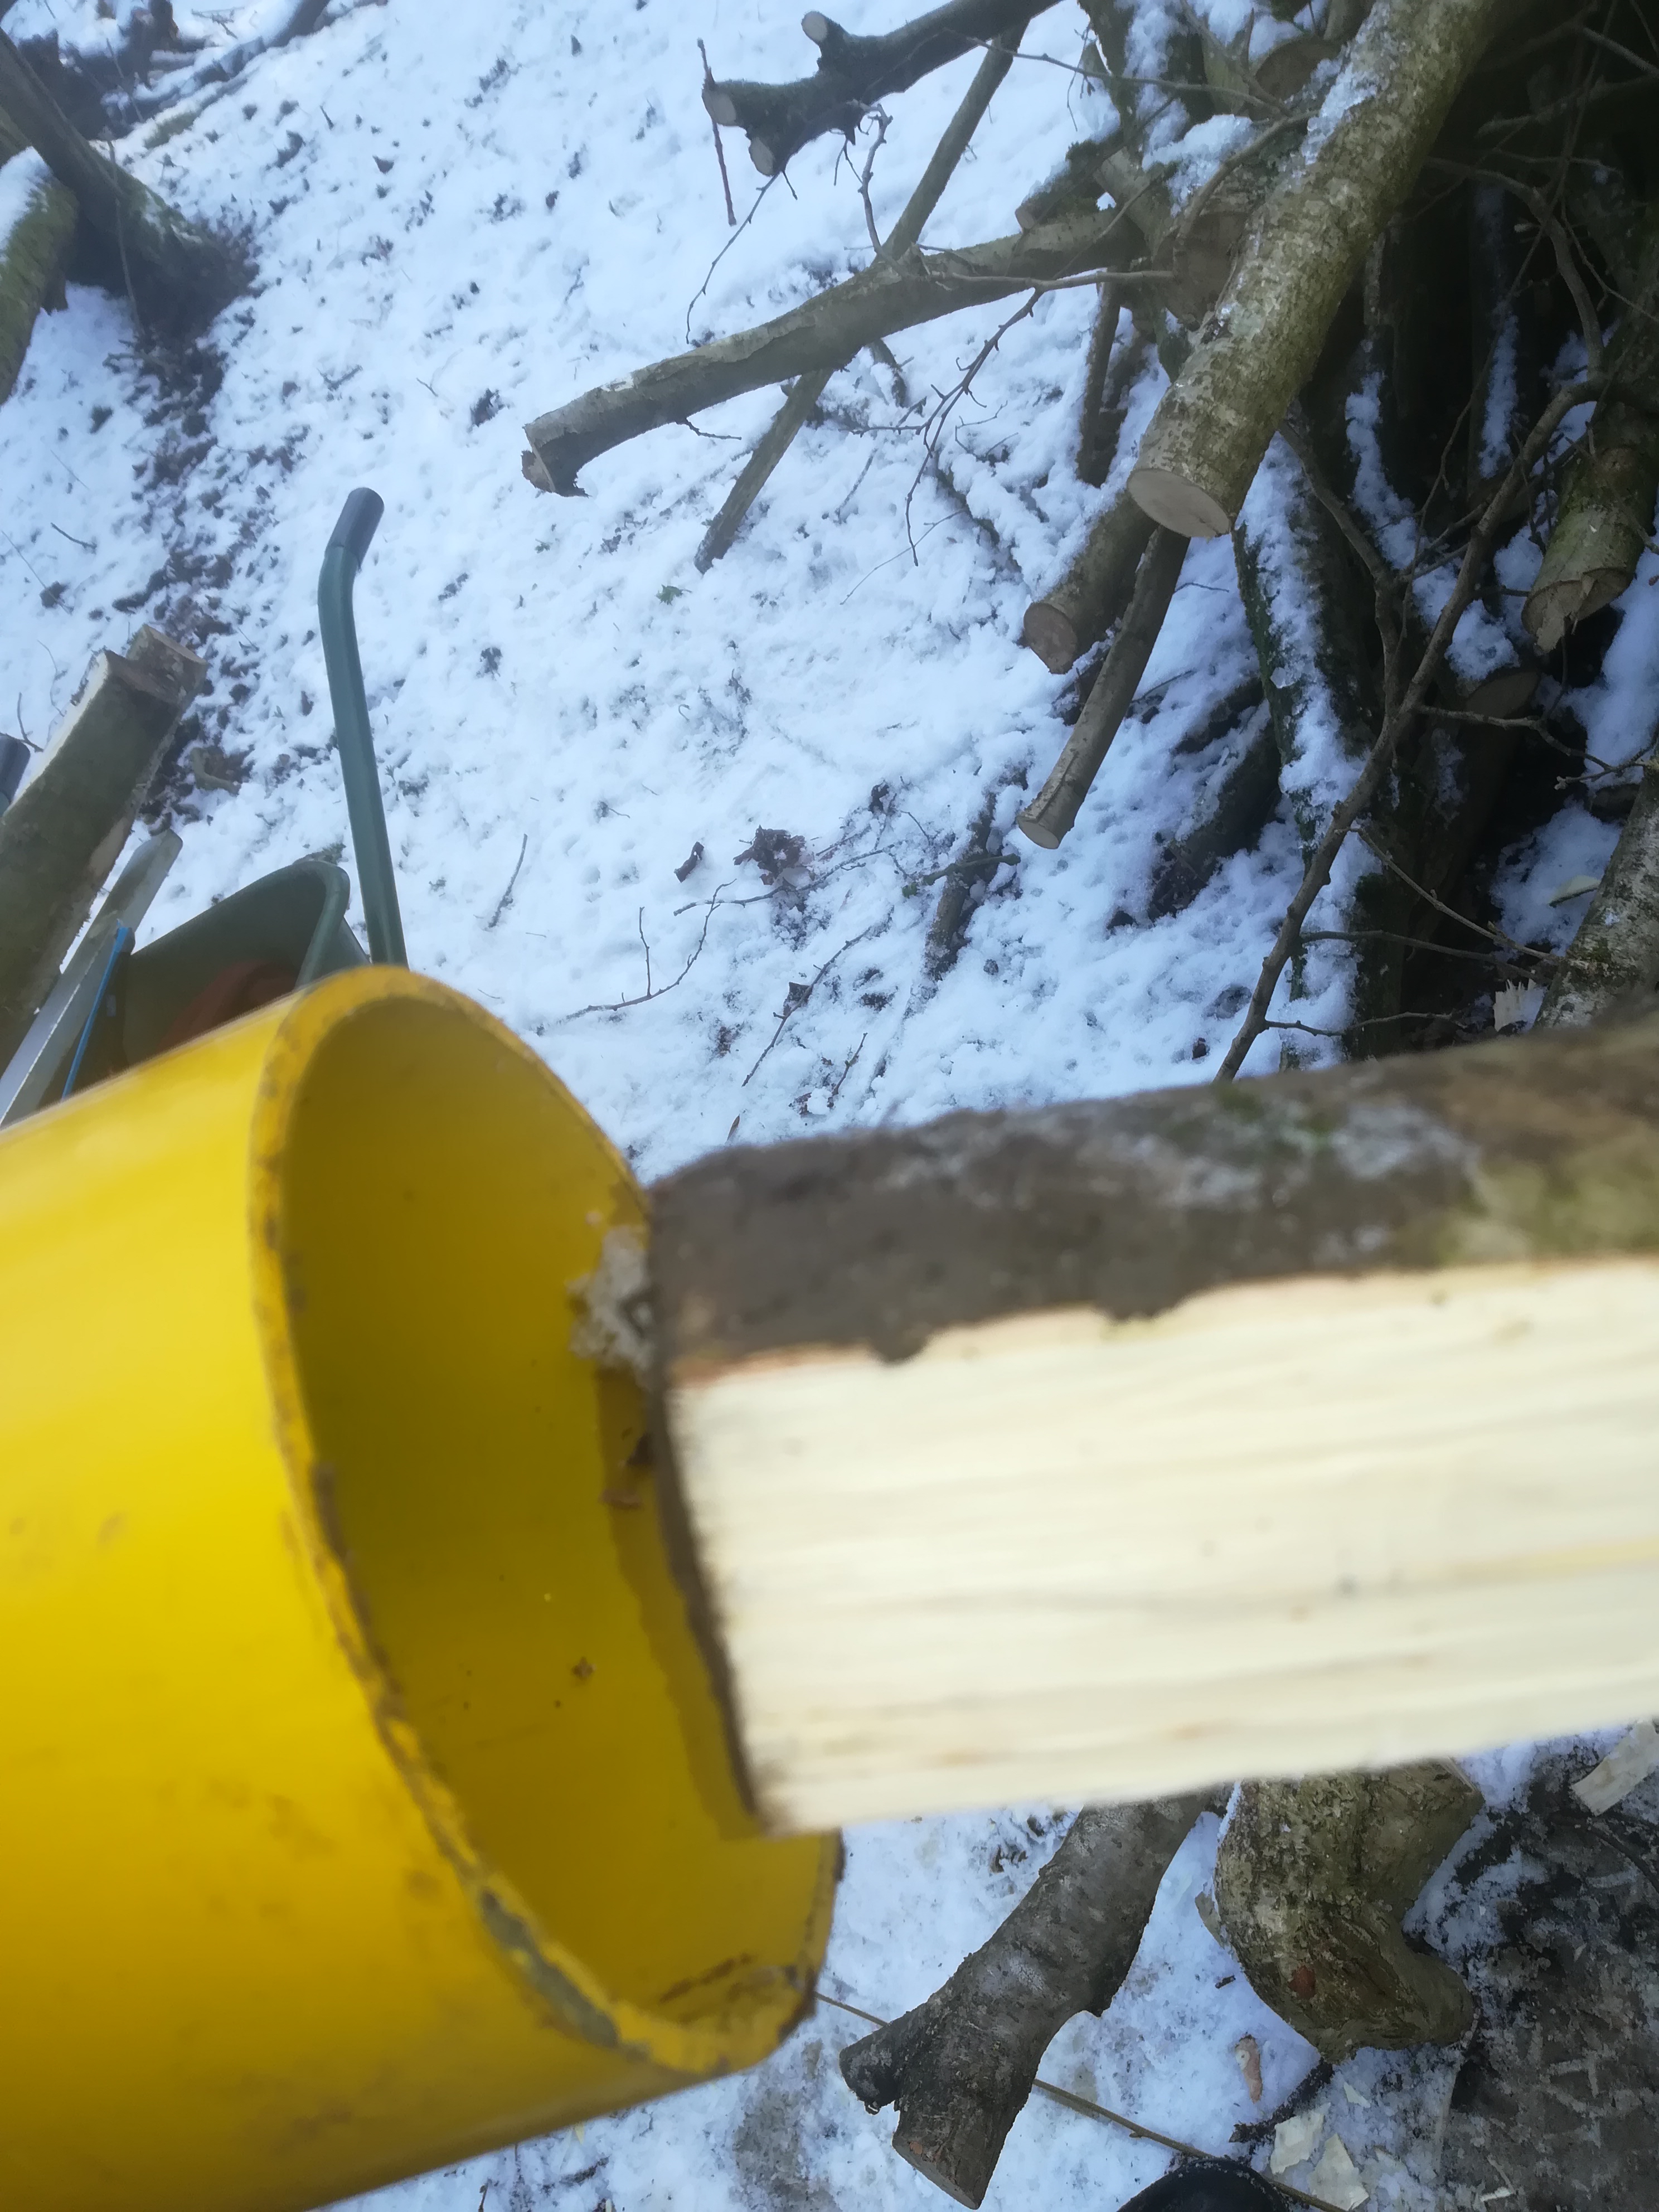
The picture below shows a branch on the left had side of the shot showing where I estimated the very top of the tree would reach when felled. the chainsaw is placed at the top of the branch where it actually fell. Not bad and certainly better than making the cut and having no real idea what other trees are in risk of being hit.
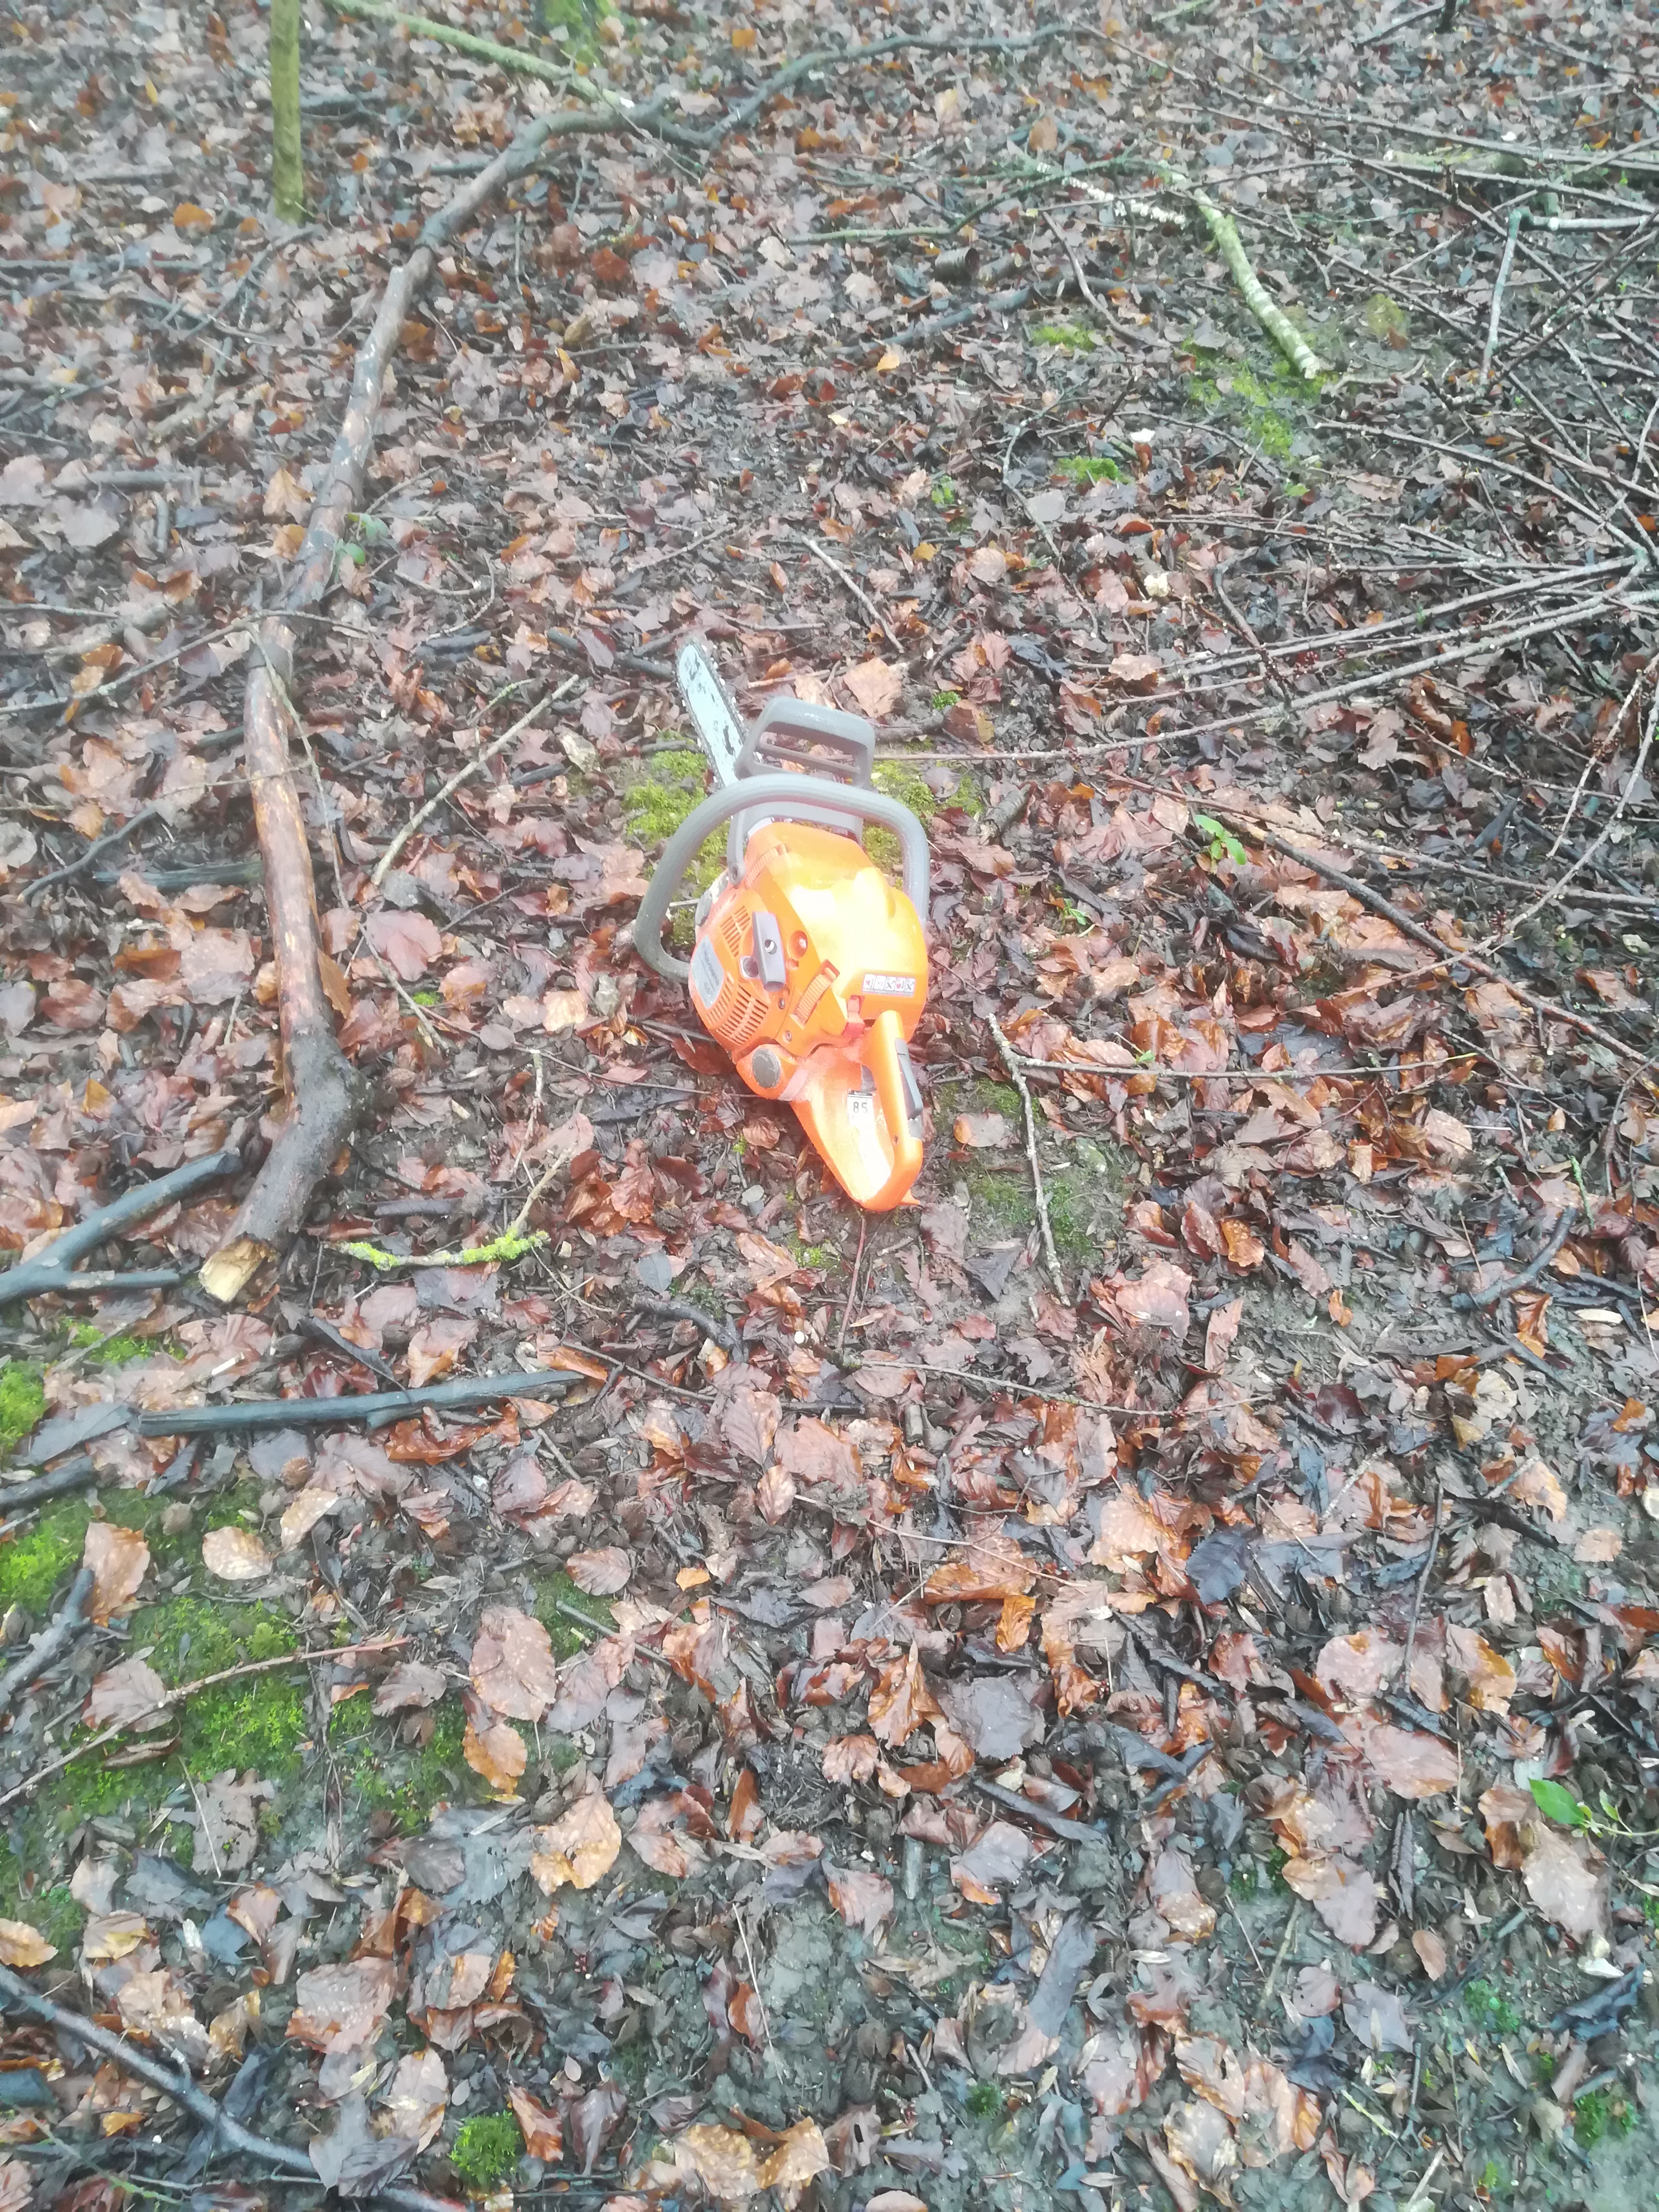
More next time…………………….

Cut, thrust and parry – time for some fencing

Perishingly cold in the wood today with a thin dusting of snow making everything glisten in a weak winter sun – when it eventually got through.

Today’s task was to carry on with the fencing off of the hazel coppice. First job is to create the fence posts. Here the hazel stems that were coppiced from the existing stools come in, each decent sized stem can be used but they just needs some preparation.

Step 1 Select a suitable looking length of hazel pole and trim the ends up so that as in this instance you don’t start trying to split through a knuckle.

Next step is to start a split along the length of the stem, I use a fro which goes through the whole diameter and makes a good clean break. Next I insert a splitting wedge, this widens the gap so advancing the split down the length but also releases the fro.

The fro can then be reinserted ahead of the wedge and it in turn used to widen and advance the split and so release the wedge and so on down the whole length. It is sometimes necessary to cut through strands that don’t split but remain tensioned across the split. You can use a saw or if there’s room get in with the bill hook. Just be careful not to hit the wedge or fro if you use the bill hook!

Then the bill hook can be used to put a point on the thicker end of the pole so that it can be pushed more easily into the ground.

So far so good but it is now important to check that the other end of the post fits into the post rammer. That’s the big yellow tube with handles.

The post rammer is another of those tools that is very simple in design but make a job so much more practical and easier. I guess the alternative would be to use a sledge hammer but to be able to reach the top of the post you’d have to stand on a step ladder! Te rammers come in a couple of sizes, the one I am using is a 4″ diameter version which has enough weight to hammer the post home whilst also being practical for a one man operation.

With each post in place it is sensible every 5 or six posts to brace the post. This helps to stiffen the post and become rigid enough to act as an anchor to the wire tensioners that wind the excess fence wire and make the wire taut. more on these little devices next time.

The slanting supports are cut to about 2/3 of the length of the post but prepared in exactly the same way. These are then banged in at an angle adjacent to the post. The support is offered up to the main post and where they touch I cut a slot in the main post just below that point and cut out a wedge. The support is then forced down into that notch and the same process completed on the other side. It is amazing how much rigidity that this creates and all without any nails or screws.

When all the posts are up,and that includes a doorway to allow periodic access, I will start on stringing up the three wires (top, bottom and middle heights off the ground) that run between each of the posts. the deer proof netting is tied to these wires.

Now lets get inside and warm my fingers up.

More next time……………

Chilly times

Winter came to Pop’s Wood with a light covering of snow and temperatures in the dip at the bottom of the wood still below freezing at lunchtime.

All the wild cherry trees that I intended to clear from the coppice area have now been felled. It is sobering to realise that it takes less than 5 minutes to actually fell a tree but then takes several hours to deal with it once it is on the ground. Still, once it is on the ground you can breathe a sigh of relief as all the variables that you had had to consider before making the cut are now resolved. I was very pleased that all the trees came down “largely” where I had planned them to which given there are so many variables this was very pleasing.

However, I find guestimating the height of the tree to be one of the most difficult aspects to assess. At first glance it looks as if it should be easy to say where the top of the tree will land but in each case I was about 10′ too long or too short. I think it may be sensible to go back to a more scientific approach and use trigonometry to solve the problem.

Thanks to Wikipedia for the diagram and following instructions. Standard stick method: 1) Find a straight stick or ruler; 2) Hold the stick vertically at arm’s length, making sure that the length of the stick above your hand equals the distance from your hand to your eye. 3) Walk backward away from the tree. Stop when the stick above your hand exactly masks the tree. 4) Measure the straight-line distance from your eye to the base of the tree. Record that measurement as the tree’s height to the closest foot. Simples!

When I was looking at where it was best to drop the last cherry I noticed that there was a hazel potentially in its path. As a precaution I trimmed the stump right down leaving only one stem for layering at a later date. Also in the path was a small field maple which, although I wished it no harm, was in my mind the more expendable tree of the pair. The trunk of the cherry missed the field maple leaving it unscathed but, as you can see from the photograph, it fell right on top of the hazel stump. Thankfully the trunk was held up by a pile of cut hazel logs that were on the ground immediately in front of this stool and so no damage was done. Phew, a near miss.

List of things to do now:

  • clear up all the cut logs that remain within the coppiced area and prepare the ground for planting
  • split some of the cut hazel poles to make fence posts
  • hammer in all the fence posts around the edge of the coppice and brace the corners to take the strain of the fencing wire
  • fix the deer proof fencing
  • fix the chicken wire to the base of the fence and semi bury/pin to the ground to discourage rabbits etc
  • plant the hazel trees and layer the existing stems
  • have a cup of tea and watch everything grow

More next time………………….

Cherry on the…….ground

The coppicing work in the actual hazel trees within the coppice is virtually complete and so I have now started to take out some of the wild cherry trees. The removal of these trees will reduce the canopy considerably and let the sunlight reach the woodland floor and most importantly reinvigorate the coppiced hazel stumps and help promote healthy regrowth.

According to The Woodland Trust, the spring flowers provide an early source of nectar and pollen for bees, while the cherries are eaten by birds including the blackbird and song thrush, as well as mammals such as the badger, wood mouse, yellow necked mouse and dormouse.

The foliage is the main food plant for caterpillars of many species of moth, including the cherry fruit and cherry bark moths, the orchard ermine, brimstone and short cloaked moth.

In Highland folklore, wild cherry had mysterious qualities, and to encounter one was considered auspicious and fateful.

Traditionally cherries were planted for their fruit and wood, which was used for making cask hoops and vine poles. The sticky resin was thought to promote a good complexion and eyesight, and help to cure coughs.

These days cherry wood is used to make decorative veneers and furniture. The wood is hard, strong and honey-coloured, and can be polished to a good shiny brown colour. The main photograph at the head of this post is a bread board that I made with wild cherry earlier last year. Wild cherry has many cultivars and is a popular ornamental tree in gardens. The wood burns well and produces a sweetly scented smoke, similar to the scent of its flowers. The wild cherry bark is a reddish colour and is remarkably tough and endurable. A feature of the area immediately below a cherry is a range of branches that have fallen and rotted away over the years leaving the “skeleton” of the limb in its bark “clothing” which is largely intact.

There are something like six or seven wild cherry trees within the coppice area that I am restoring and these will each have to be taken down and cleared out of the way.

The first of these was felled this week. The cherry trees in Pops Wood have developed very large bases at ground level but that quickly split into two stems. Practically this means that the felling cut is at waist height which is not ideal but does allow each stem to be felled separately and the direction of fall to be better controlled.

Plenty of wood to process into milled timber and also a great pile of branches that I use to make cherry charcoal. It will be interesting to see how it goes through that process and what a finished cherry charcoal looks and smells like. Will it carry over the fragrance of the cherry blossom as is reported to be the case when it’s burnt conventionally?

More next time……………….

Cherry v hazel, “holy” flint and a fallen sentinel.

The featured picture shows a wild cherry tree that has fallen over and landed on top of an existing hazel. I don’t know when the wild cherry actually fell over but it is likely to have been say 10 years ago as the hazel tree has responded by setting root where it has been pinned to the ground by the cherry.

Although the cherry has been down for a while I am hoping that it may well be in good enough condition to be milled into planks and live on in a piece of furniture maybe.

Here are the “before” and “after” shots of the initial clear up. I will go back and coppice the hazel on the next visit.

It is amazing how a hazel uses every opportunity to survive. If hit and partially uprooted by another huge tree many trees would give up the ghost and die. But the hazel adapts and grows into whatever situation is created and becomes stronger as a result having put down new roots and in effect regenerated into additional potentially separate plants.

One aspect of cutting into the area around roots and fallen trees lying on the or near the ground is the risk of hitting a flint with the saw. There is no surer or quicker way to blunt a chain saw blade than to run it for a few seconds on a flint! No other option than to sharpen the blade as without an edge it simply tries to rub its way through the tree.

The flint above appeared from amongst the root system of the cherry and is a curious item in that it has a hole in its centre. Not sure how this would have been formed but it looks perfect even down to appearing to have a countersunk edge to the hole.

Standing dead wood is a very positive aspect of any woodland providing suitable habitat for numerous species of insects and in turn a source of food for the birds. There are a series of beech trees in Pops Wood that have died over the last decade or so but have been happily stood there sentinel like, becoming bleached in the weather. Sadly one of these standing dead trees came down over Christmas. However when you look at the base of the tree it appears that it was simply balanced there anyway as the roots are completely rotted away.

I will clear the broken bits of the fallen beech away but leave the main trunk to carry on rotting on the ground.

After all that effort a pan of refried cold potatoes on the stove made a lovely lunchtime treat.

More next time………………………

Special branch?

Hazel is an interesting tree. A particular garden variety has been bred to bring out a trait of strangely twisted branches. This convoluted form of hazel is sometimes know as the corkscrew hazel or Corylus avellane”Contorta”.

I imagine that this variety has been selectively bred from specimens found in the wild to bring out this characteristic form.

Whilst coppicing I spotted the branch below that had occurred naturally on a standard hazel tree. The branch has grown in a complete circle and started to fuse back onto itself where it crosses. Strange but attractive.

The coppicing is progressing well with almost all of the existing trees cut down to the first stage. Each of the stools will need to be further cut with the chain saw to bring them a lot lower to the ground. that way the new shoots will form as new side shoots to the base of the stool and form new roots. The danger of leaving the stools too high is that the new shoots simply form above the ground on the old base and so just regrow on the old stump without generating new roots. It is the formation of new roots that gives the hazel new vigour and extends its natural life from say 70 years maximum to hundreds as years as part of a regularly coppiced woodland.

The hazel has already formed catkins and it seems a real shame to be cutting them down now but that is the process. The removal of this growth will promote new healthier growth.

Some of the older trees such as the wild cherry have already begun to reach the end of their natural life and have fallen down. The picture below shows one that has fallen and “banjoed” a hazel stool on the way down. This will take some clearing up but I’ll tackle it in the new Year.

More next time…………..

Examples of Nature’s Velcro and “self Layering”.

There are a number of plants that have different devices for ensuring that their seed cases get carried away from the parent plant. Some are very obvious like the teasel with its very clear hooks that get snagged onto passing animals and are transported to a new place to grow. The teasel was also exploited by the croppers in the woollen industry to raise the nap of the unfinished pieces of woollen cloth. The teasels were set in a wooden frame and dragged across the surface of a woven but unfinished piece of cloth. The hooks snagged with the rough surface of the cloth and lifted up the surface so that sharp shears could be used by the skilled croppers to crop the surface to a finer finish.

Image result for picture of treasel

Another example is the burdock. As a child we used to love throwing what we called “sticky bobs” which are the seed cases from the burdock plant. These are amazingly good at sticking to anything where it can hook on. They are so light that if you toss them gently onto the back of someone’s jumper as they walk along then they don’t notice them building up! 

See the source image

One of the less obvious plants with an ability to stick together is the hazel and its spindly new growth branches. It is many years since any work has been done on the coppice and some of the hazel trees are very mature. Their canopy has become entwined with its neighbouring hazel tree and also stuck into the lower branches of the ash, cherry and hawthorn. What I have found out is just how incredibly resilient these entangled branches are to being separated. In some instances I have cut the main trunk of a limb and the tree has simply swung from its base and hung suspended by its upper branches and their strong entwined grasp of other branches. The harder you pull the tighter the “knot” becomes.


entangled branches

 Carrying out the coppice work forces you to take a close look at each of the existing hazel trees as you decide how best to tackle the process. This week I noticed that one of the trees I tackled had a long trailing branch that seemed to link two trees together. A closer look showed that a branch had somehow become laid against the ground, perhaps after being hit by a fallen branch from an adjacent tree. Far from giving up the ghost this branch has put down roots in the middle and has established itself in its new position. I now have the potential for two trees as ling as I can stop the deer from continually nibbling off the fresh growth.

Hazel is so resilient. It hangs onto other trees to give itself further support and when it does get forced to the ground it simply puts down new roots and carries on. I like the idea of trees walking across a landscape over hundreds of years and this ability to send out existing branches to create a new tree is a winner.  

More next time…………

Good copse, bad copse?

This week I made a start on the hazel coppicing. The first two stools I worked on are well established and healthy which bodes well for their regrowth. They are also growing quite close together so will act as a starter/model for increasing the density in their immediate vicinity and eventually lead to a regeneration of a good copse.

Here is a picture of the wood with the early morning sun coming through the trees at the top of the wood. It so happened that the sunlight was “spotlighting” the two tress that I had planned to work on.   

Cutting down trees is always a lesson in humility I think. You stand next to the tree and you think that its not that big and this shouldn’t take long. The truth is a bit more realistic. Each branch, although only the thickness of your arm, weighs a considerable amount and as soon as you start cutting into the limb the stresses that build up need to be thought about and acted upon. So making a v notch on one side before making the main cut not only creates a “hinge” to govern the direction of fall but also prevents the falling limb from ripping along its length and ruining any potential use for the wood.

I like to do most of the coppicing using a hand saw only. Its a lot quieter and less  smelly than a 2 stroke chainsaw and means that you can take each cut a bit slower than simply ripping through the limb and seeing what happens. It also ensures that you work up a bit of body heat on a chilly morning. As each limb comes down I work my way through taking off the smaller branches and recent growth. Some of the branches are reasonably straight and will split down to make fencing poles to support the deer proof netting. The rest of the growth will be cut to lengths of about 6″ -8″ and split into smaller logs and set to dry out prior to making into charcoal or using as firewood later next year.

be separated from the parent and a new stool is born, The selection of these poles isn’t a perfect science (well in may case anyway) but the criteria I use is that there needs to be evidence of healthy growth this year and the pole is itself rooted close to ground level on the existing stool.  

 In order to be able to use the existing stools for layering a few healthy looking stems are retained. These will be partially cut through at the base and then pulled down and pinned to the ground. Ideally where they touch the ground there would be a bud that will go on to grow into a new root for the layered branch. In time this root will be capable of supporting the branch by itself and the layered length will be separated from the parent and a new stool is born. The selection of these poles isn’t a perfect science (well in my case anyway) but the criteria I use is that there needs to be evidence of healthy growth this year and the pole is itself rooted close to ground level on the existing stool.  

More next time…………………

Back on the wagon and a curious “ear” funghi

Amazing what can be achieved with a few lengths of 2″ x 2″ angle iron, a hacksaw, drill and a few bolts. Last week I managed to break the log carrier on its first outing with a combination of overloading and over enthusiastic winching. The terrain exposed a weakness in one of the welds and the carrier broke.

After a bit of googling and ringing around I managed to buy 3 @ 2m lengths of 2″ x 2″ x 3/16″ angle iron and set to repairing the chassis. Using a drill and bolting everything together isn’t as elegant as a weld but at least it means that I could get on and complete the job and if it doesn’t work I guess I can take it to bits and try again.

Very satisfying taking the old twisted frame back to a solid base and the working out how to secure the new angle iron.

The principle reason why the weld failed was the huge bending moment caused once the winch was operated. The winch is about a foot higher than the base of the frame and so created significant leverage on the base trying to lift it up and twisting it in the process. The finished article looms fit for purpose once more and has the advantage of a couple of diagonal struts to strengthen the vulnerable areas of loading.

Back in use in the wood proved that the angle iron and the reinforcements were more than  adequate and it coped well with three large logs.


Just when I reached the top of the wood I noticed a curious looking fungal growth on a branch on the  woodland floor. 

These looked just like plastic human ears stuck to the small log. Funnily enough it is called The Ear Fungus. This is found in clusters on deciduous trees and shrubs most commonly the elder and is widespread in winter. I am not sure why the shape is significant and what advantages it brings for this particular fungus but it certainly adds to the character of the wood.

More next time………………. 

An uphill struggle

Having cut up the various trees that were affected by the collapsed ash tree, there is now a need to move the logs up to the top of the hill. Here there is a log store awaiting milling into planks. Also given that the lower area is about to become a hazel coppice/plantation there will be limited opportunities for clearing the logs later in the process. So the idea will be to complete the coppicing of the existing hazel trees and then fell the larger trees that are selected to be removed to reduce the canopy cover and let the sunlight reach the coppice stools so encouraging new growth. Each of these felled trees will be logged into say 6′ to 8′ lengths and then processed for timber by milling them into planks. 

All that said leads to the need for a reasonably efficient method of moving the quite substantial logs from the bottom of the wood up the hill to the  log store at the top of the wood. Oh if it was only the other way around and gravity could do most of the work!

Just over a year ago my brother visited the wood and when he got home he designed and built a prototype log carrier. My main criteria was that I wanted to minimise the physical impact that the log carrier had on the woodland itself. I was and still am not keen on having a lot of rides carved into the wood. I think that these can detrimentally change the character of the wood and also lead to an increased security risk as all felled timber has a ready route out of the woodland. I guess also I am not keen to spend all my working time in the woodland with ear defenders on and breathing in 2 stroke fumes. 

Back end of the log carrier

This is a great design. There is a hinged ramp at the back with a winch and cable at the front for dragging the logs up the ramp onto the carrier. the main load is carried directly above the rear axles and the wheels are puncture proof. The first task the is to drag up the first log.

first log being hauled onto the carrier

The winch made short work of hauling the log up. The second and third logs followed suit.

 Seemed sensible to try and maximise the load on the carrier and manage to take three logs up at the same time.

three wild cherry logs on board and strapped in

The winch wire is then puled out from the front of the carrier and stretched as far as practicable say 50′ or so and attached to a webbing strap wrapped around a suitably place tree. the winch then is wound in and the carrier pulls itself up the hill. Simples. Having the winch at the front to the carrier means that any snags can be spotted and dealt with without a constant walking to and fro from the winch to the carrier and back etc if the winch was placed at the secure tree end. Whilst not exactly fast progress is steady and the carrier deatl very well with the uneven and spongy terrain very well. The process is repeated a seach tree/anchor is reached. That is the winch wire is released and paid out again, a new anchor tree selected and the webbing attached etc. This way the carrier trundled its way up the wood and reached the more level section at the within an hour or so the worst bit of the steep section had been covered.

However the terrain had taken a toll on the carrier itself.

The design was great and worked very well but like any prototype it is not until you actually start to use in a real life situation that the weaknesses are revealed. Because of the height of the winch above the base there is a significant turning moment created as the winch takes on the load of the carrier and logs. This tries to turn the front of the carrier anticlockwise and so creates a huge strain on the front welds. Thankfully these only gave out once I had reached the top of the hill and was able to man handle the logs the last few yards.

dav

So I was very pleased that the design worked well and am now encouraged to repair the frame, reinforcing the parts that I now know to be weak areas and try again. I am not a welder so my efforts won’t be as a slick as the original but they will be made with chunkier bits of angle iron and bolted together.  

I guess it wasn’t all down to the design. In fairness I loaded three fairly heavy logs on the carrier and then pulled it through a very rough route. Still always good to test thing properly so as to learn what to do differently on Mark II.

More next time…………